Red Velvet Cake
If like me, you are not a fan of traditional fruit cake for Christmas, this red velvet cake might be the recipe for you. Deliciously moist and super easy to make!
RECIPE NOTES: For a tall, four layered cake, divide the batter between two 13 or 15cm diameter round cake tins. For a two layered cake, divide the batter between two 20cm diameter round cake tins. For the stripe buttercream effect, you need a serrated icing comb as well as a straight sided icing or dough scraper.
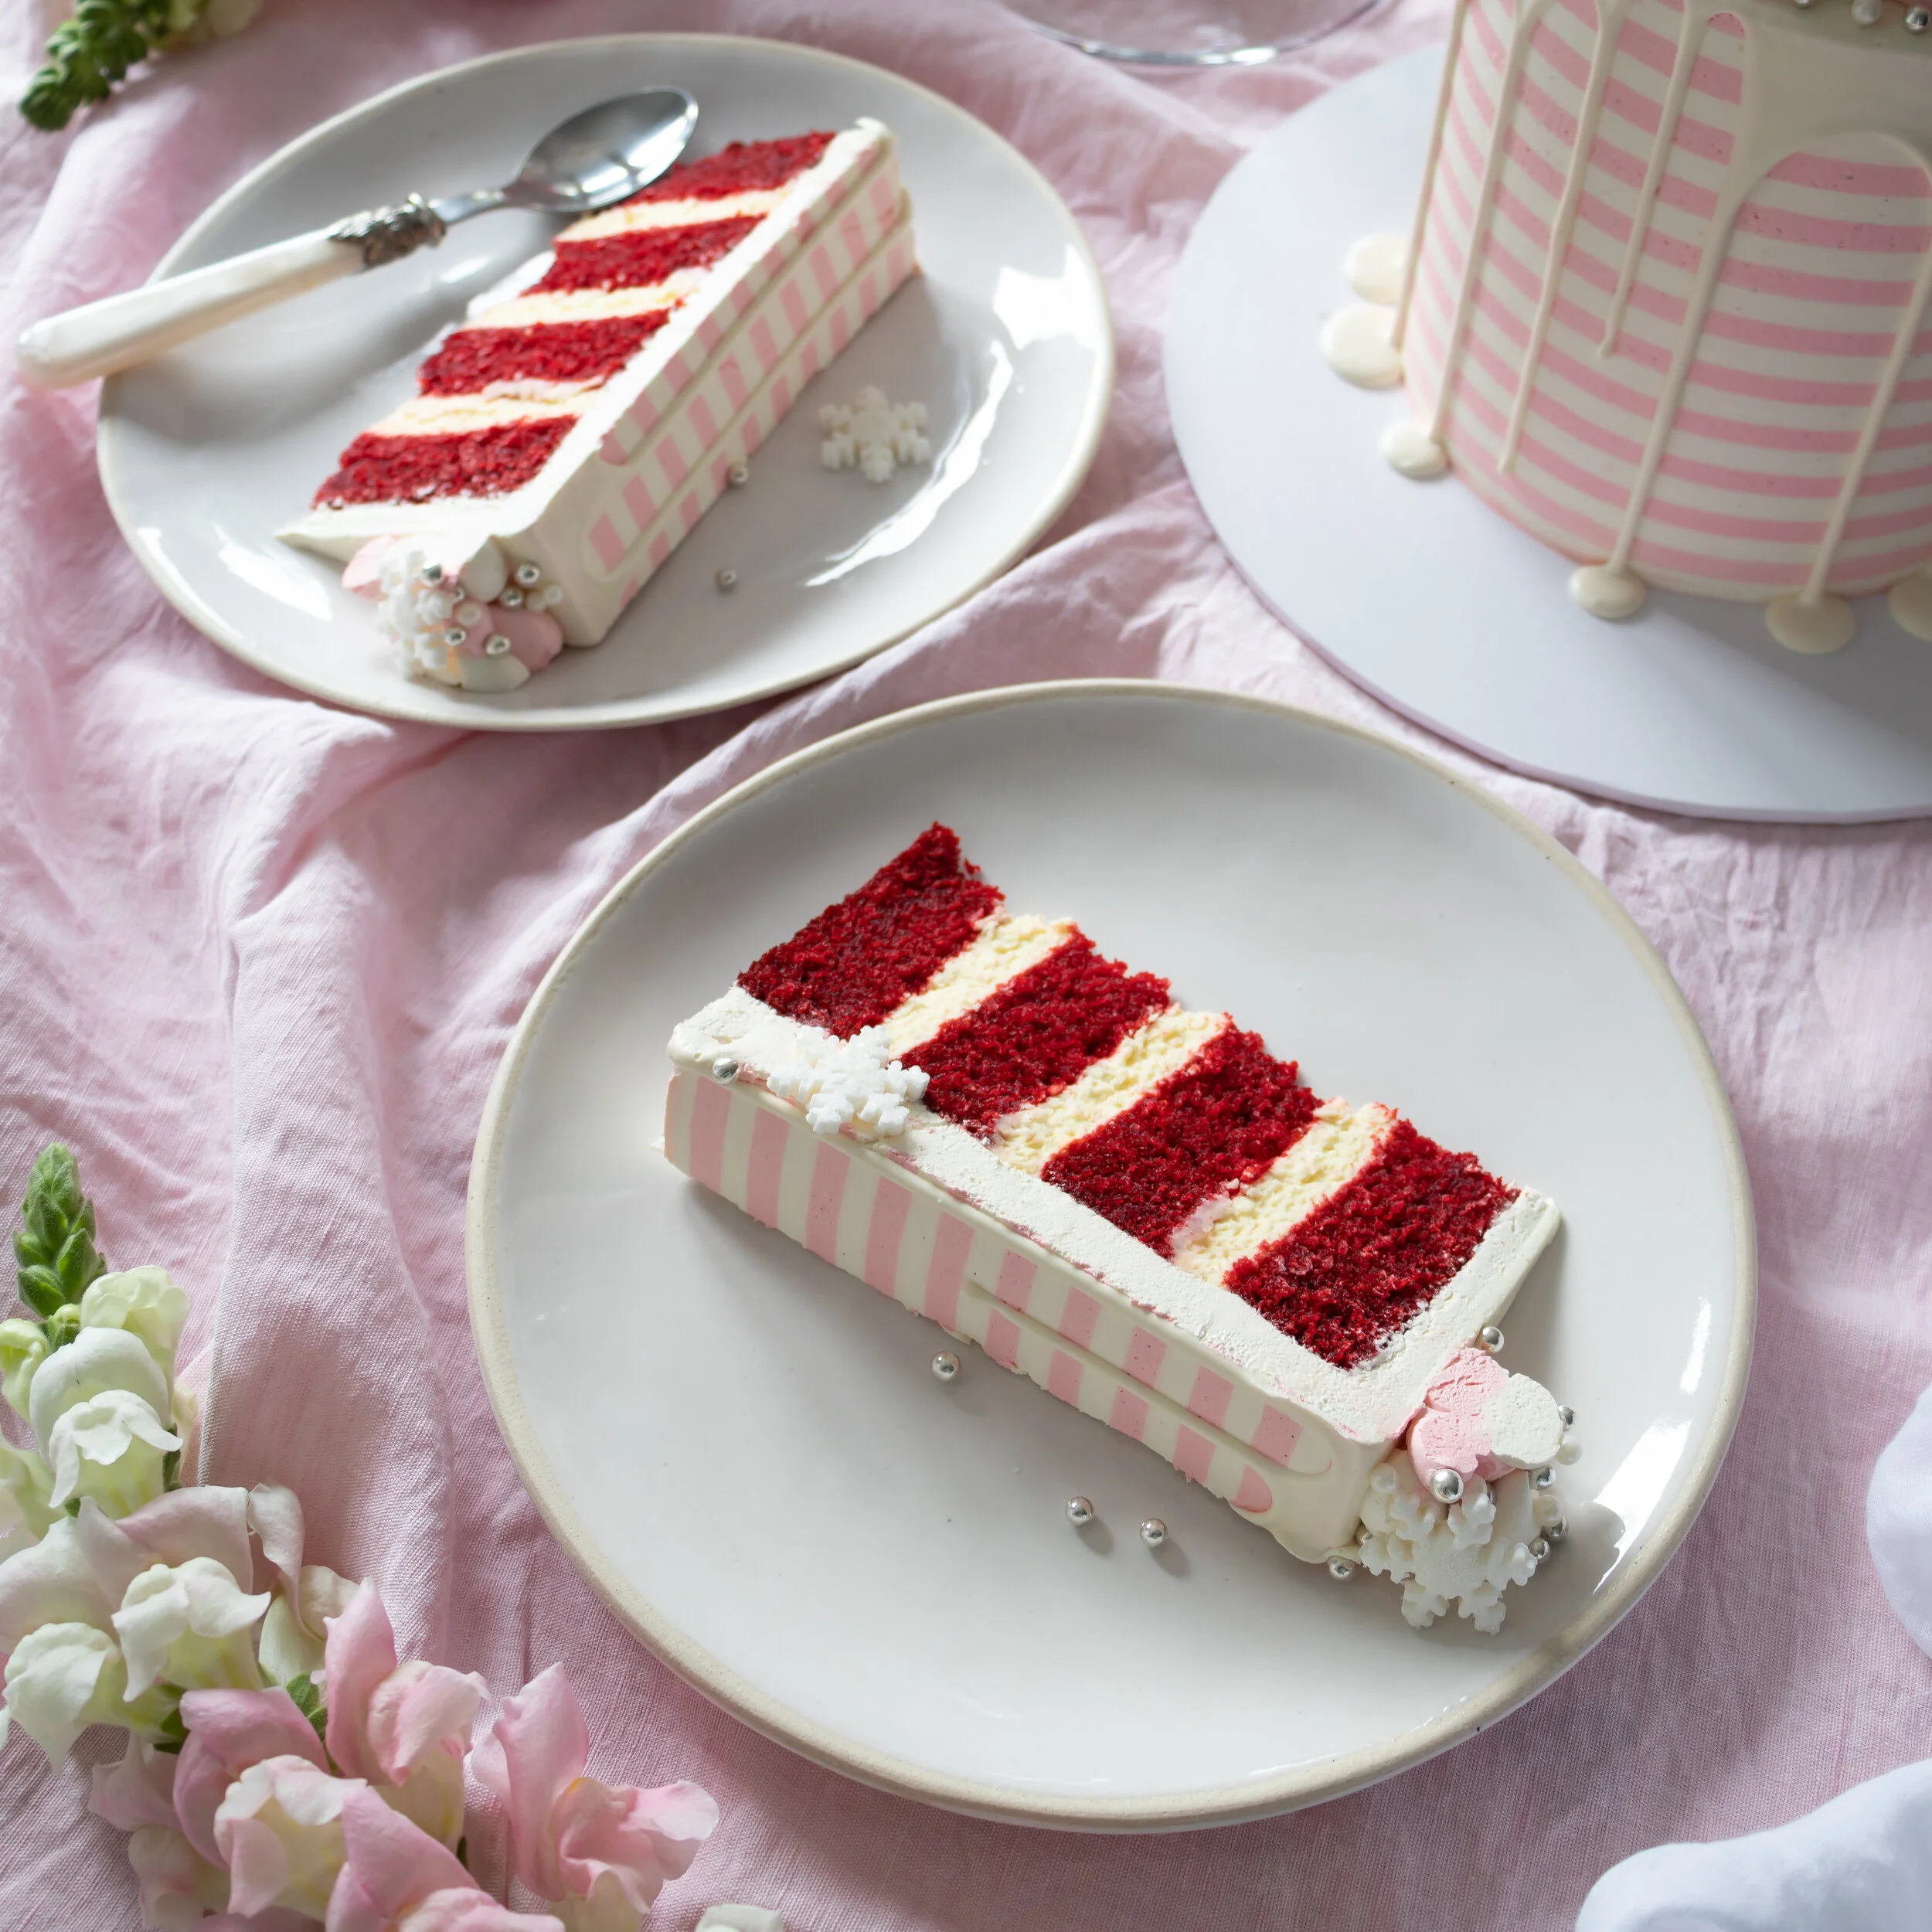
Enough for layered cake (about 12 - 16 serves)
RED VELVET CAKE
sugar (caster), 300g (1 + ½ cup)
plain/all-purpose flour, 350g (2 + ⅓ cups) - cake wheat flour in South Africa
cocoa powder, 15ml (1 tbsp)
bicarbonate of soda/baking soda, 5ml (1 teaspoon)
eggs, 2
buttermilk, 250ml (1 cup)
oil, 375ml (1 + ½ cup) - a neutral flavour oil works well
vinegar, 5ml (1 teaspoon) - apple cider or a white vinegar works well
vanilla (paste or extract), 5ml (1 teaspoon)
red food colouring, 30ml (2 tablespoons) - (use 15ml/1 tablespoon if using a gel colour)
VANILLA CREAM CHEESE ICING
butter (unsalted), 50g
cream cheese, 250g - 1 block Philadelphia original cream cheese
icing sugar, 80g (about ½ cup)
vanilla (paste or extract), 5ml (1 teaspoon)
SWISS MERINGUE BUTTERCREAM
egg whites, 3
sugar (caster), 150g (180ml or 3/4 cup)
icing sugar, 165g (250ml or 1 cup)
butter (unsalted), 200g - at room temperature or softened
fine salt, 1.25ml (1/4 teaspoon)
WHITE CHOCOLATE GANACHE (for the drip decoration)
white chocolate, 125g
cream, 60ml (¼ cup)
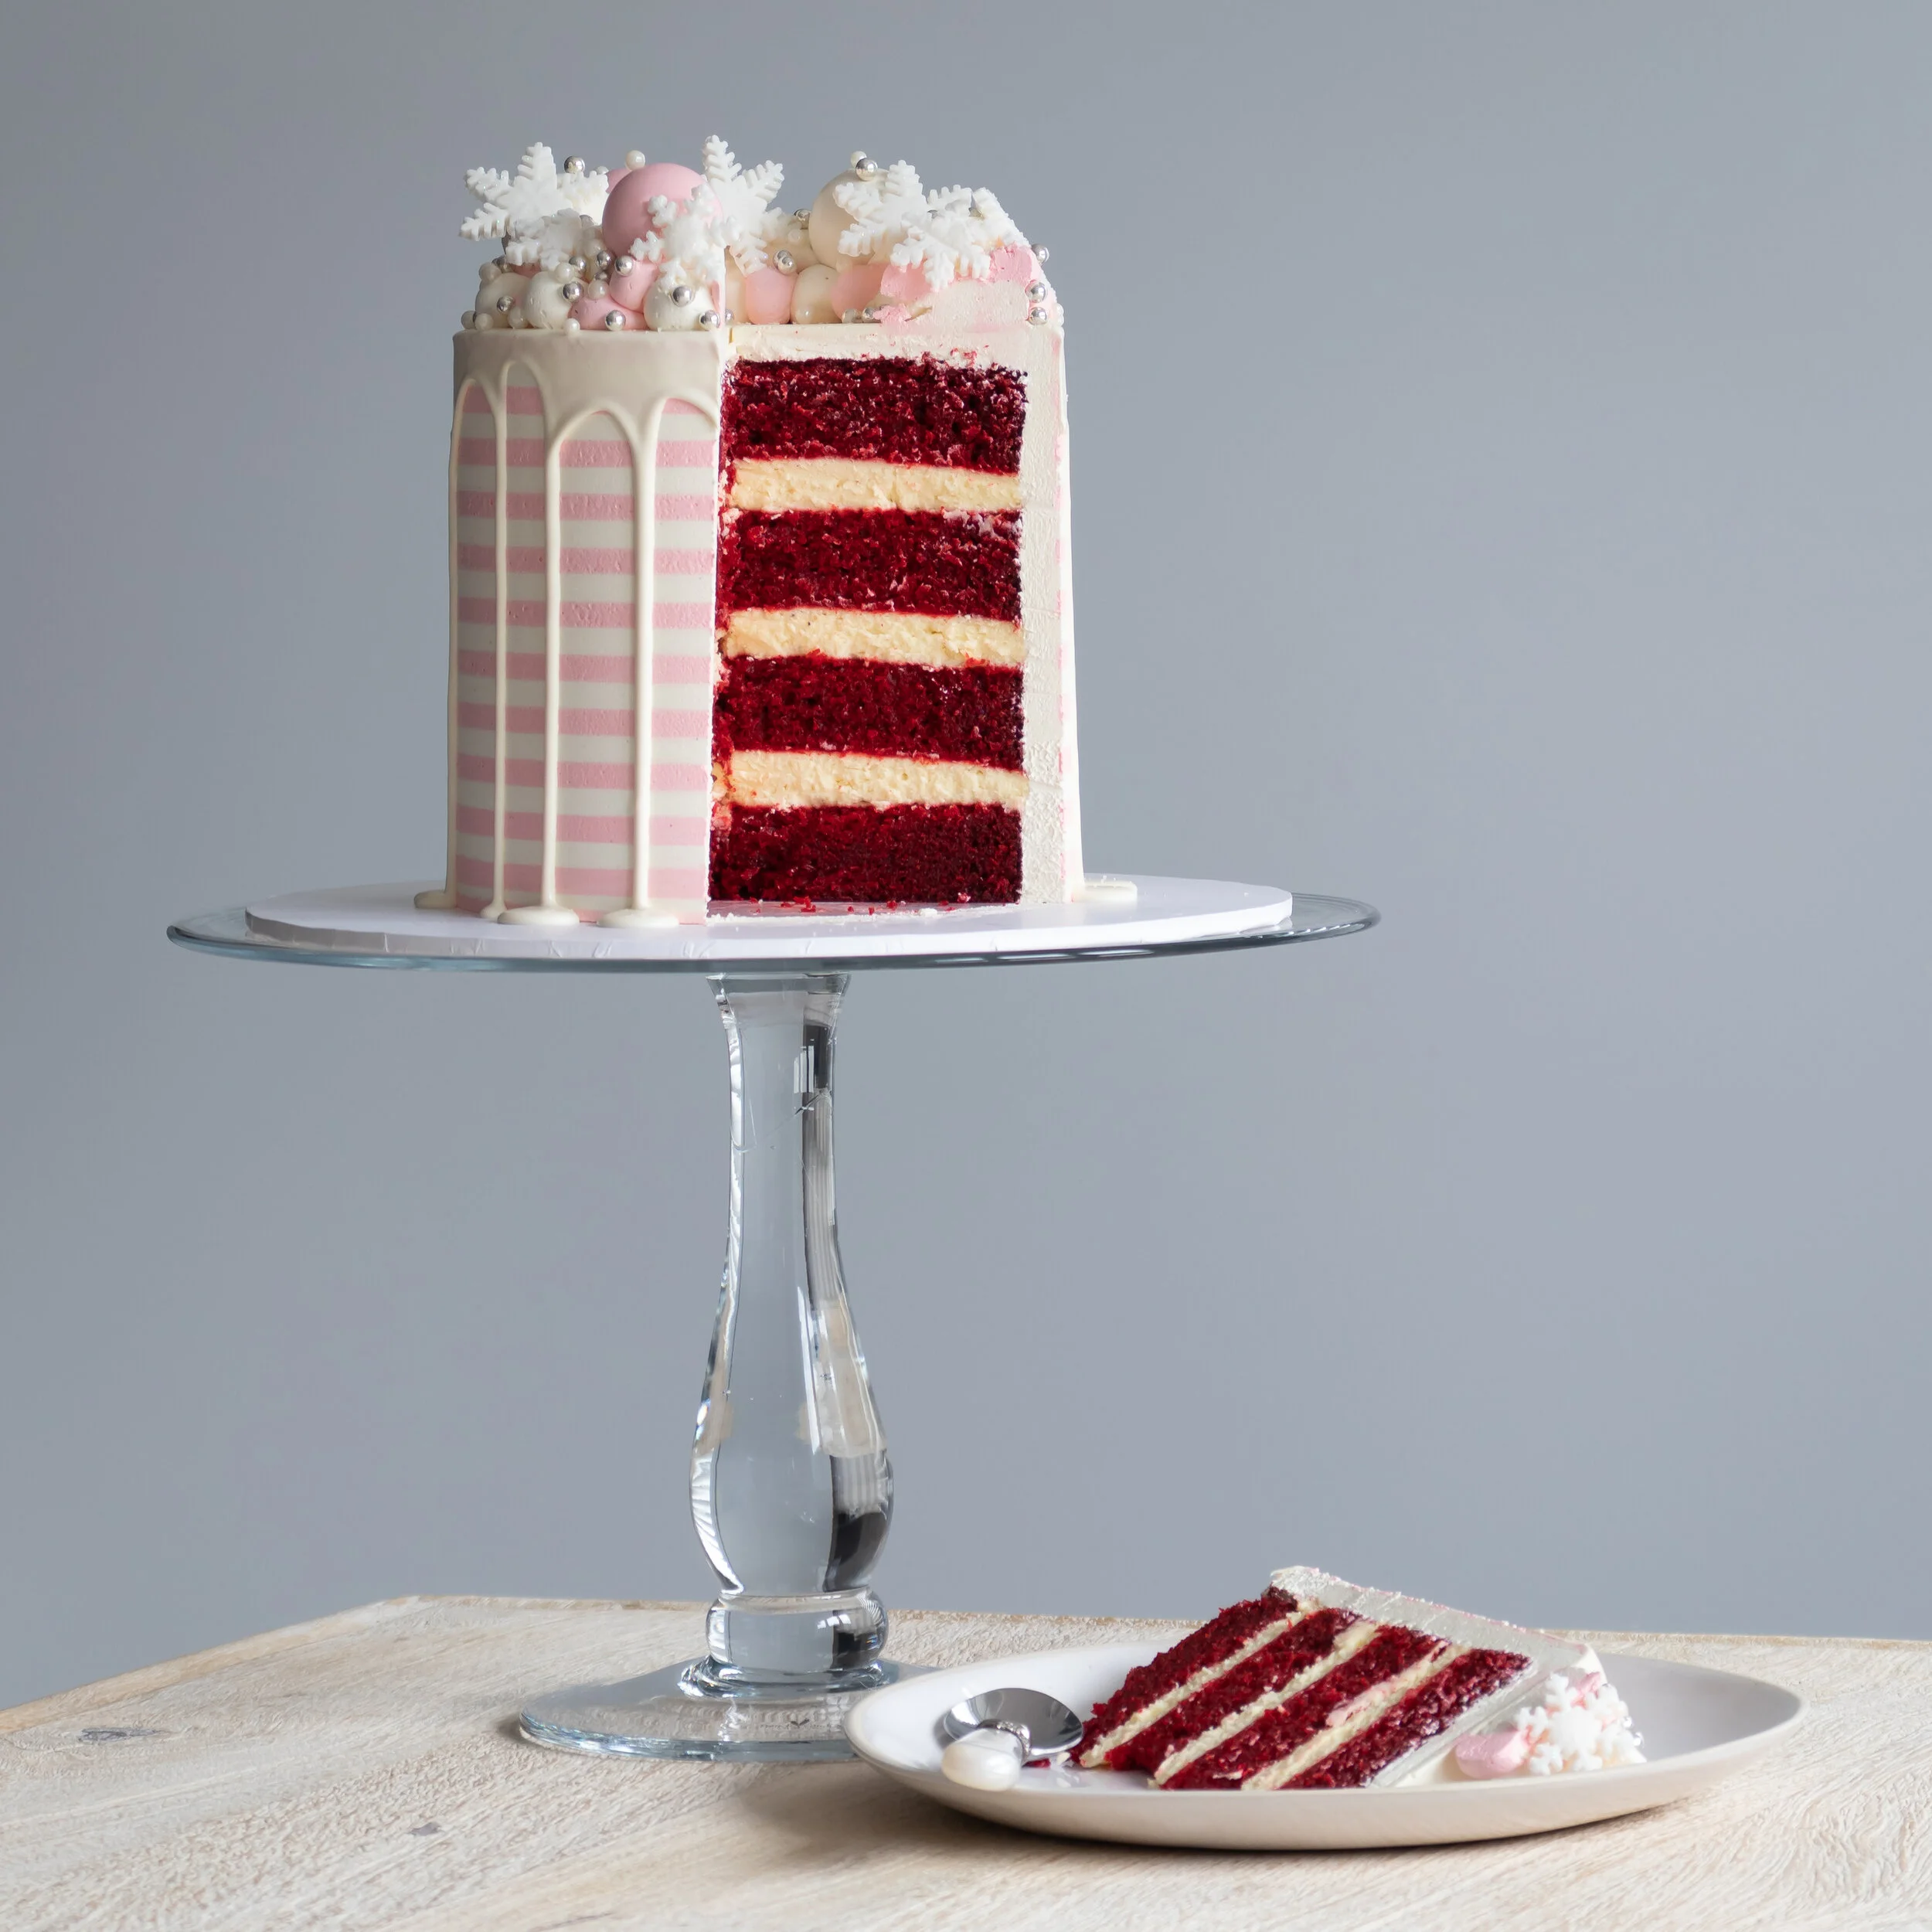
1. To start, line the bottom and sides of two round cake tins (see recipe notes) with baking paper (spray with baking spray or grease with butter, then line with baking paper).
2. Preheat the oven to 180°C (160°C fan).
3. For the cake, sieve all the dry ingredients (300g (1 + ½ cup) caster sugar, 350g (2 + ⅓ cups) plain/all-purpose flour, 15ml (1 tbsp) cocoa powder, 5ml (1 teaspoon) bicarbonate of soda/baking soda) into a large mixing bowl then mix until uniform (I use a free standing mixer bowl).
4. In a medium sized mixing bowl, lightly whisk the eggs (2) then add all the remaining wet ingredients (250ml (1 cup) buttermilk, 375ml (1 + ½ cup) oil, 5ml (1 teaspoon) vinegar, 5ml (1 teaspoon) vanilla paste or extract, 15 - 30ml (1 - 2 tablespoons) red food colouring). Whisk by hand until smooth.
5. Add the wet ingredients to the dry ingredients and mix until uniform.
6. Divide the cake batter between the two prepared cake tins and bake until a skewer inserted into the middle of each cake comes out clean (about 35minutes to 1 hour, but will depend on your oven and size cake tins).
7. Once baked, remove from the oven and leave the cakes in the tins to cool completely (covered with a clean tea towel).
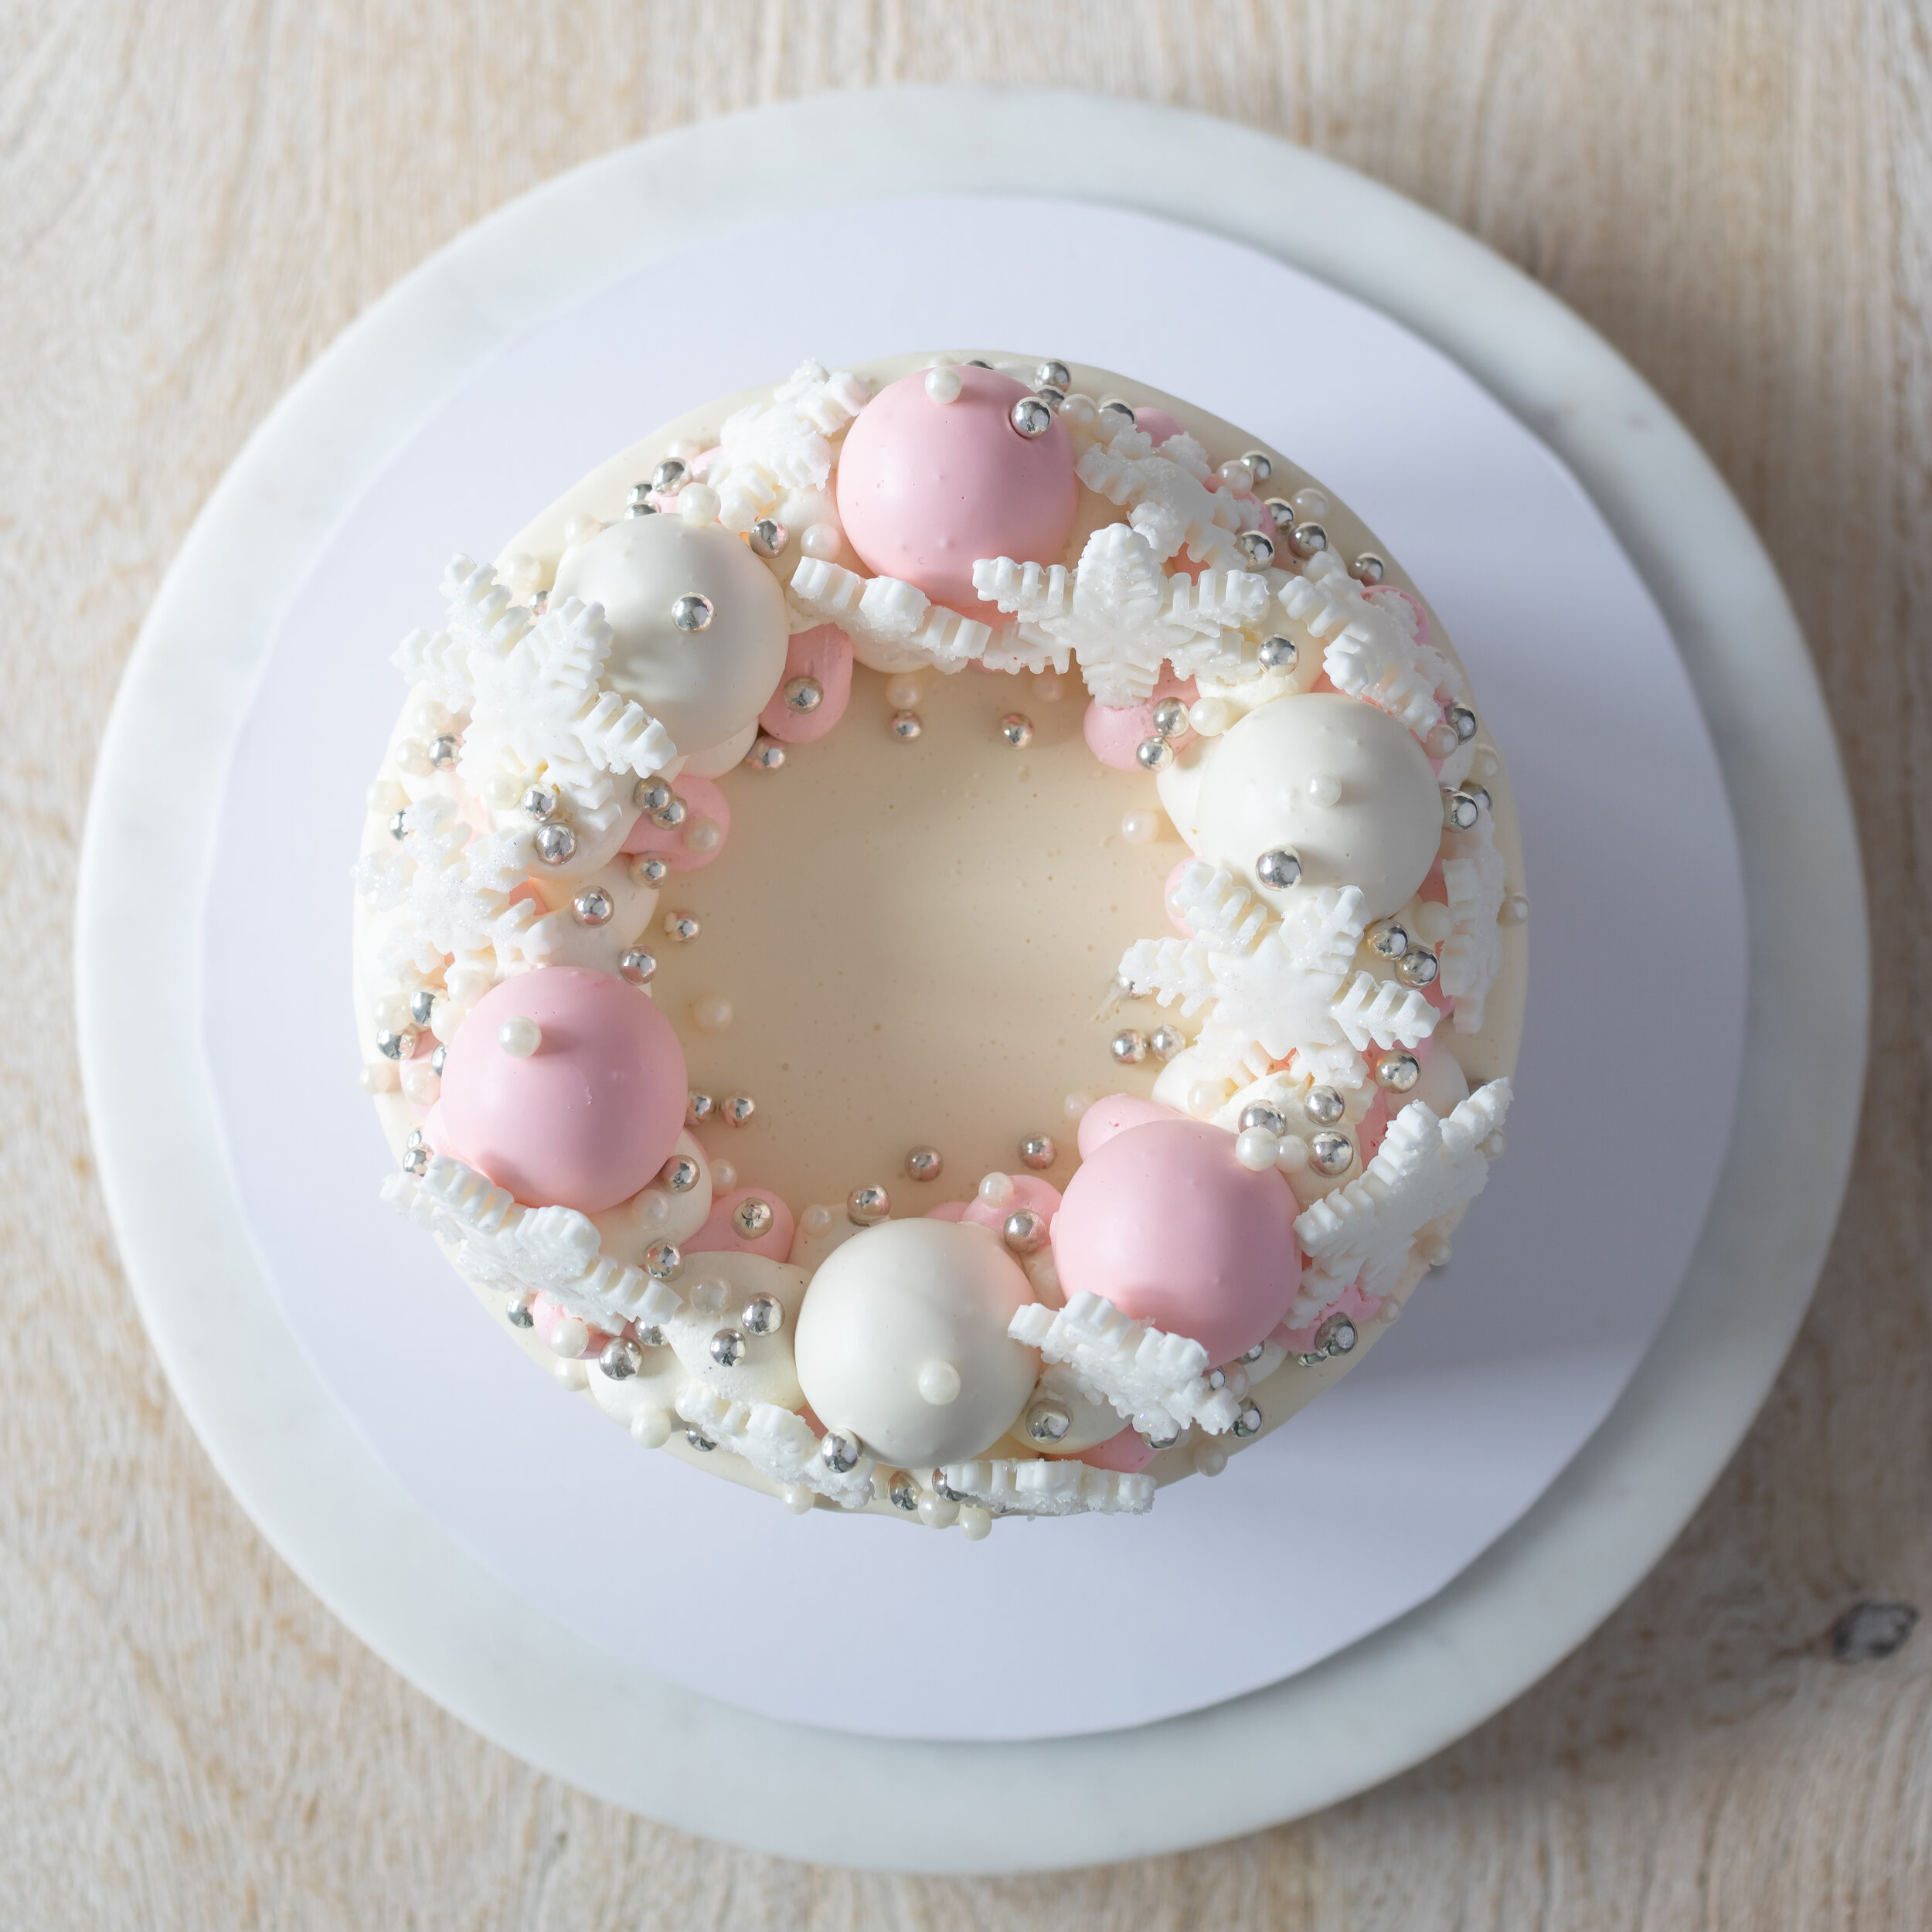
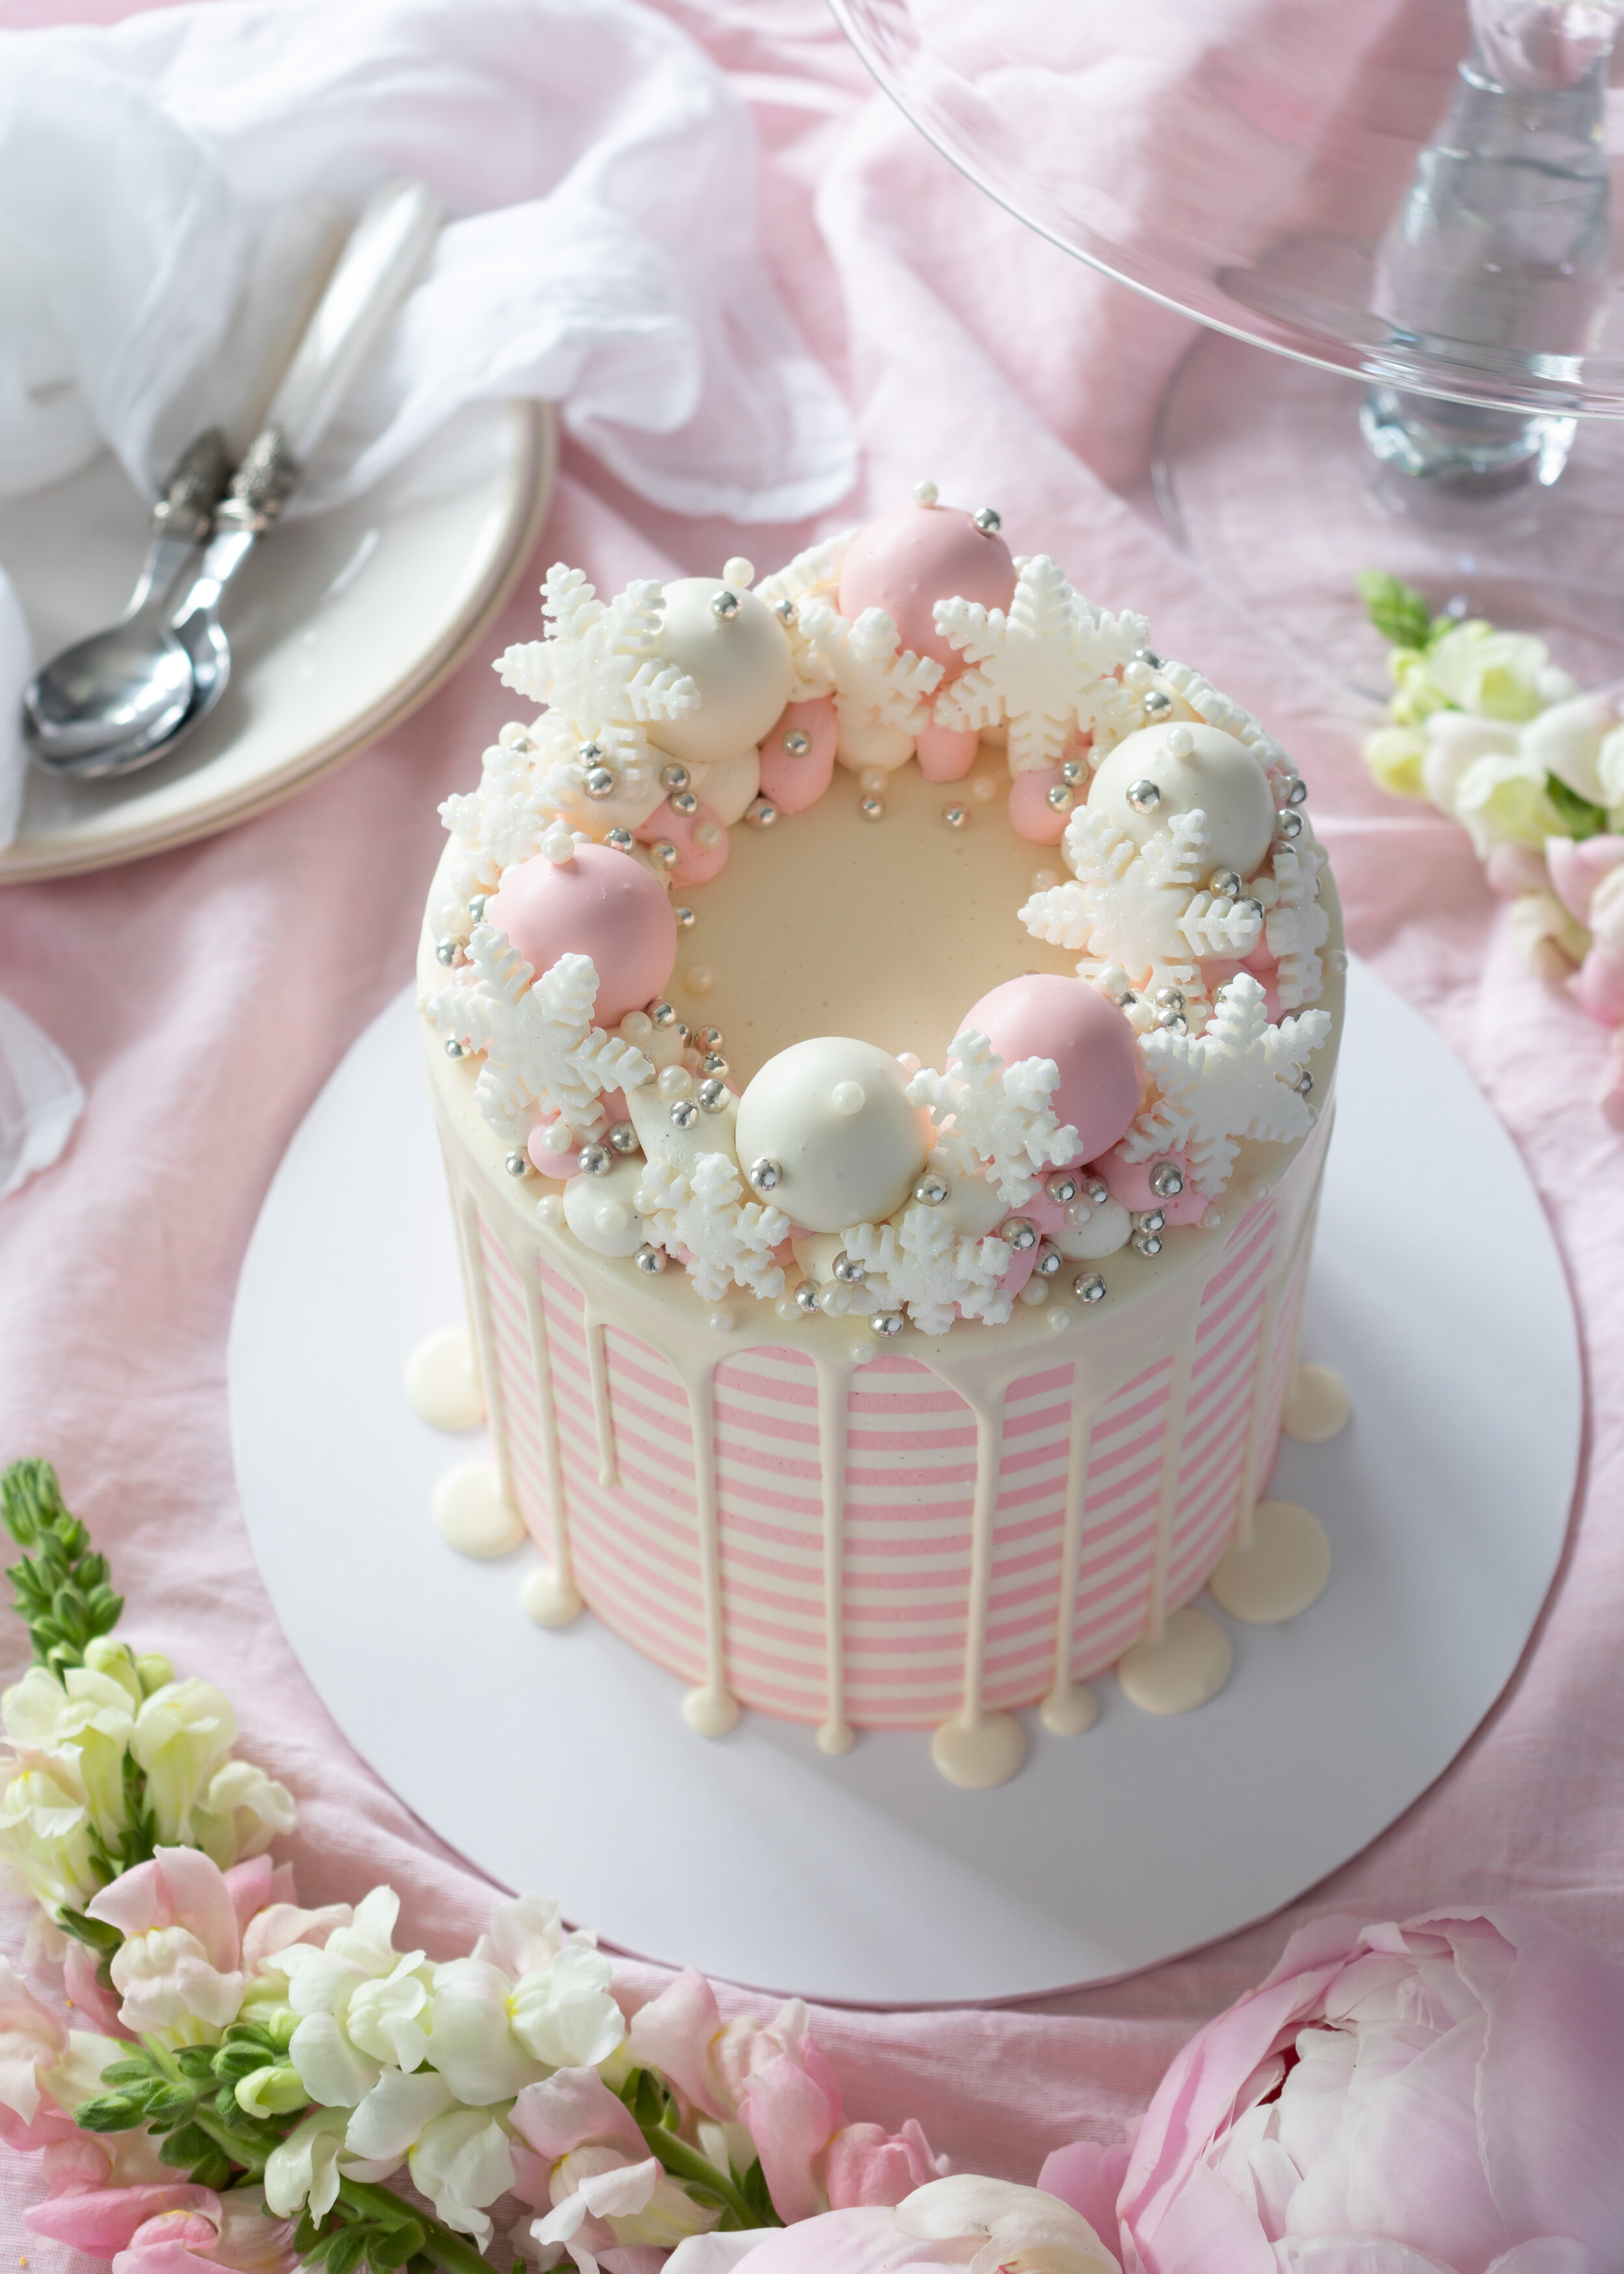
8. Once the cakes are cool, prepare the vanilla cream cheese icing by softening the unsalted butter (50g) for a few seconds in the microwave then transfer it to a large mixing bowl. Using electric beaters or an electric mixer (use the paddle attachment), beat until smooth.
9. Add the cream cheese (250g), icing sugar (80g (about ½ cup) and vanilla (5ml/1 teaspoon) and beat together for a few minutes until light and fluffy.
10. To make the Swiss meringue buttercream, place the egg whites (3) and caster sugar (150g/¾ cup) in a large heat proof mixing bowl (I use a stainless-steel free-standing mixer bowl).
11. Set it over a medium saucepan of simmering water (making sure the surface of the water does not touch the bowl).
12. Whisk by hand for a few minutes until the sugar has dissolved (you can test this by rubbing a bit of the mixture between your fingers - when ready, is should feel smooth) and the mixture feels warm to touch (about 65°C - 70°C on a thermometer if you are unsure).
You are not trying to whip the meringue at this stage but instead you just want to dissolve the sugar and cook the egg whites gently.
13. Remove from the heat and whisk on a high speed with electric beaters or an electric mixer until the meringue is stiff and glossy.
14. Add the icing sugar (165g/1 cup) and beat until uniform (slow at first to prevent being engulfed by a cloud of icing sugar).
15. If the meringue still feels very warm, slow the mixer to a medium speed and whisk for a few minutes until the mixing bowl is cooler to touch (i.e. the meringue reaches room temperature).
16. Add the soft, room temperature unsalted butter (200g) and whisk on a high speed until smooth and glossy (at least 2 - 3 minutes).
17. Once the buttercream is smooth, add the fine salt (1.25ml/¼ teaspoon) and mix until uniform.
18. You can add a drop of icing whitener to the buttercream if you like.
(If after several minutes of mixing the mixture seems split, the butter might be too cold - warm the mixing bowl gently using a bain-marie then whisk again on a high speed. If the buttercream looks very runny, the butter or the meringue might be too warm - cool the mixing bowl for a few minutes in the fridge, then whisk again on high).
19. To assemble the cake (easiest done with a cake turntable): For a four layered, 15cm round cake, you can divide each cake in two using a sharp serrated knife. This cake tends to dome a bit in the oven - you can trim the top of each domed cake a little.
20. Place the first cake layer on a cake board or serving plate.
21. Spread or pipe a layer of cream cheese icing, then smooth the top with a palette knife.
22. Place the second cake layer on top (if making a two layered cake, turn the cake upside down so that the bottom is facing upward to ensure a flat top).
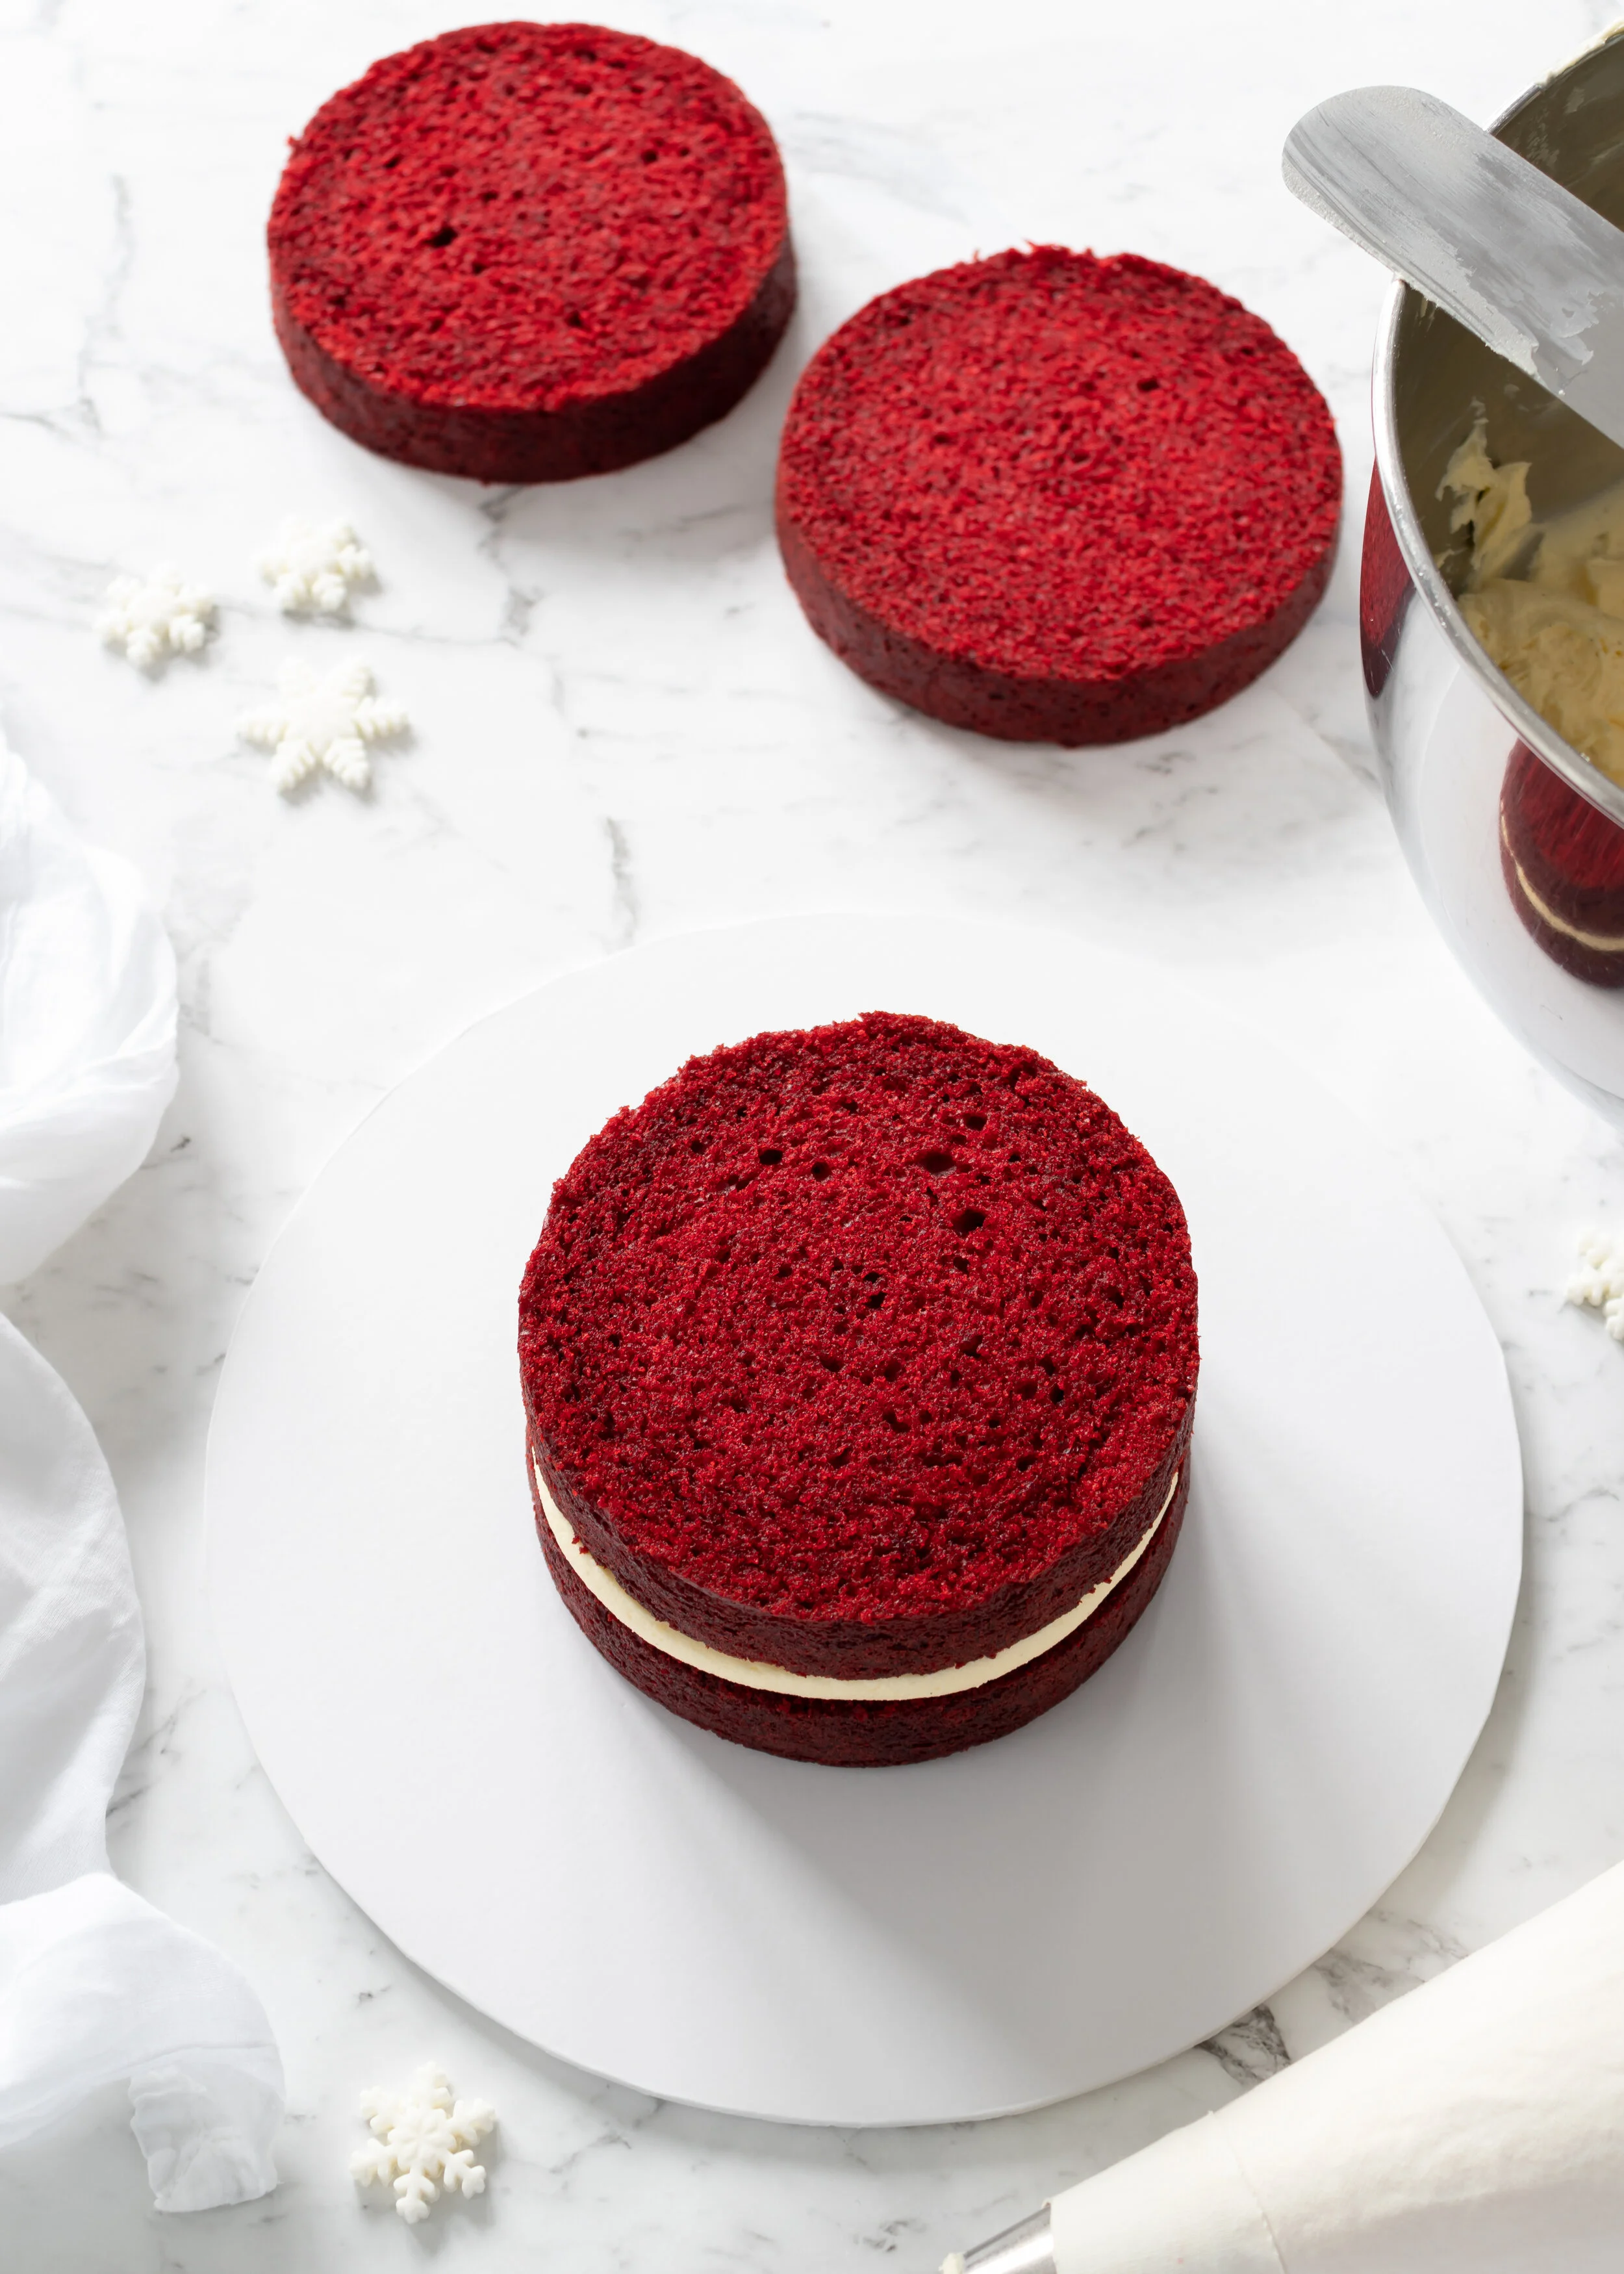
23. Repeat the layering with the cream cheese icing until all the cake layers have been added (finishing with the last cake layer having the bottom facing upwards).
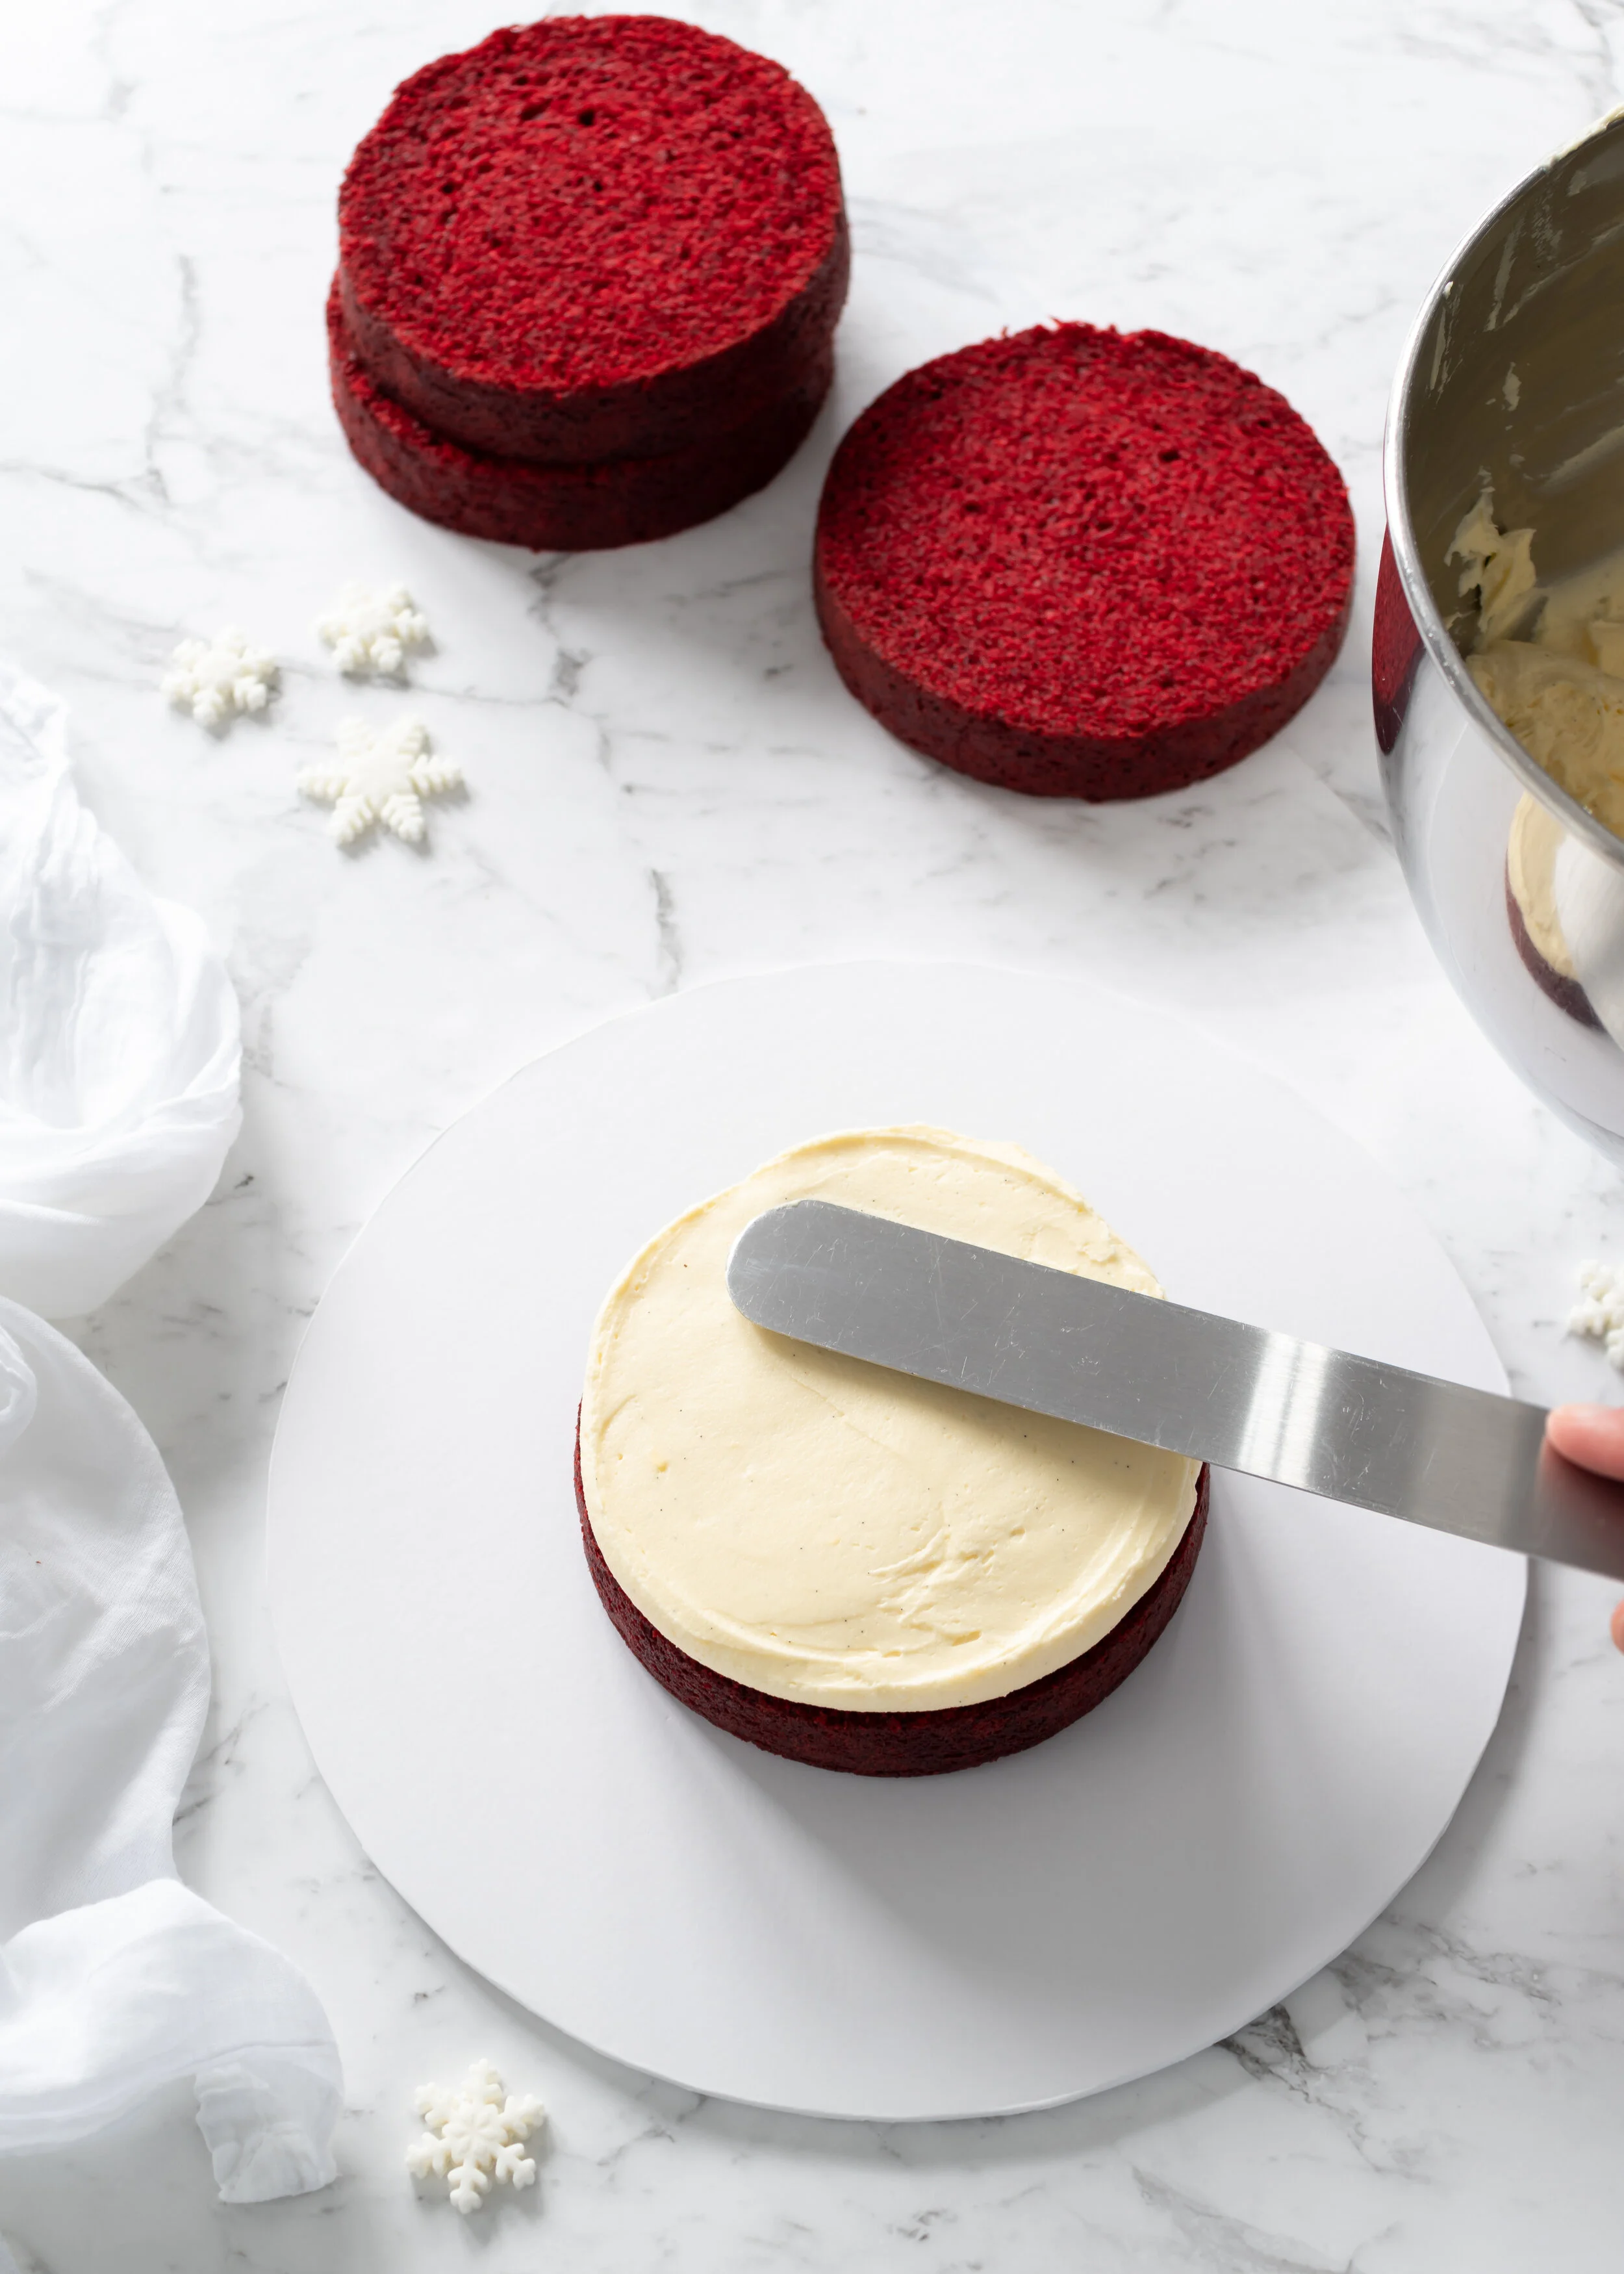
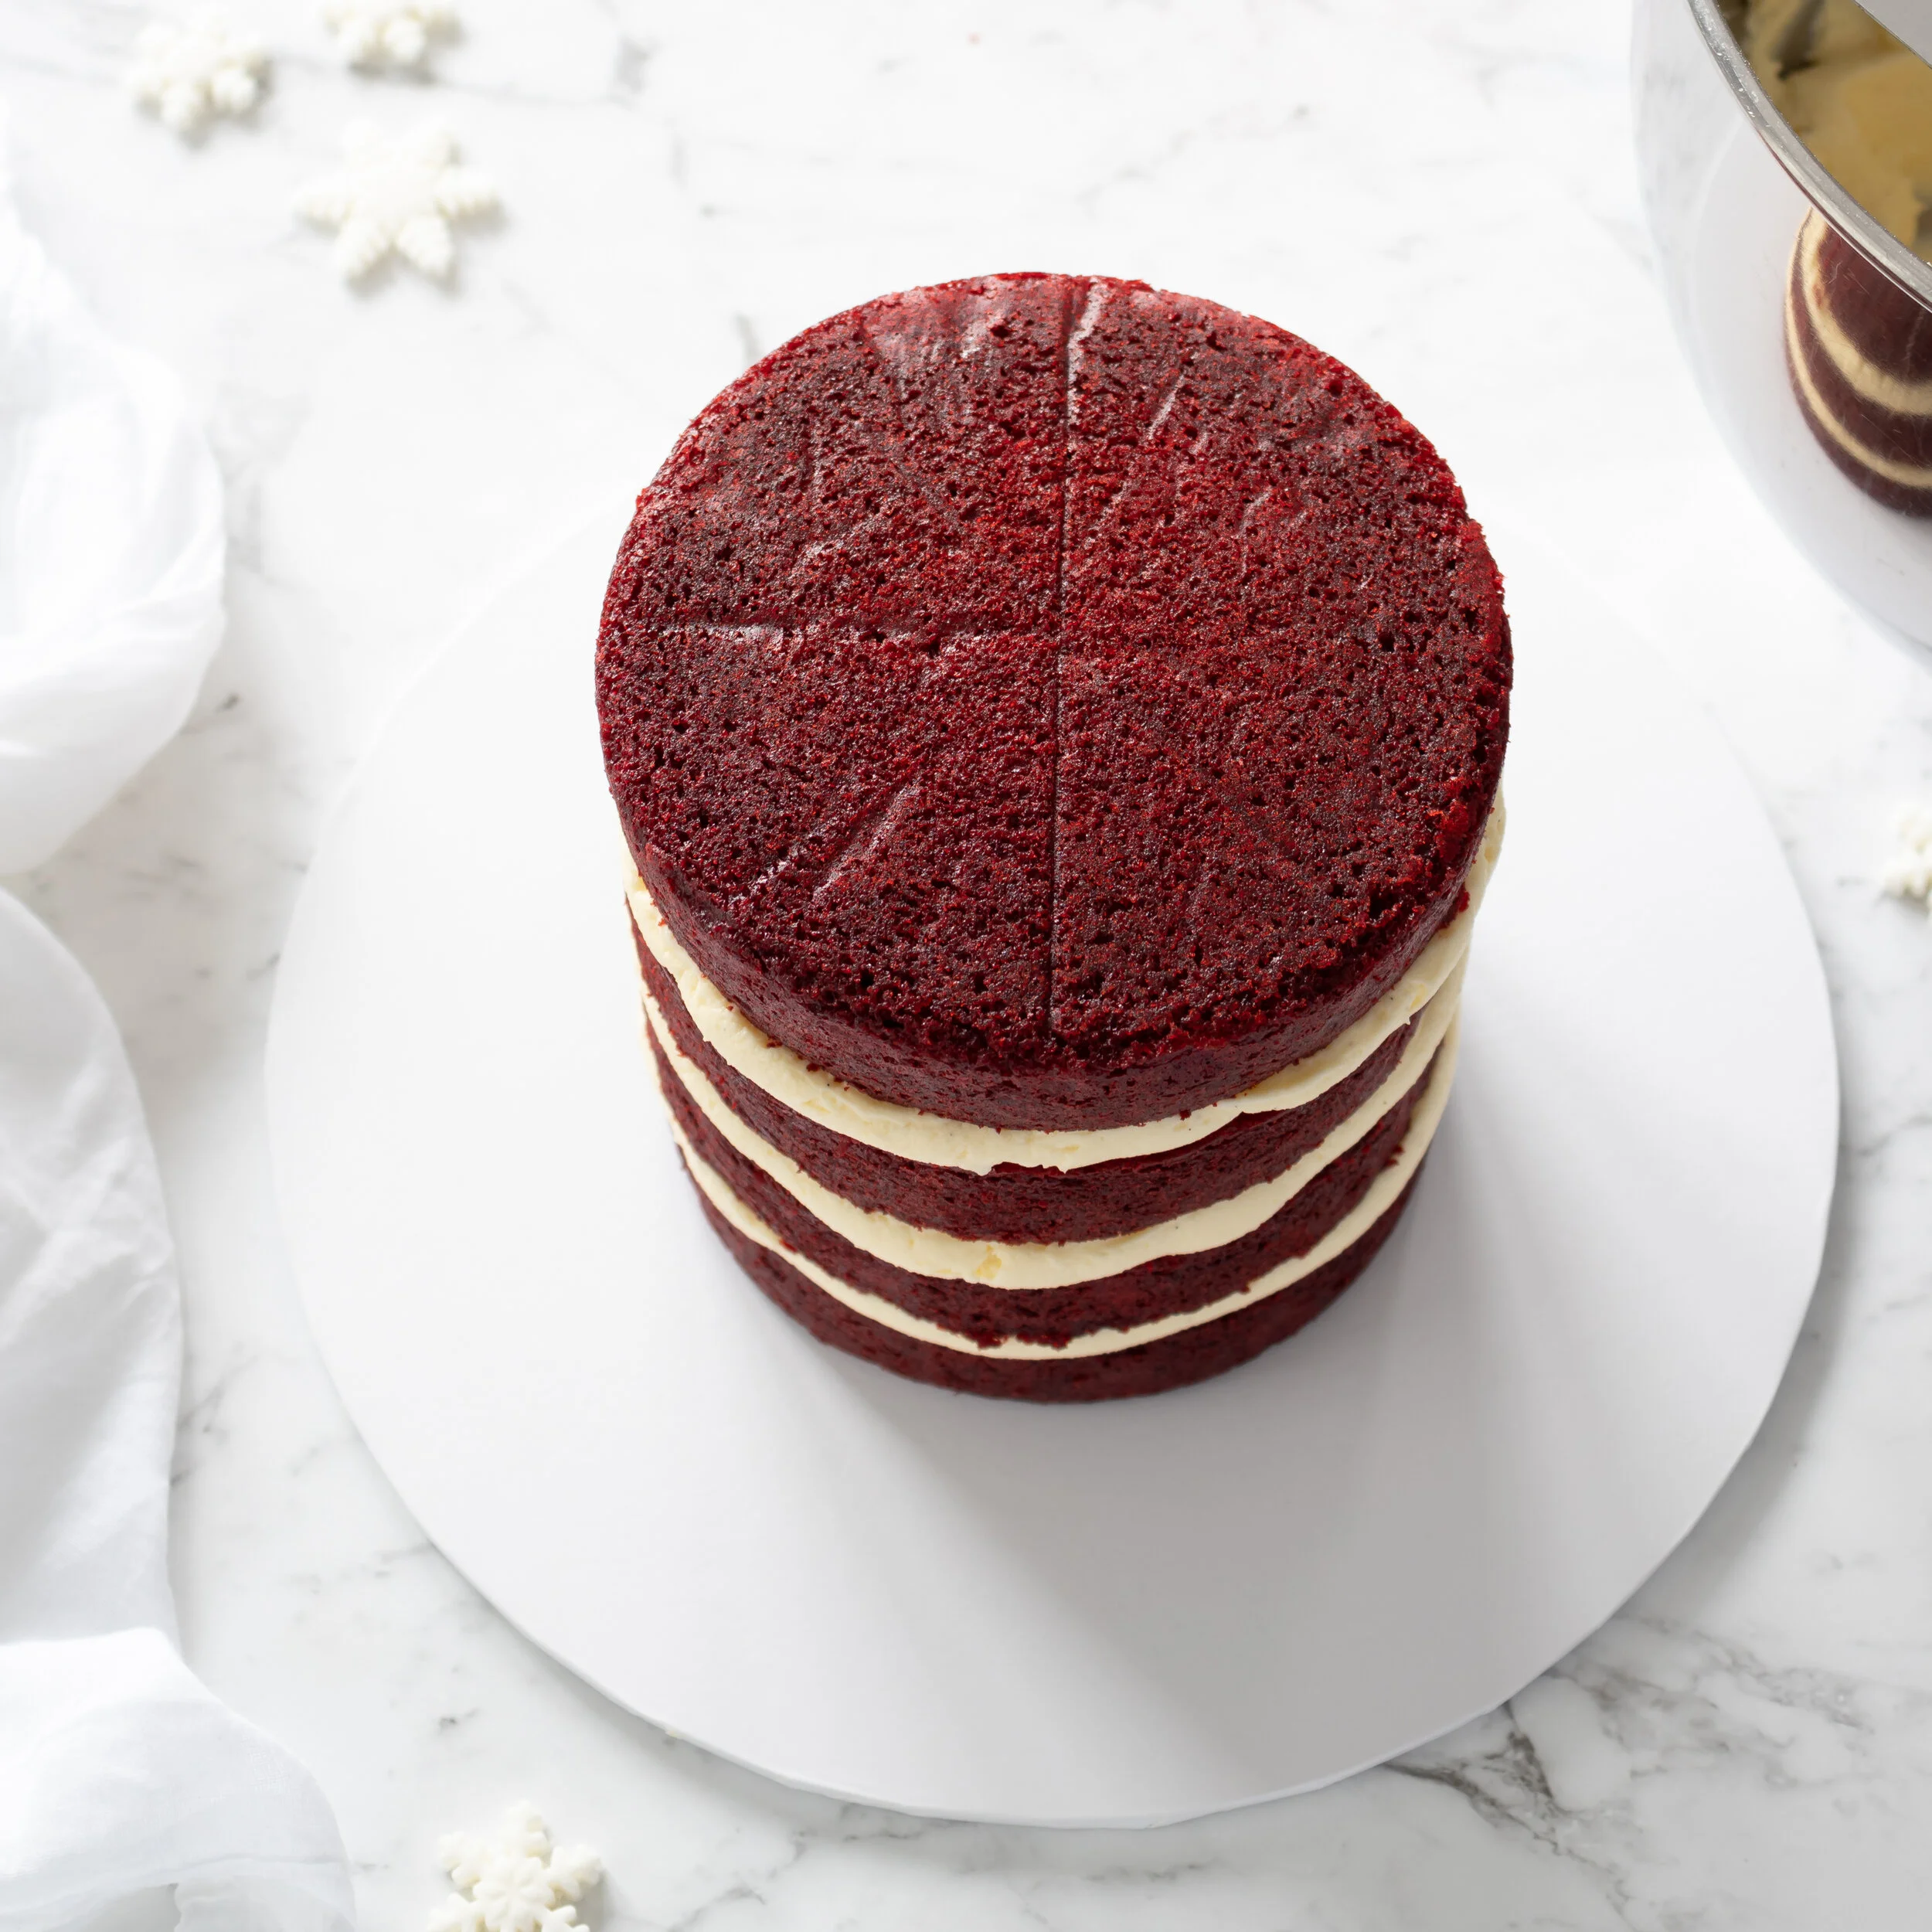
24. Smooth the sides with a spatula or icing scraper. Place the cake in the fridge for the cream cheese icing to firm up.
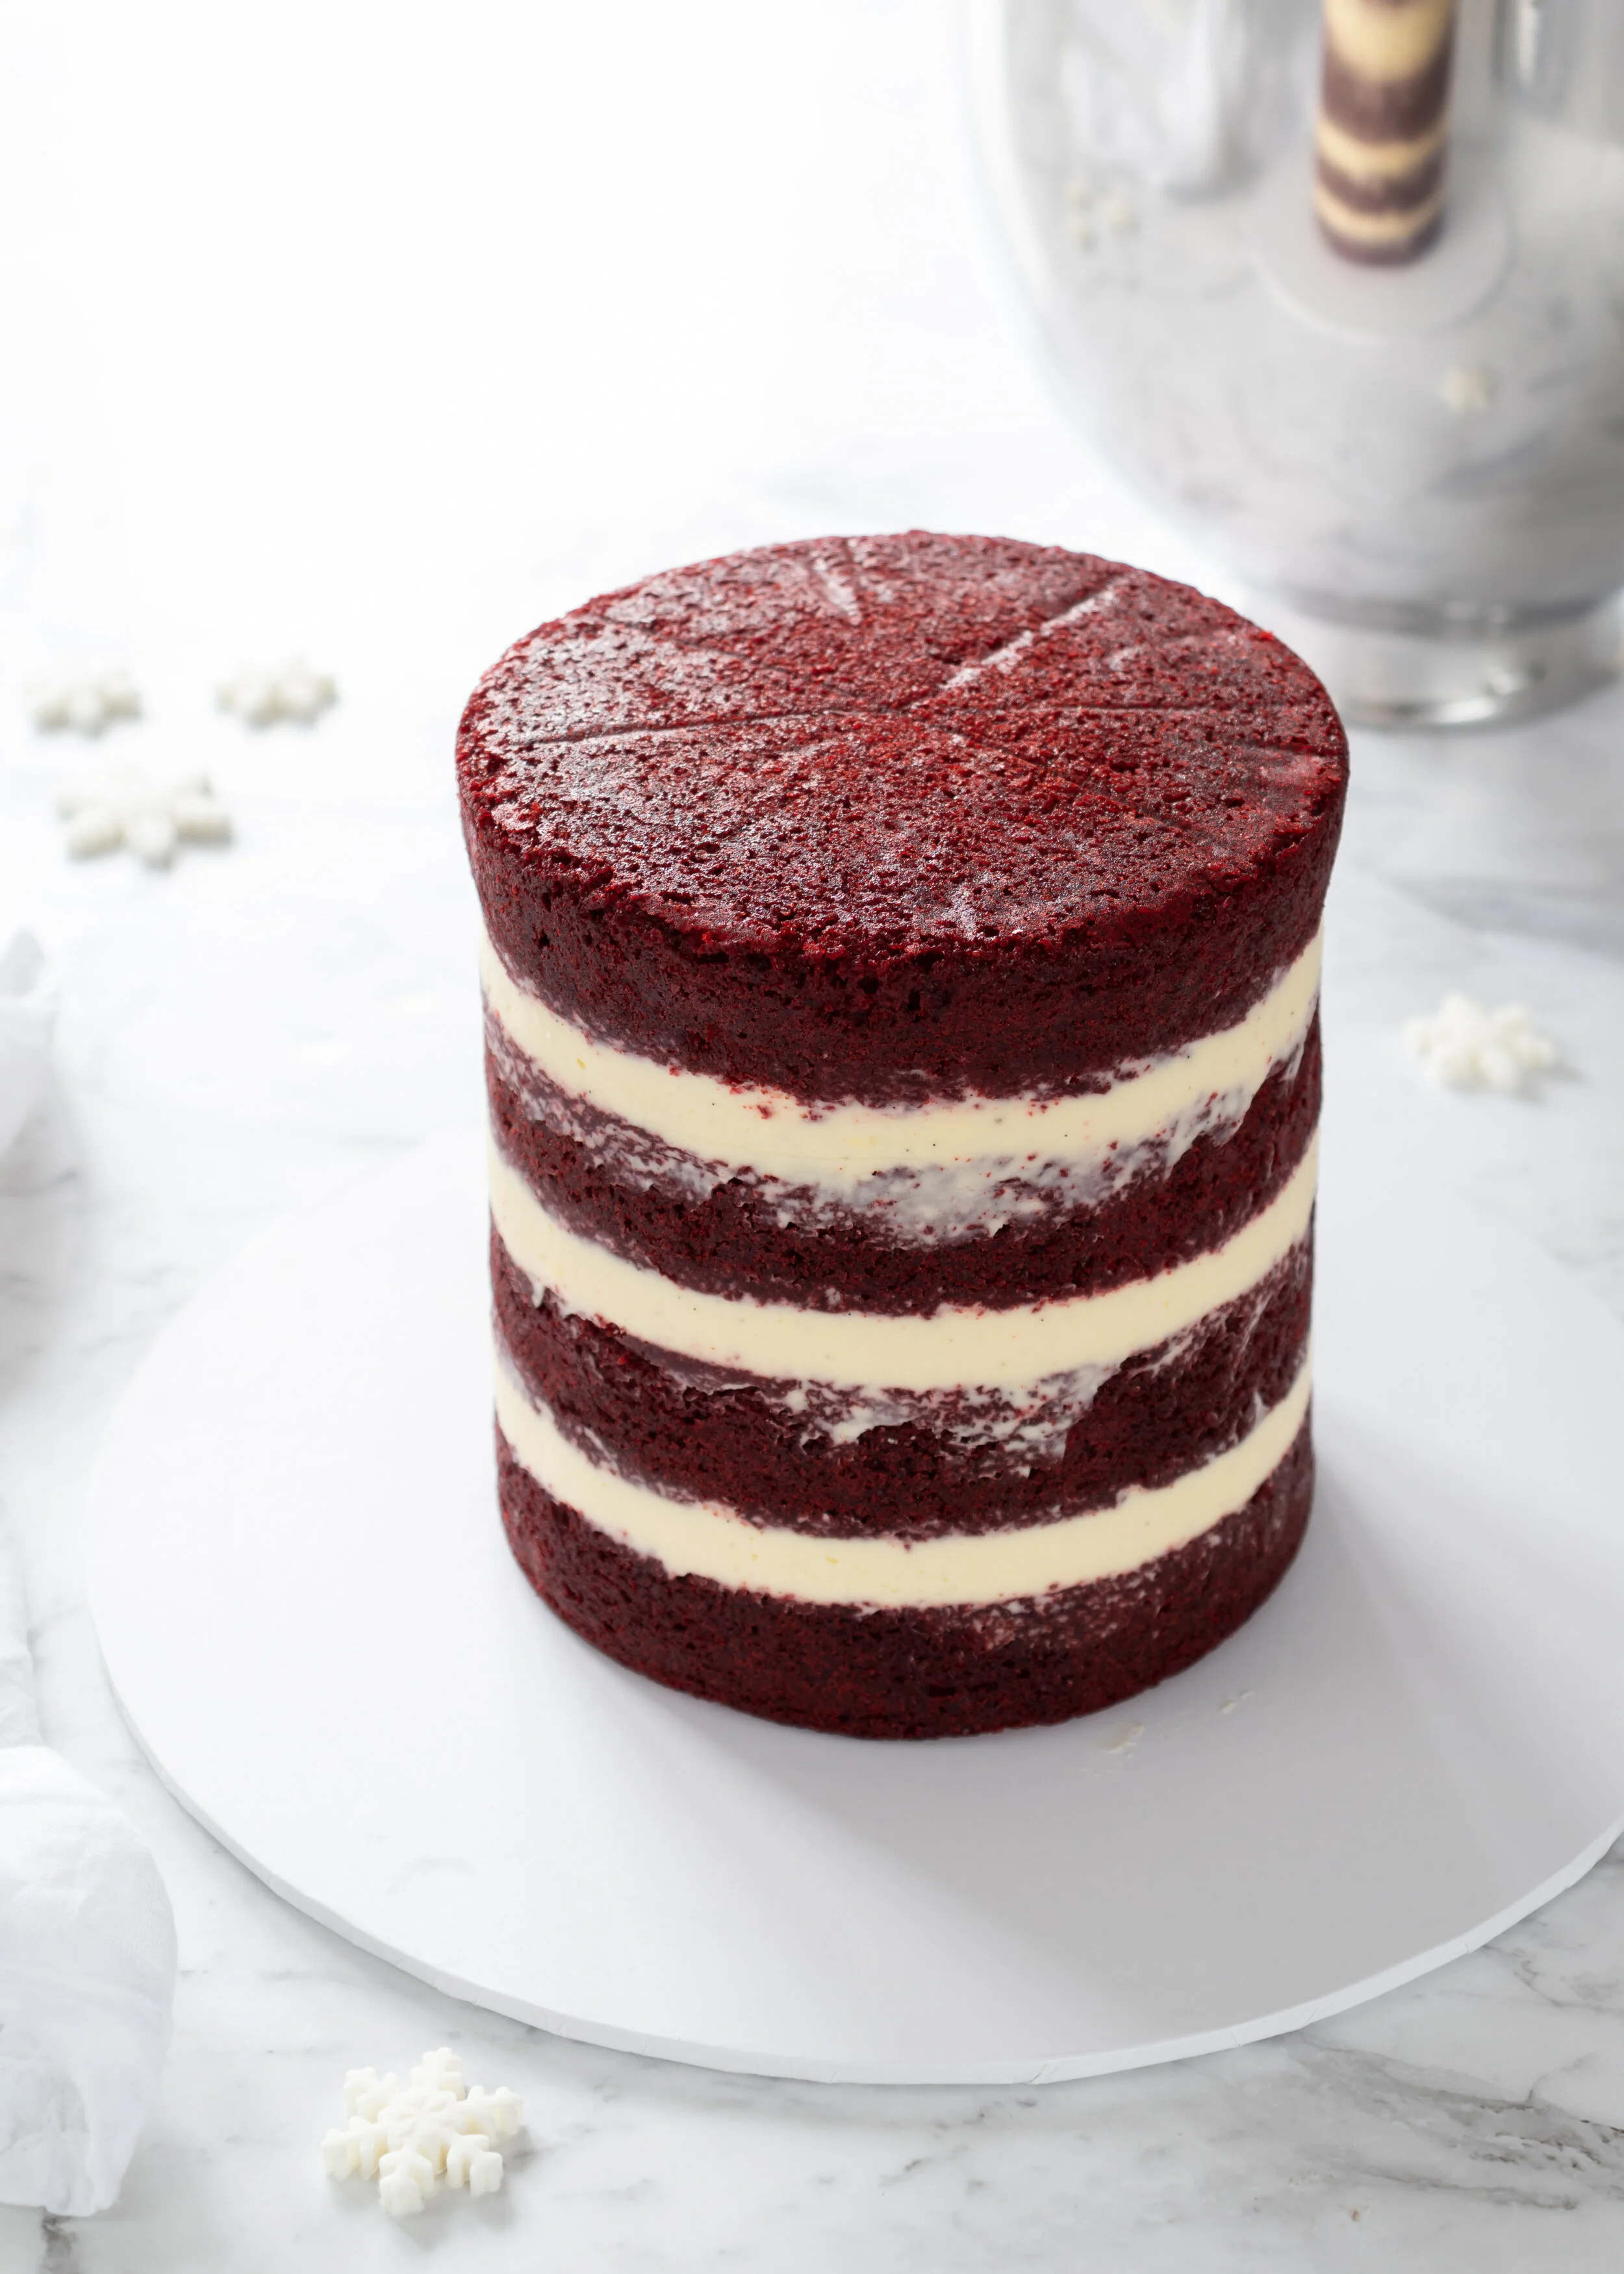
25. Remove the chilled cake from the fridge. Using a spatula, cover the top and sides with a generous layer of buttercream. Use an icing scraper to smoothen the sides.
26. Flatten the top ridge of buttercream by scraping with a spatula or scraper in an inward motion.
27. Using a serrated icing comb, comb a textured edge into the side of the cake (flatten the top edge again if needed).
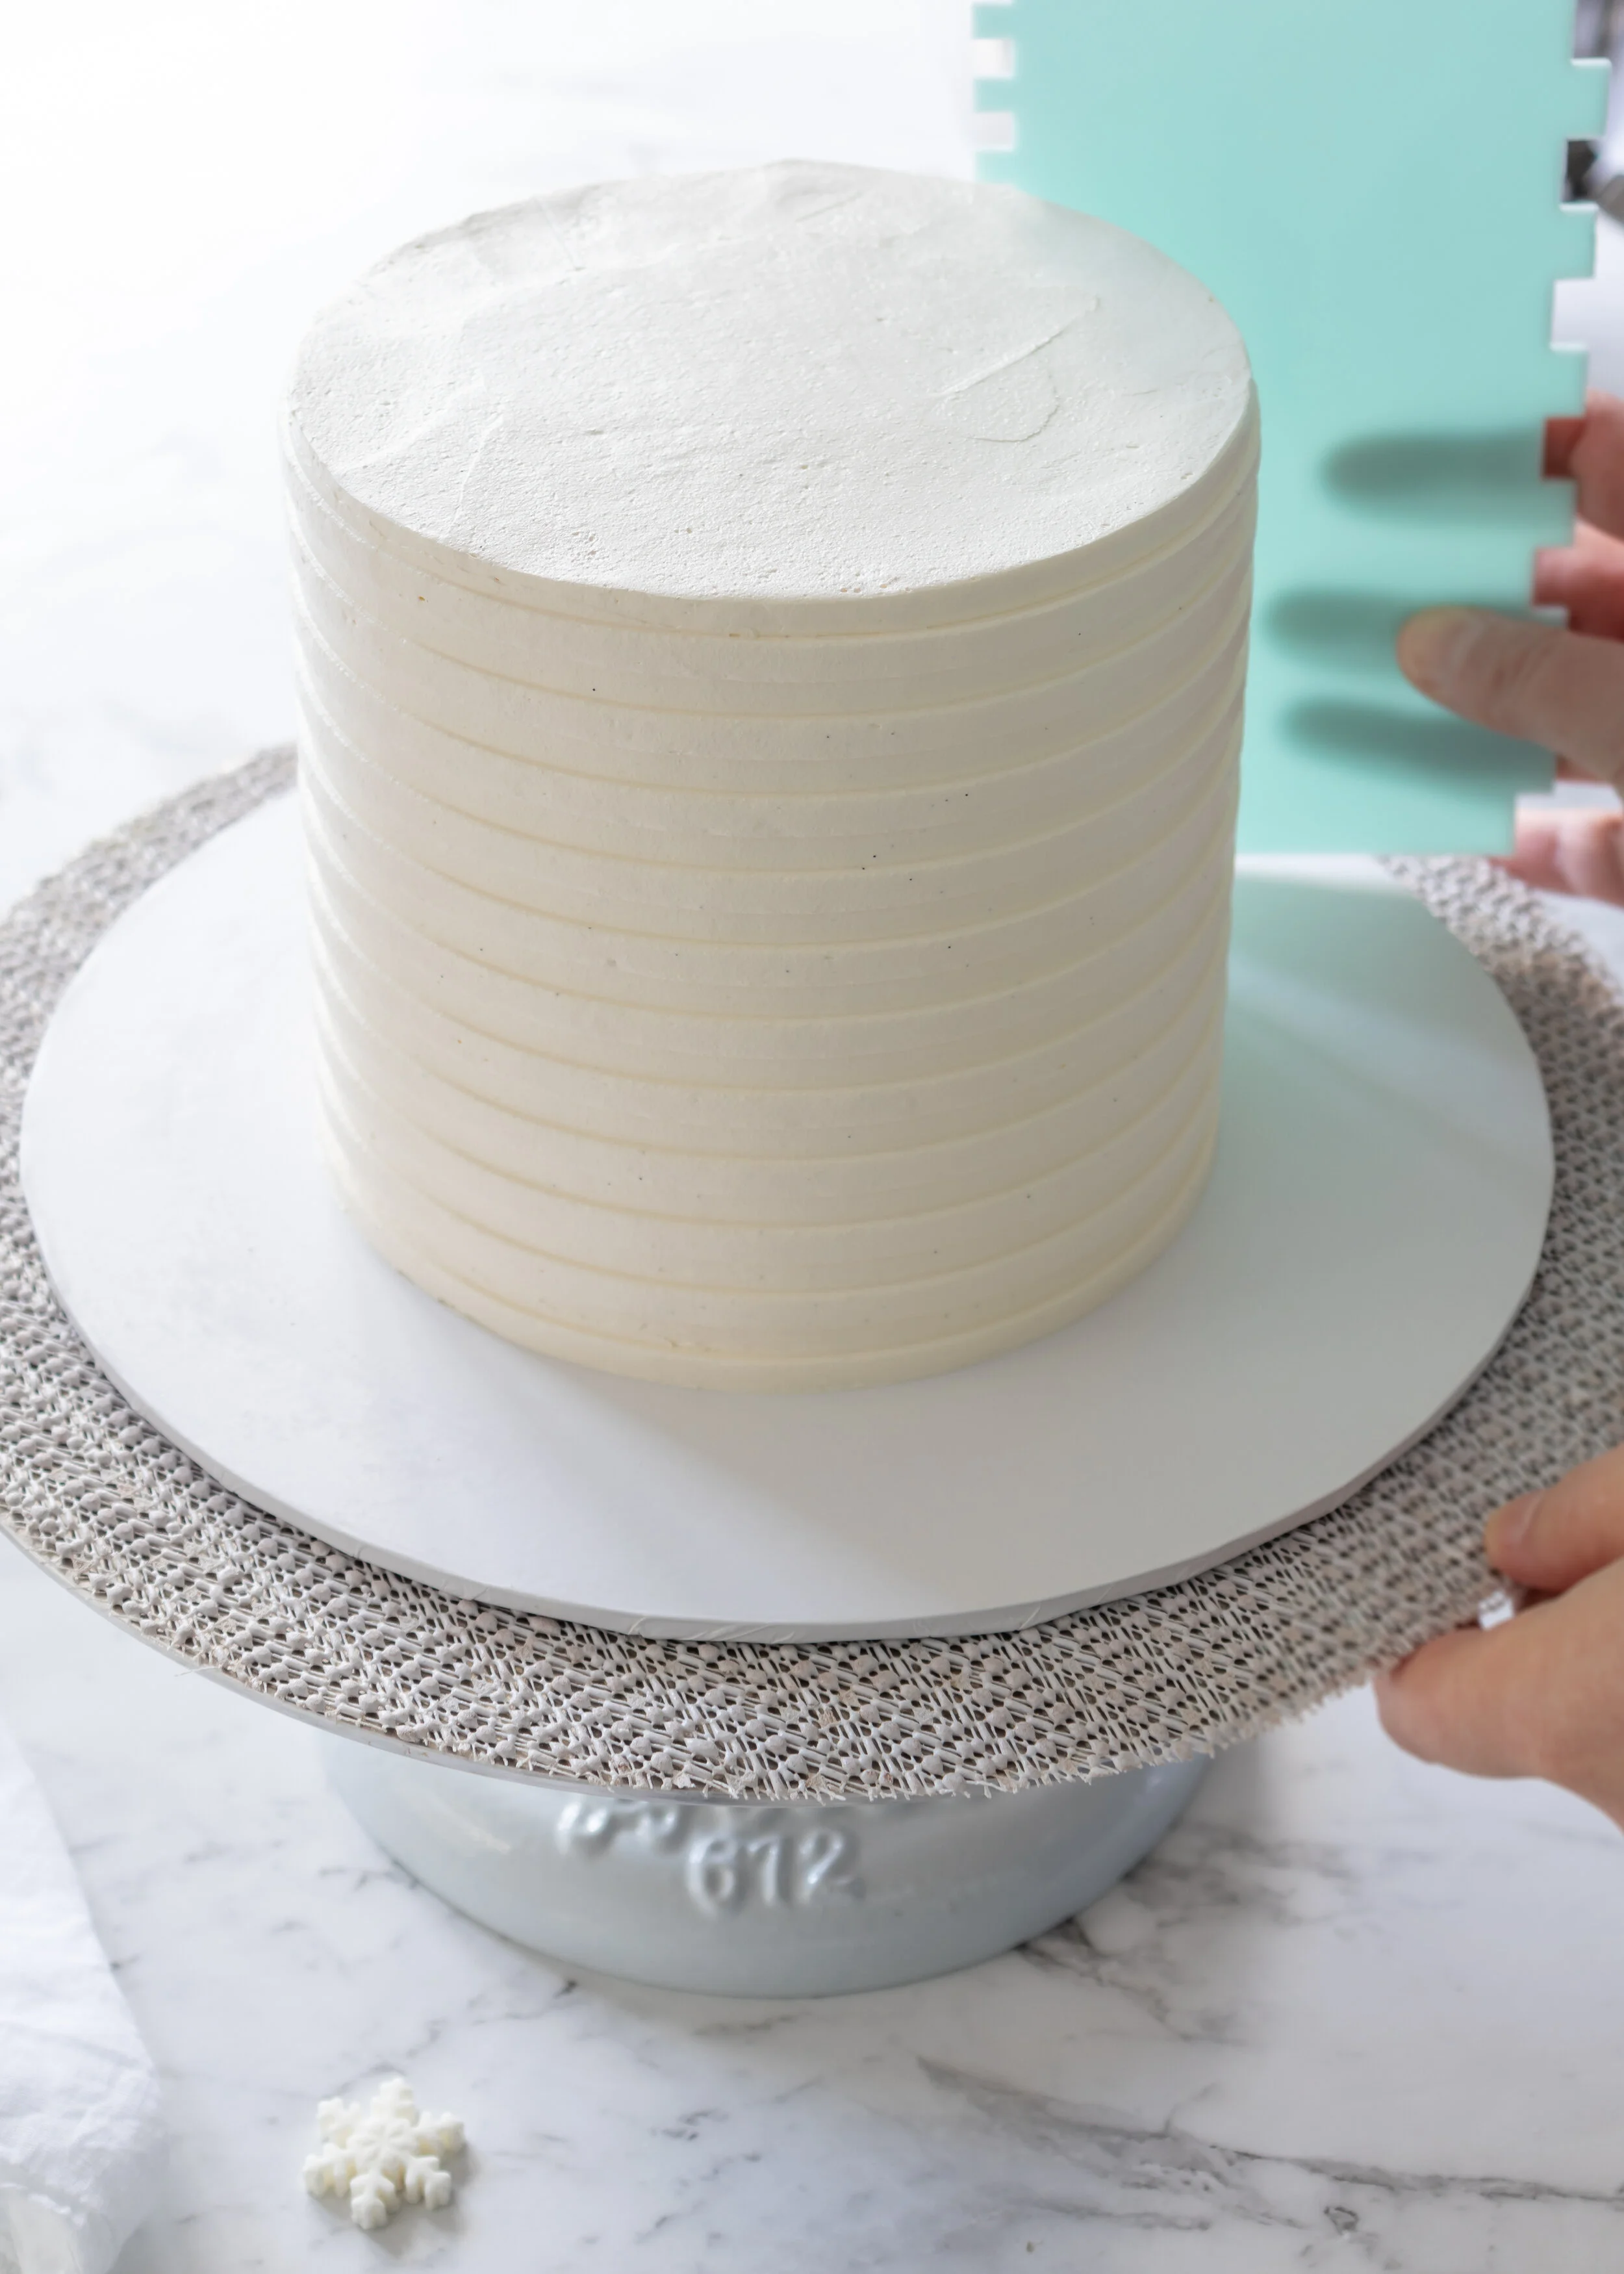
28. Refrigerate the cake for about 30 minutes until the buttercream is really firm.
29. Colour the remaining buttercream with a tiny drop of red gel food colour and mix until uniform (ensure that the remaining buttercream is really soft by beating it again until fluffy).
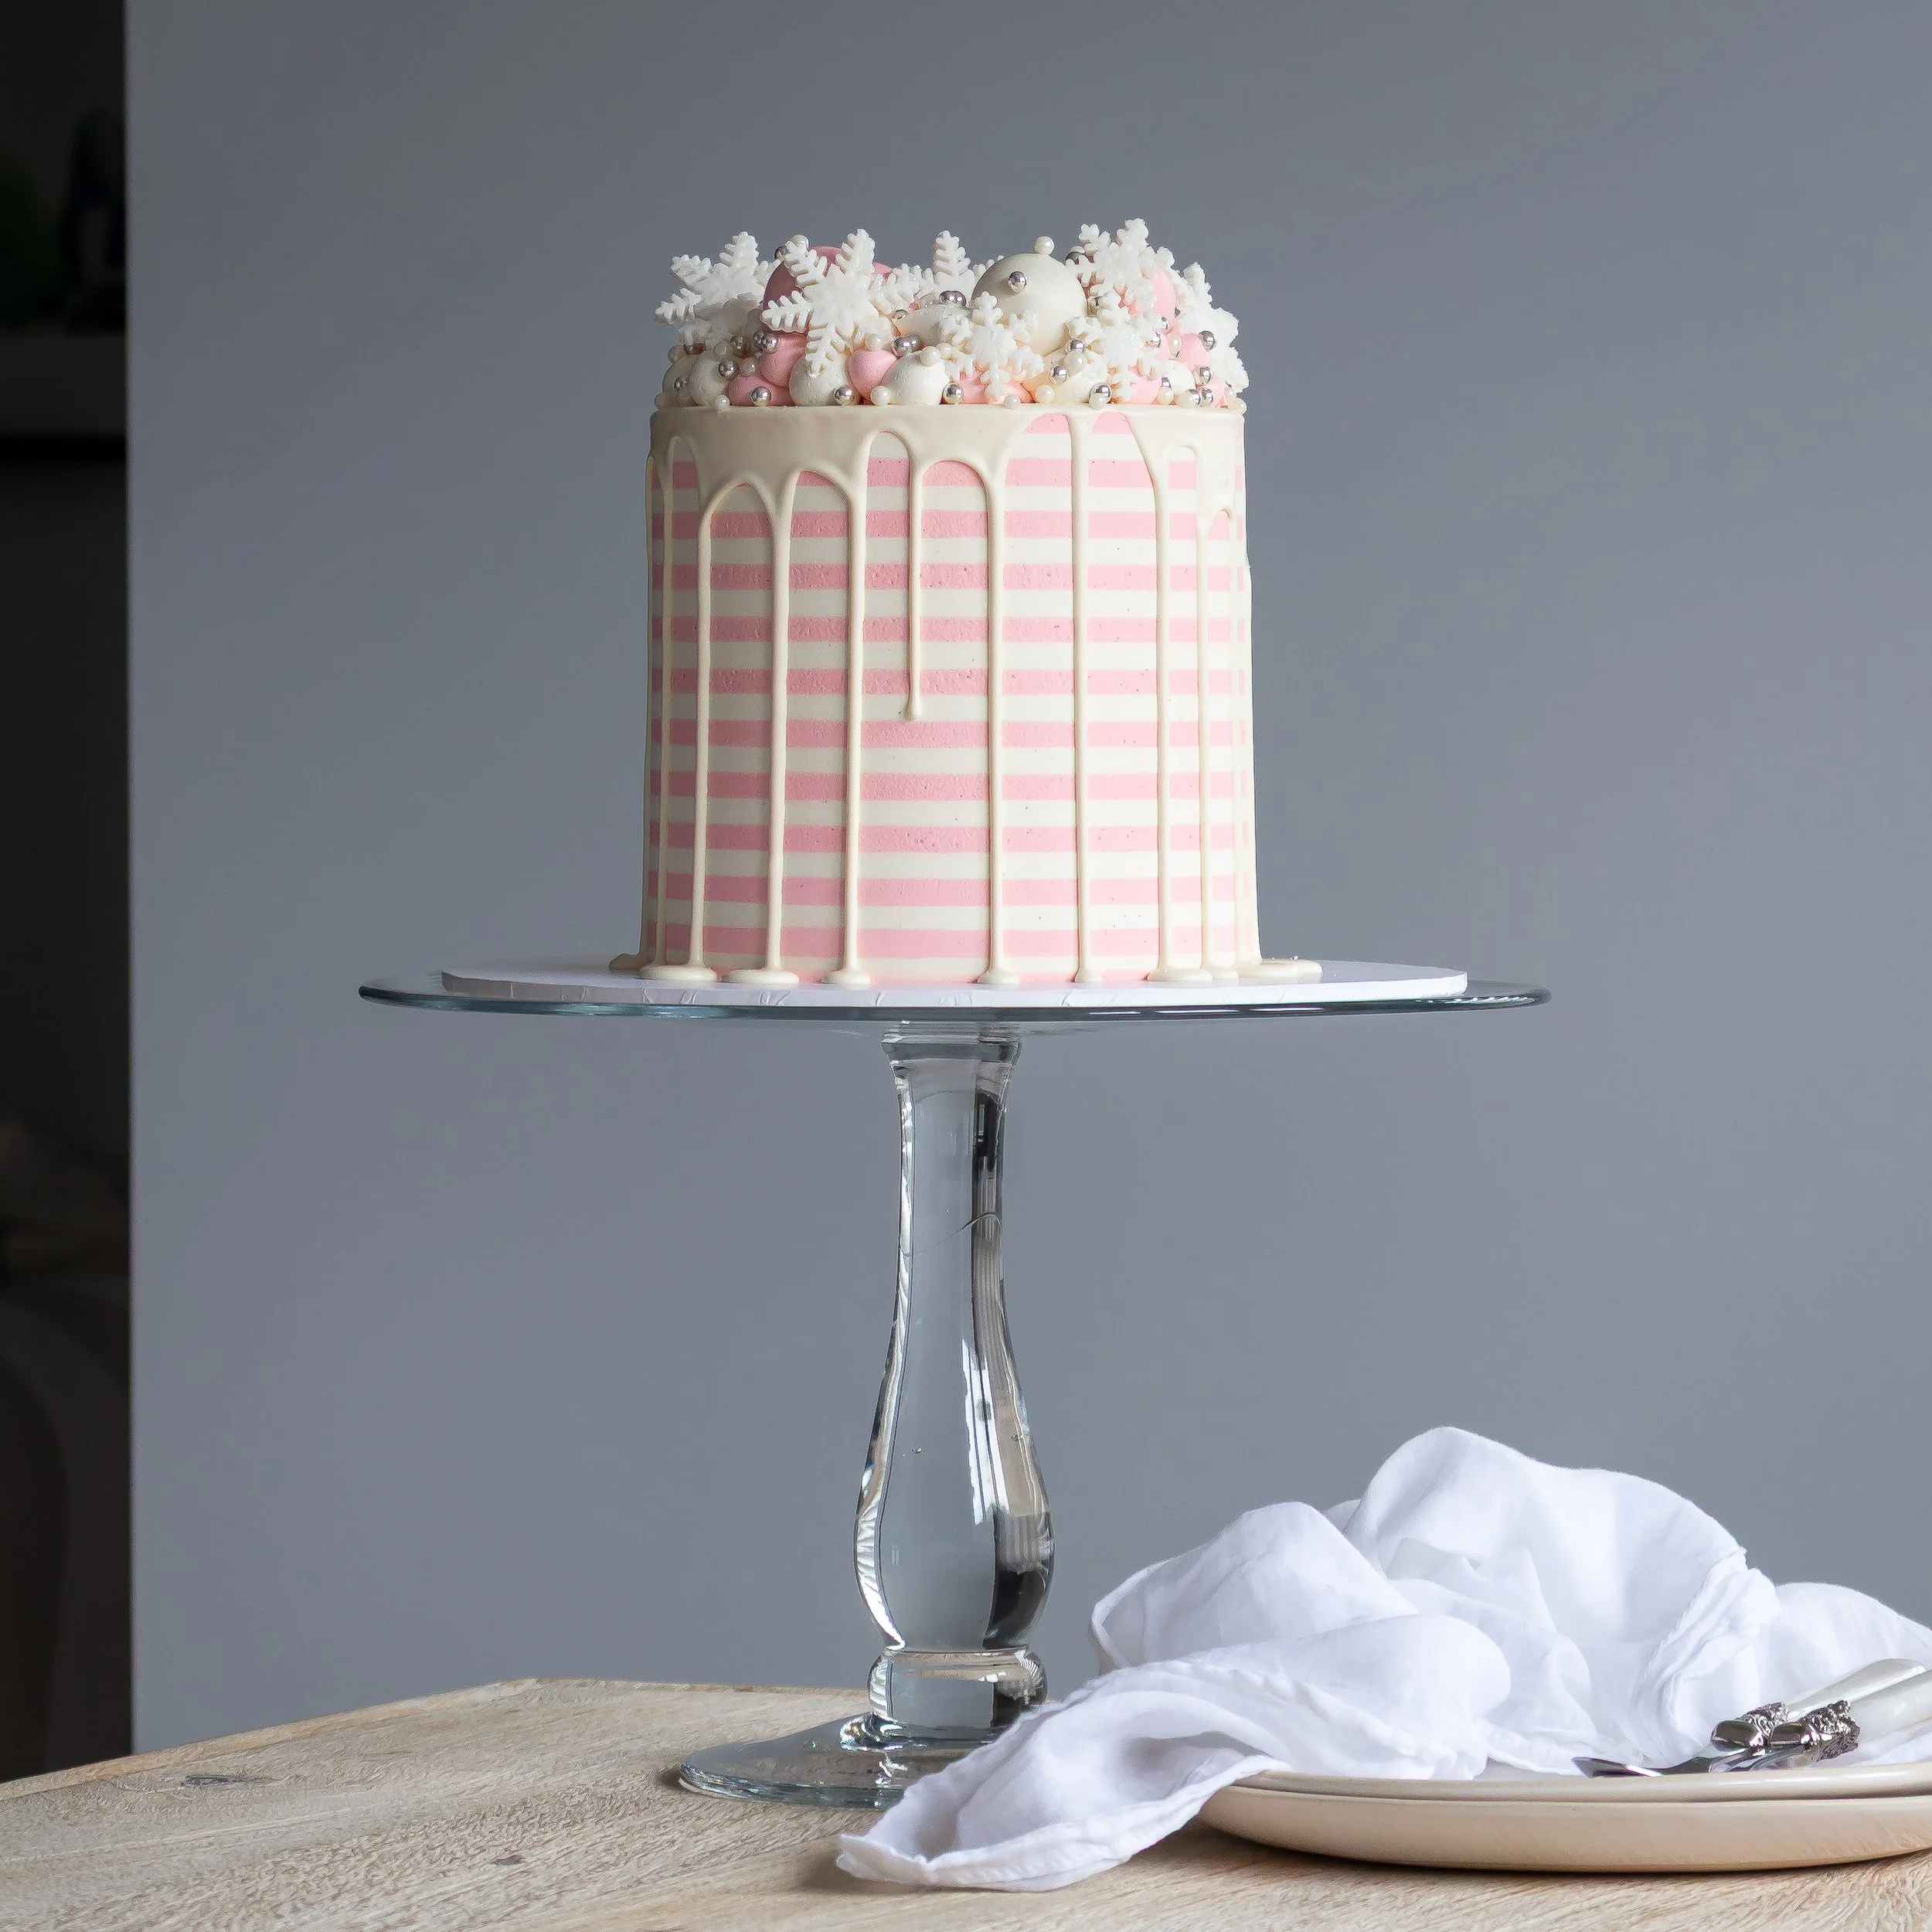
30. Remove the chilled cake from the fridge and apply the coloured buttercream with a spatula. Using a straight sided icing or dough scraper, remove the excess buttercream and smoothen the sides until the white stripes are visible. Smooth the top of the cake again if needed.
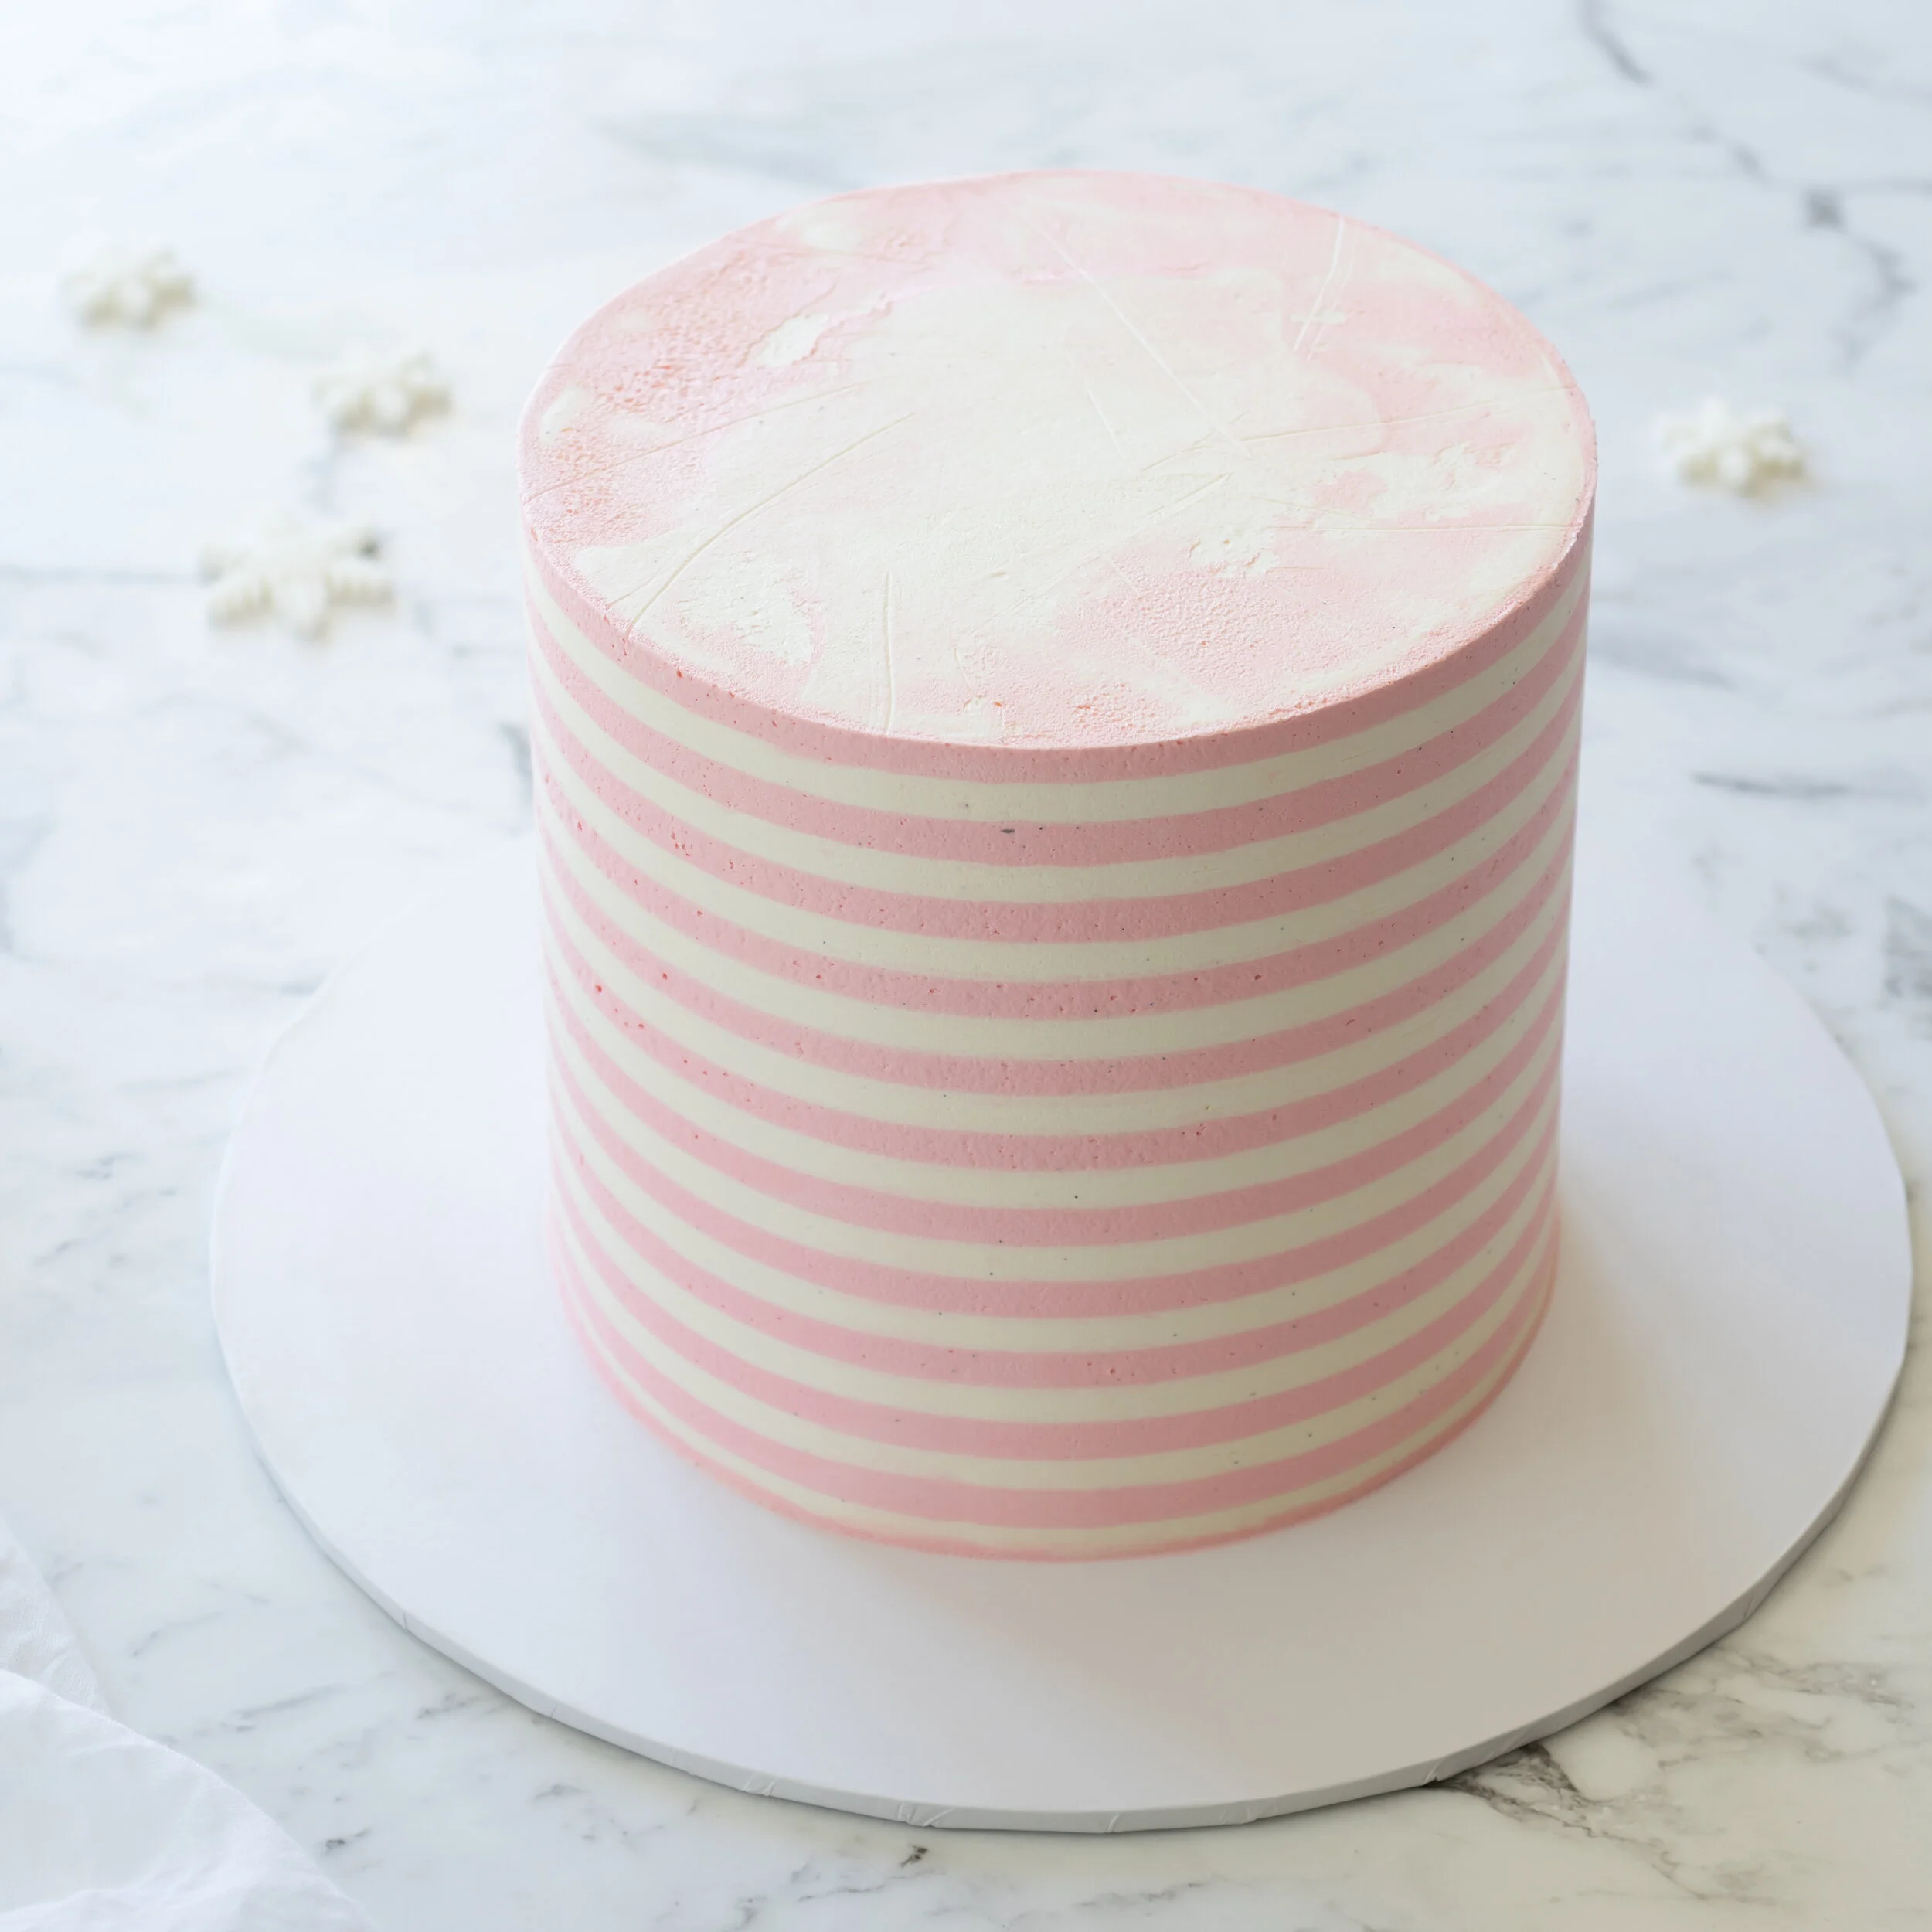
31. Refrigerate the cake for approximately 20 minutes again until the buttercream is firm and cool (if you are adding the drip decoration, this step is essential).
32. For the chocolate drip effect, make the white chocolate ganache while the iced cake is cooling: Place the white chocolate (125g - broken into pieces) in a heat proof bowl and add the cold cream (60ml/¼ cup).
33. Microwave together for about 10 seconds at a time whisking a little in-between burst until smooth (you can add a drop of white food colour if you wish).
34. Remove the cooled cake from the fridge. Using a teaspoon, start adding small amounts of ganache to the top edge of the cake (the amount of ganache you add will determine how far the ganache drips down). Since the iced cake is cool, the ganache should set fairly quickly (if too runny for your liking, allow the ganache to cool a bit before you continue).
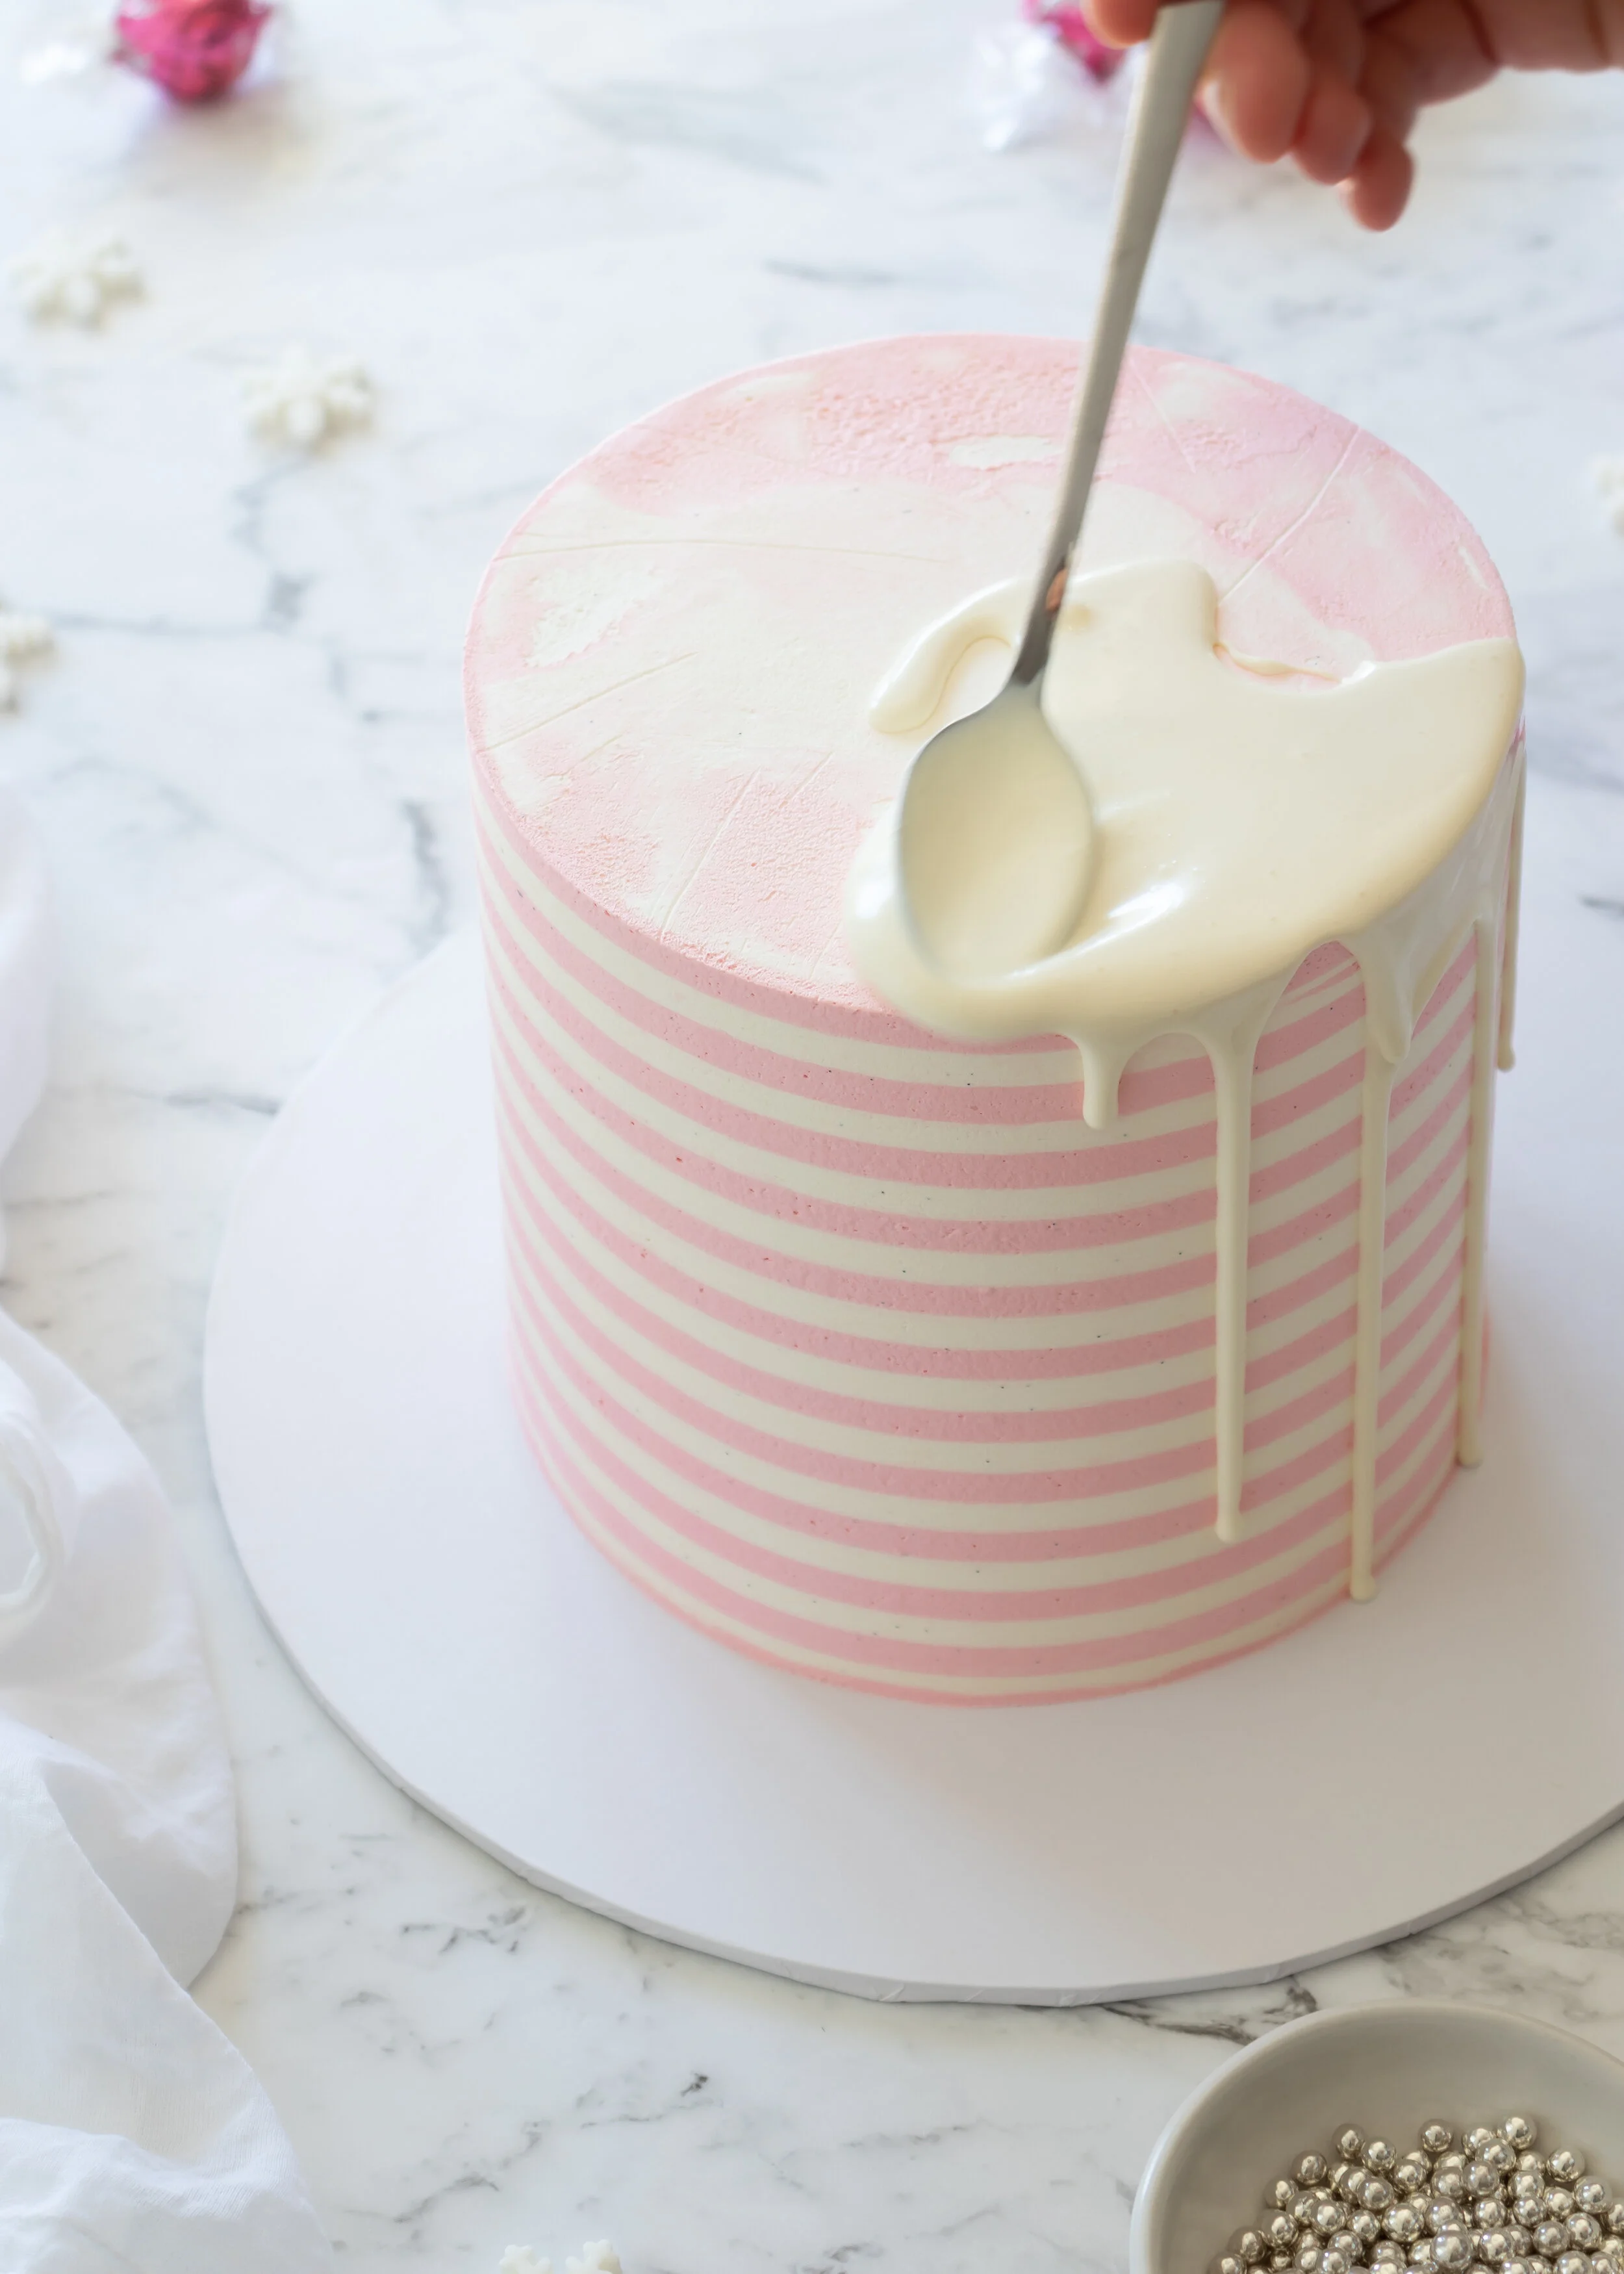
35. Continue until the sides are complete then fill in the remaining top by spreading a bit of ganache with the back of the teaspoon until the top is covered.
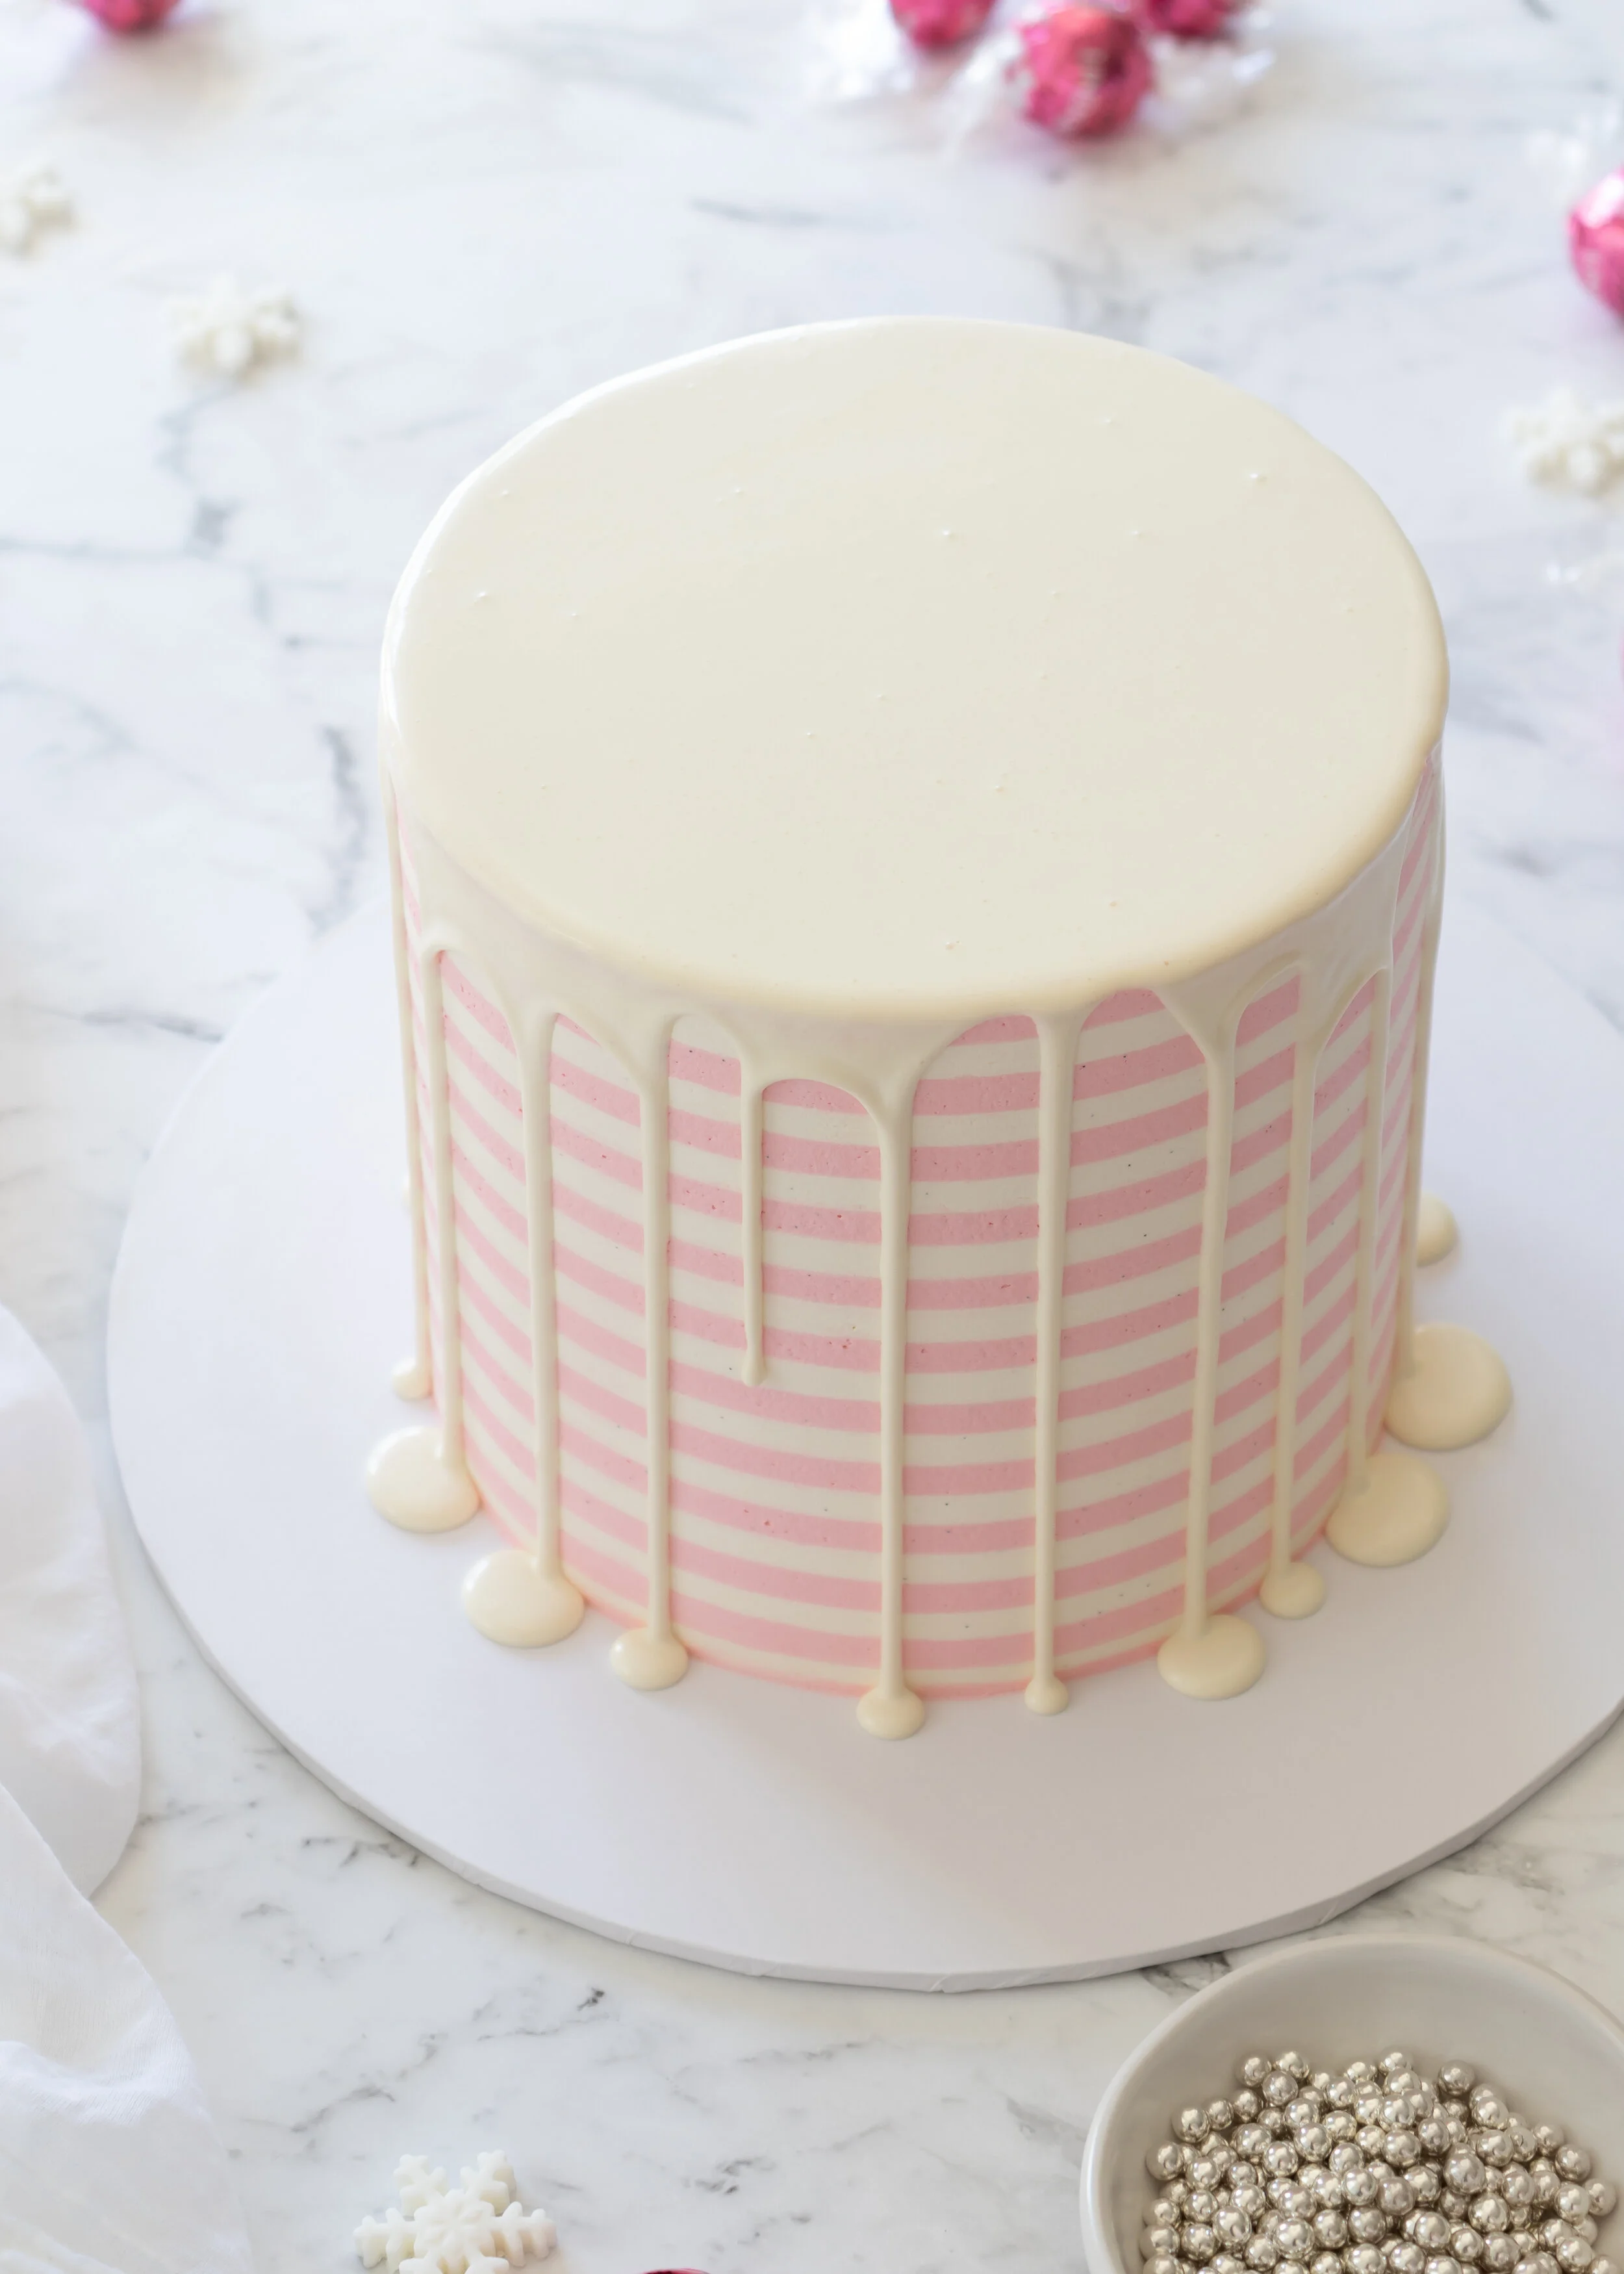
36. Allow the ganache to set for a few minutes before decorating the top of the cake with left over buttercream, chocolate truffles dipped in left over ganache and sugar paste snowflakes.