Sourdough Bread
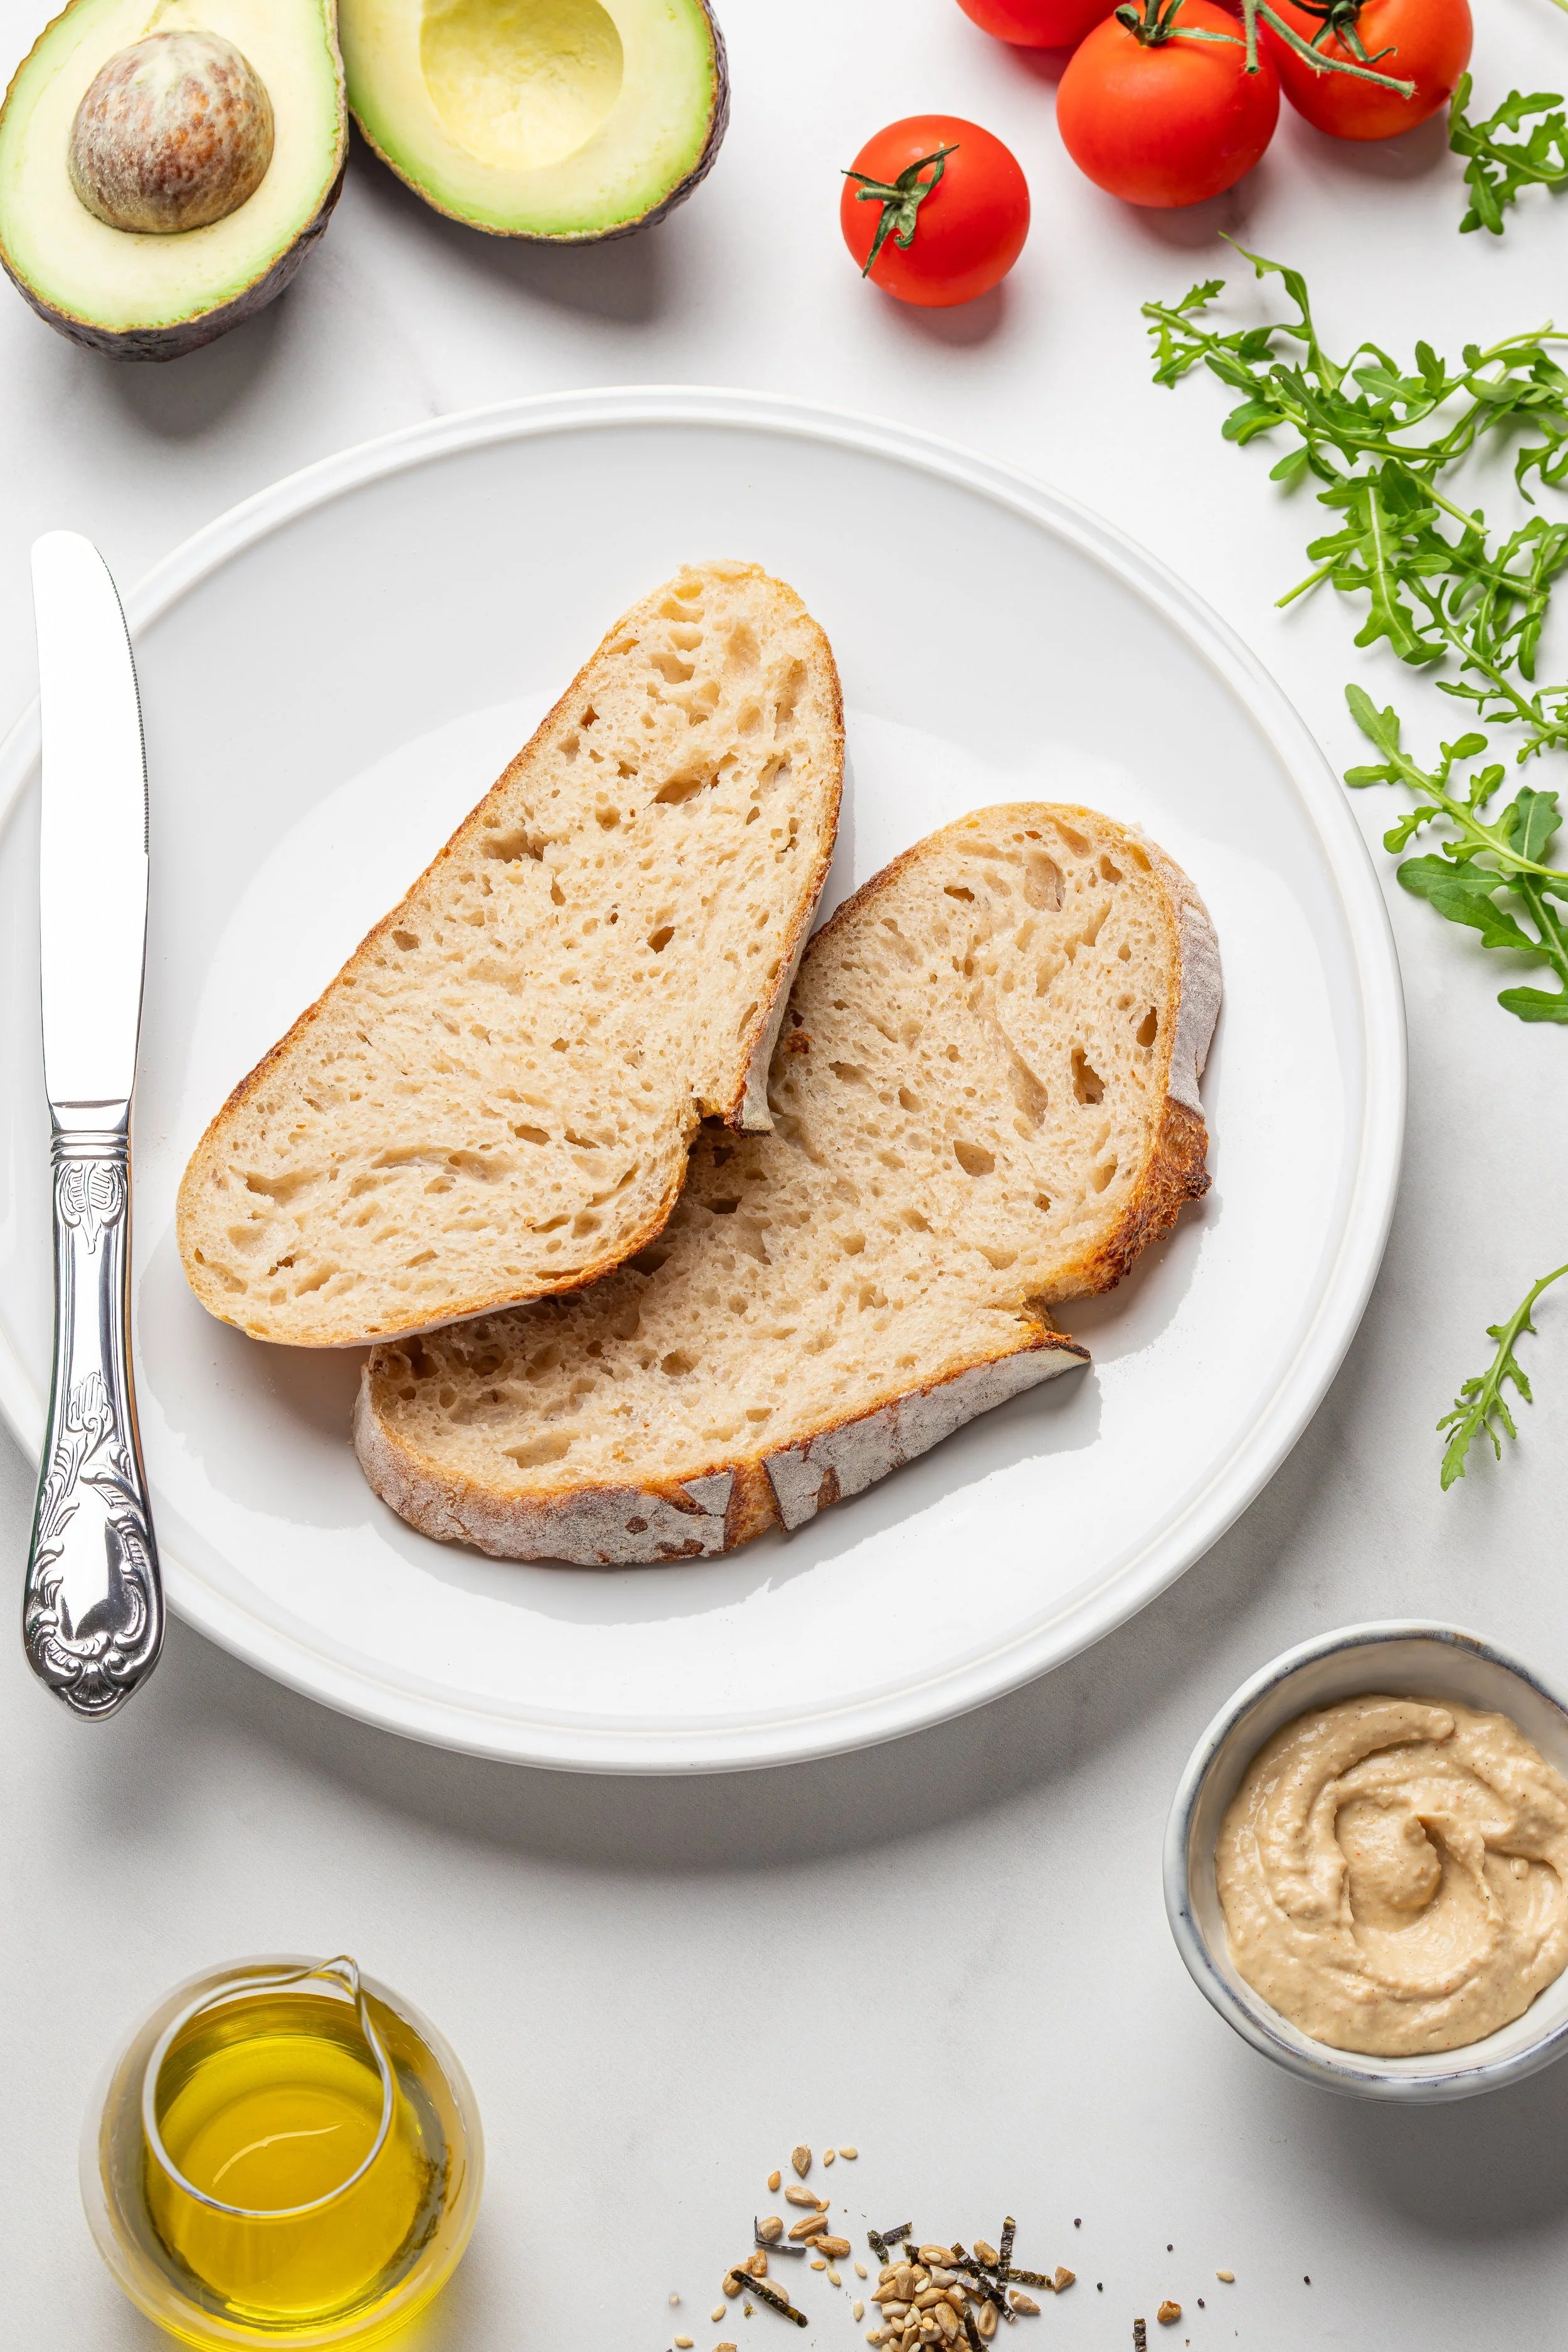
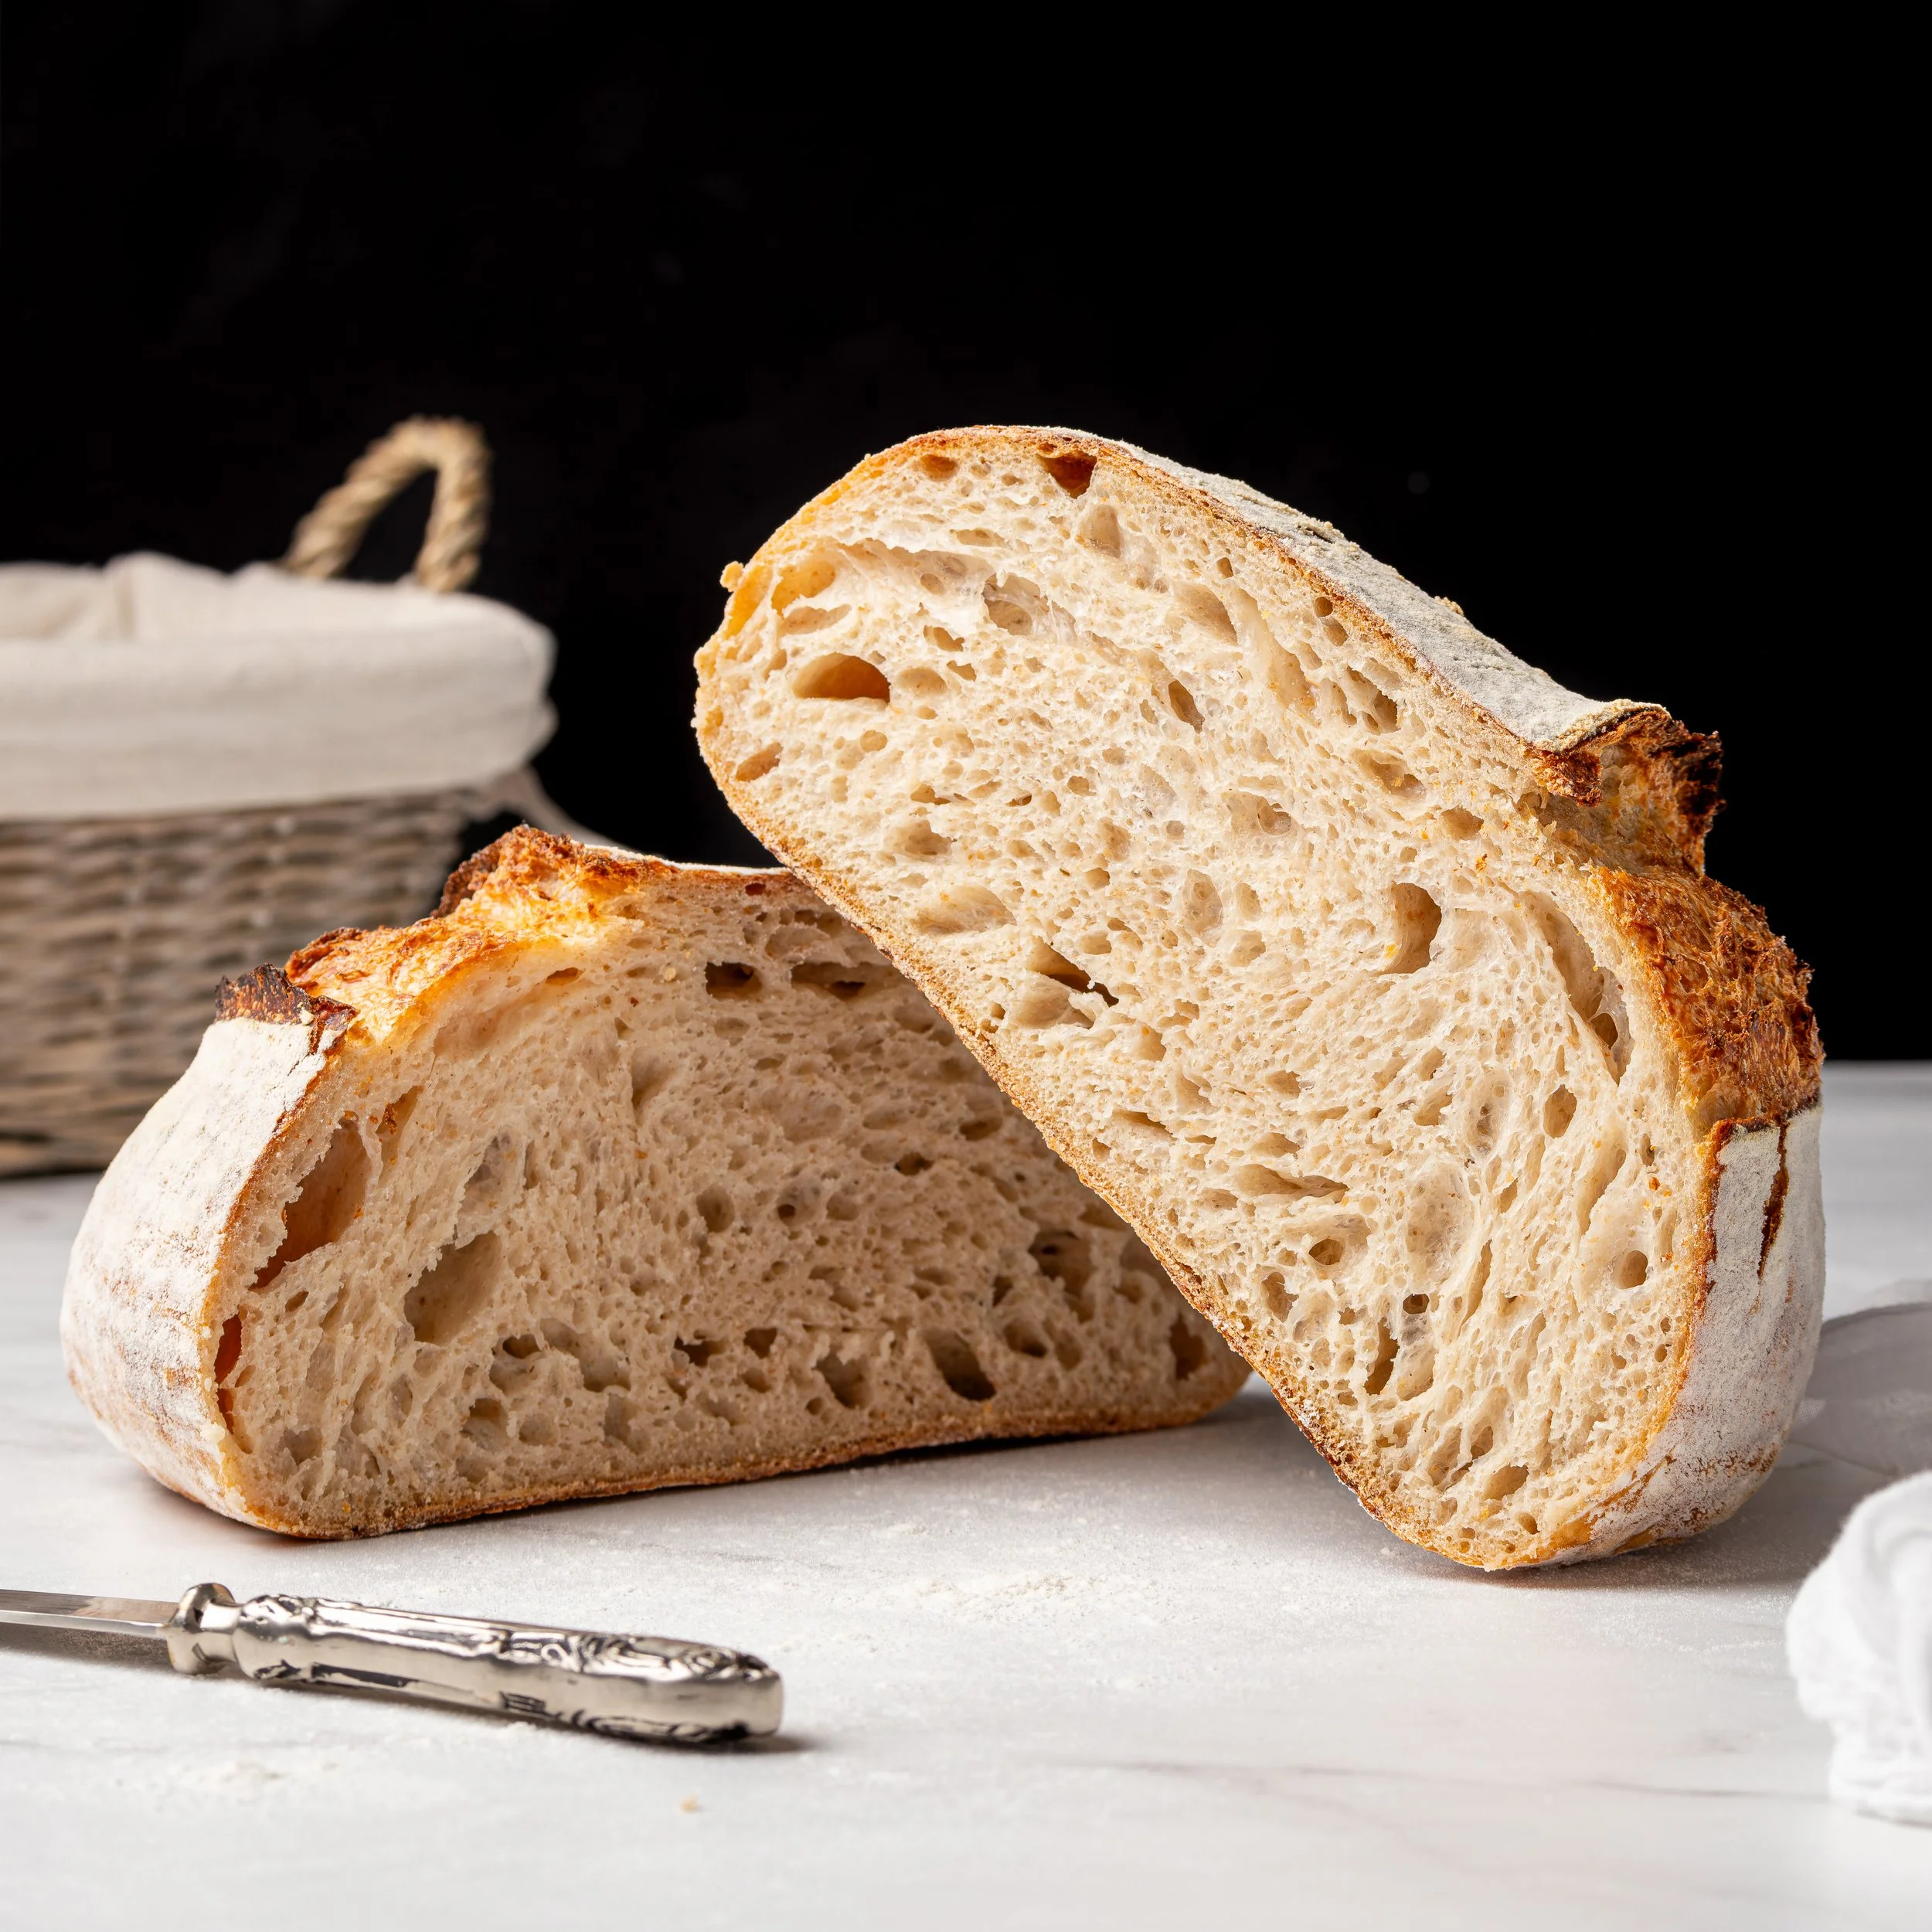
It is still mind-boggling to me that something that tastes so good is made of only flour, water, salt, and an active sourdough starter. I have baked many (many!) different things in my life, but no bake is as rewarding as pulling a freshly made, crusty bread with a soft, tangy crumb from the oven!
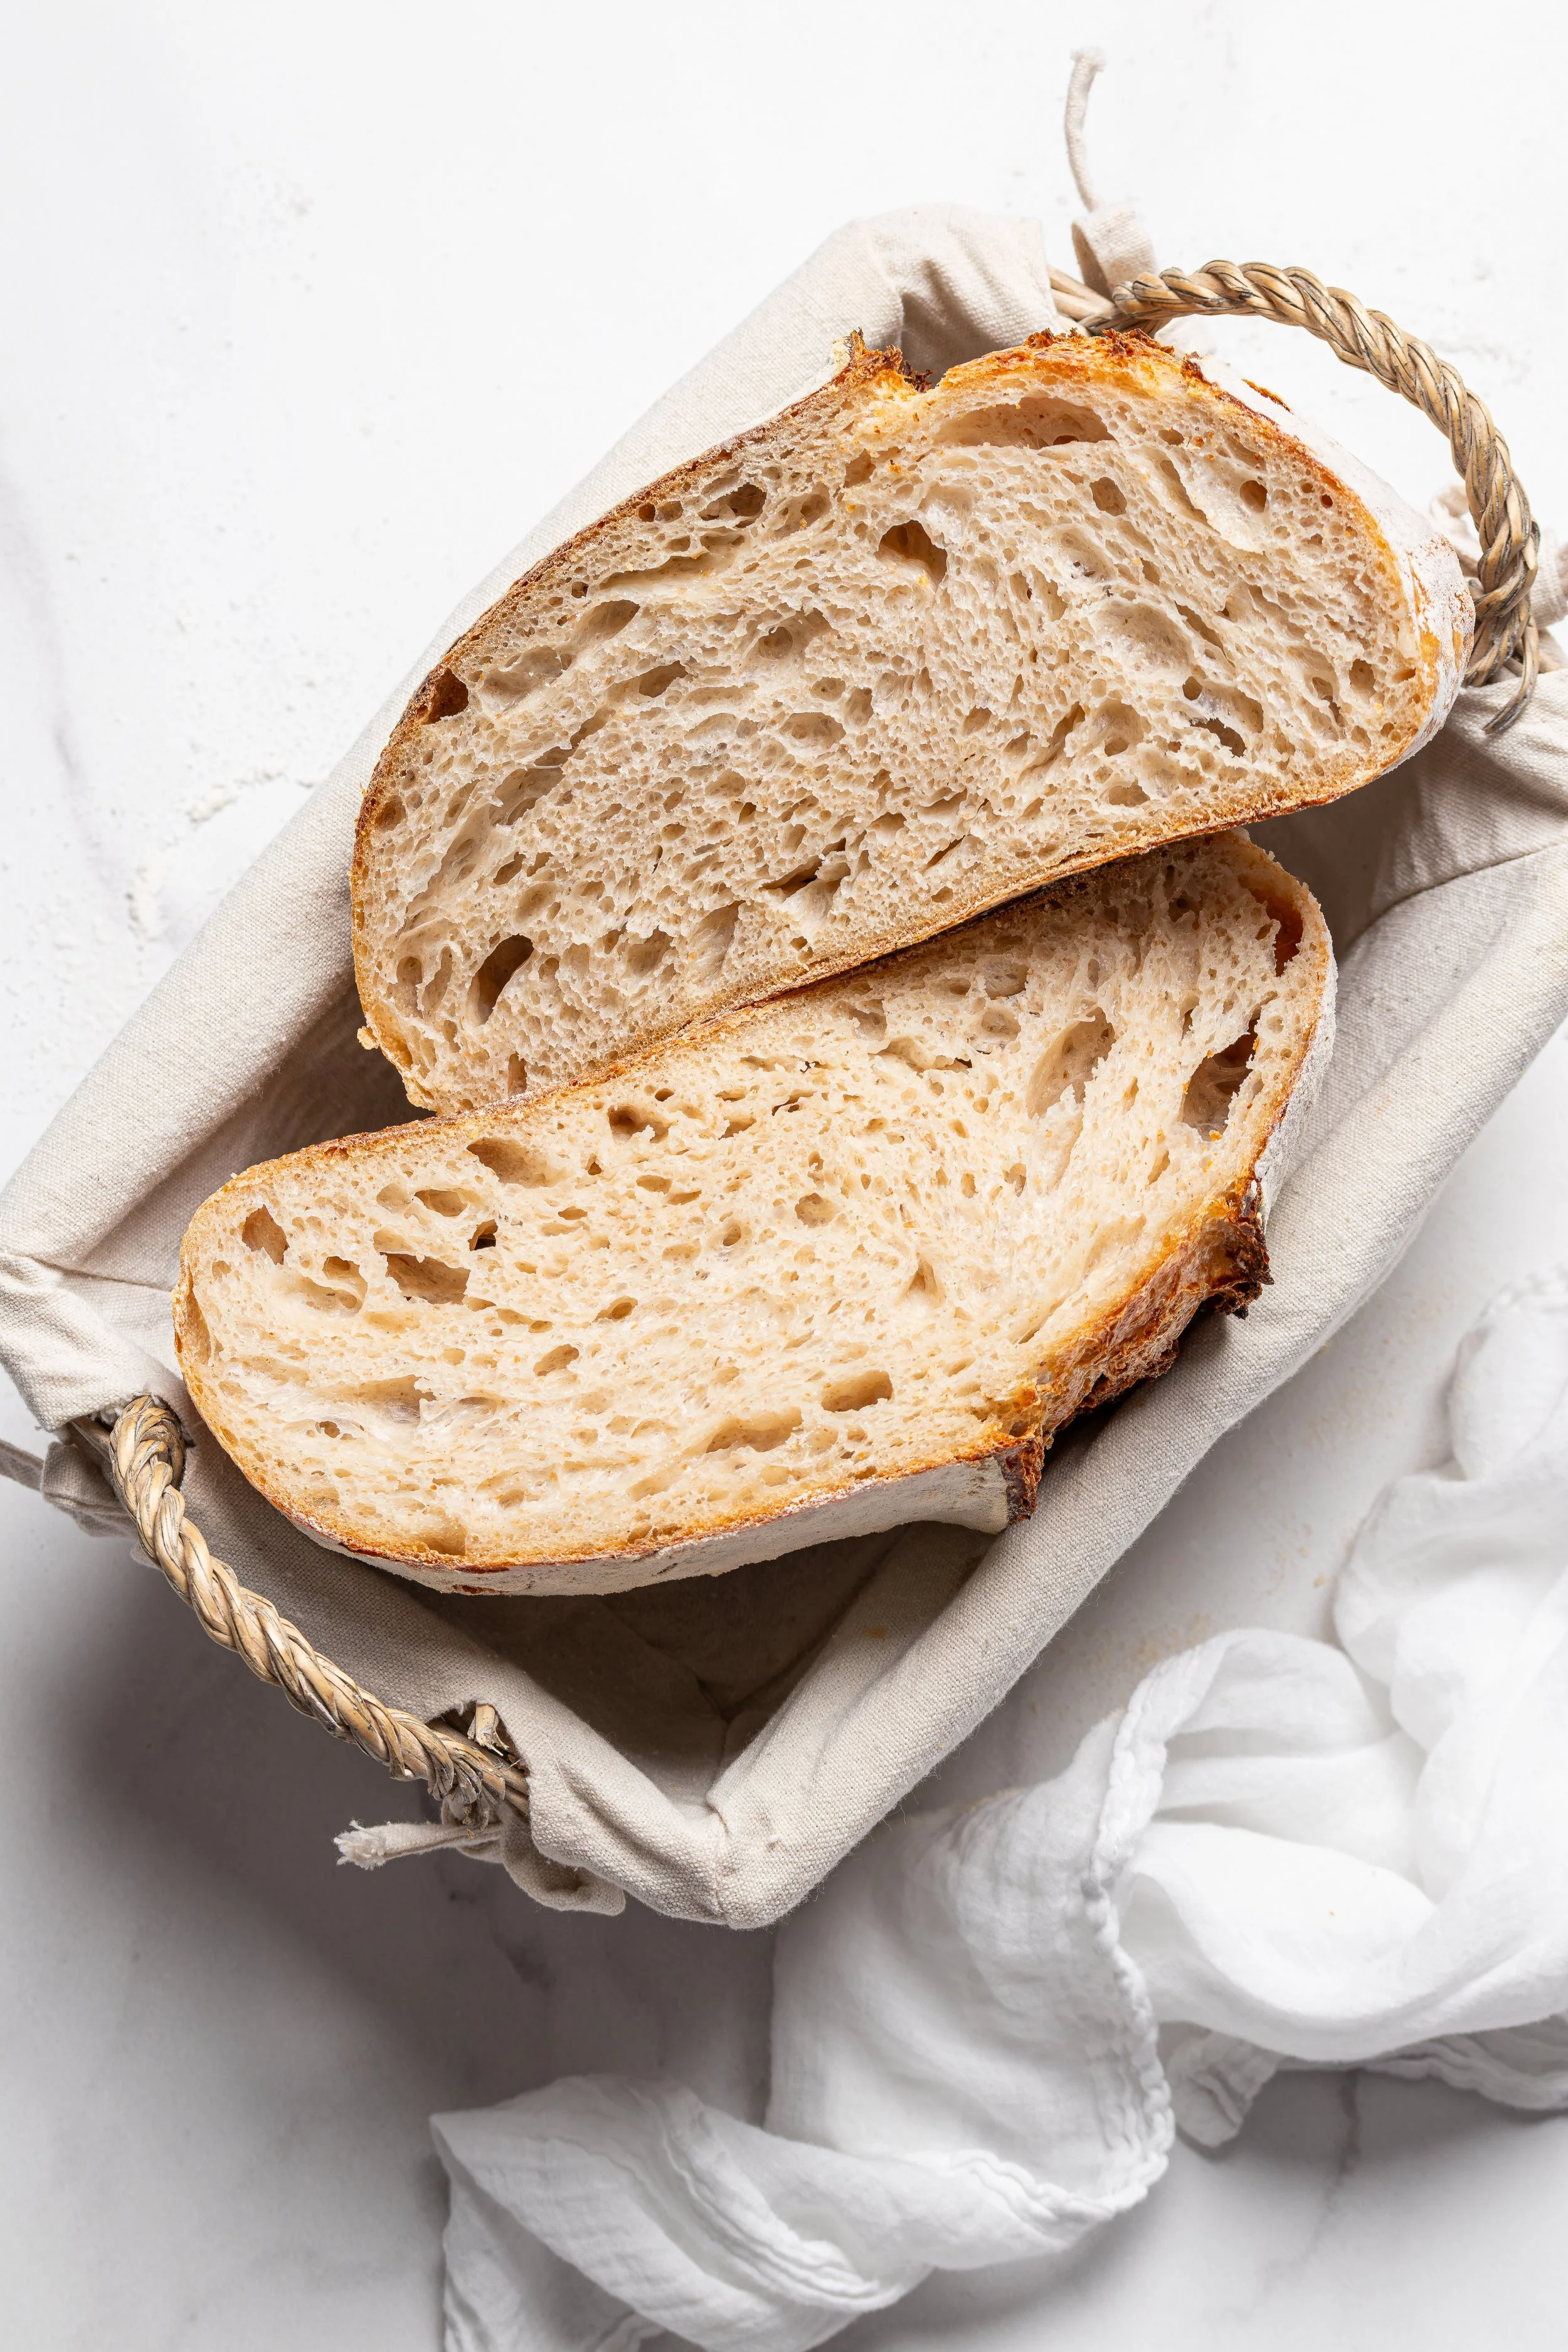
RECIPE NOTES: This recipe is a marathon, not a sprint, so patience is probably the most important ingredient. If you want to bake your bread on Sunday (and you have an active sourdough starter), start this recipe on Friday evening (there is a lot of waiting for yeast to do its thing, so don’t panic, it is not all hands-on). Being meticulous and methodical will serve you well with this one.
For this recipe, you need an electronic scale and I highly recommend an instant-read digital food thermometer to measure water and dough temperatures. A digital room thermometer (to get a feel for your room temperature) is handy too, but not essential. A plastic dough scraper is a great tool to have if you love making bread, so worth seeking one out. To bake the sourdough, you need a Dutch oven. This is a reliable recipe (for a 70% hydration bread) for the home baker new to sourdough making.
Once you feel more comfortable, feel free to experiment with swapping some of the white flour for a different blend of flour (spelt, rye, wholemeal) and adjust the water or hydration levels of the dough (it will be a trickier dough to work with but may reward you with larger irregular holes and a slightly lighter interior texture).
An older, well-maintained sourdough starter is generally easier to make good bread with than a newly established starter, so be patient nurturing a new sourdough starter (see my how-to guide for making a new sourdough starter here). However, "older" is less important than "healthy and active”.
Your timeline might differ from mine and in winter each step may take slightly longer than in summer due to the cold weather.
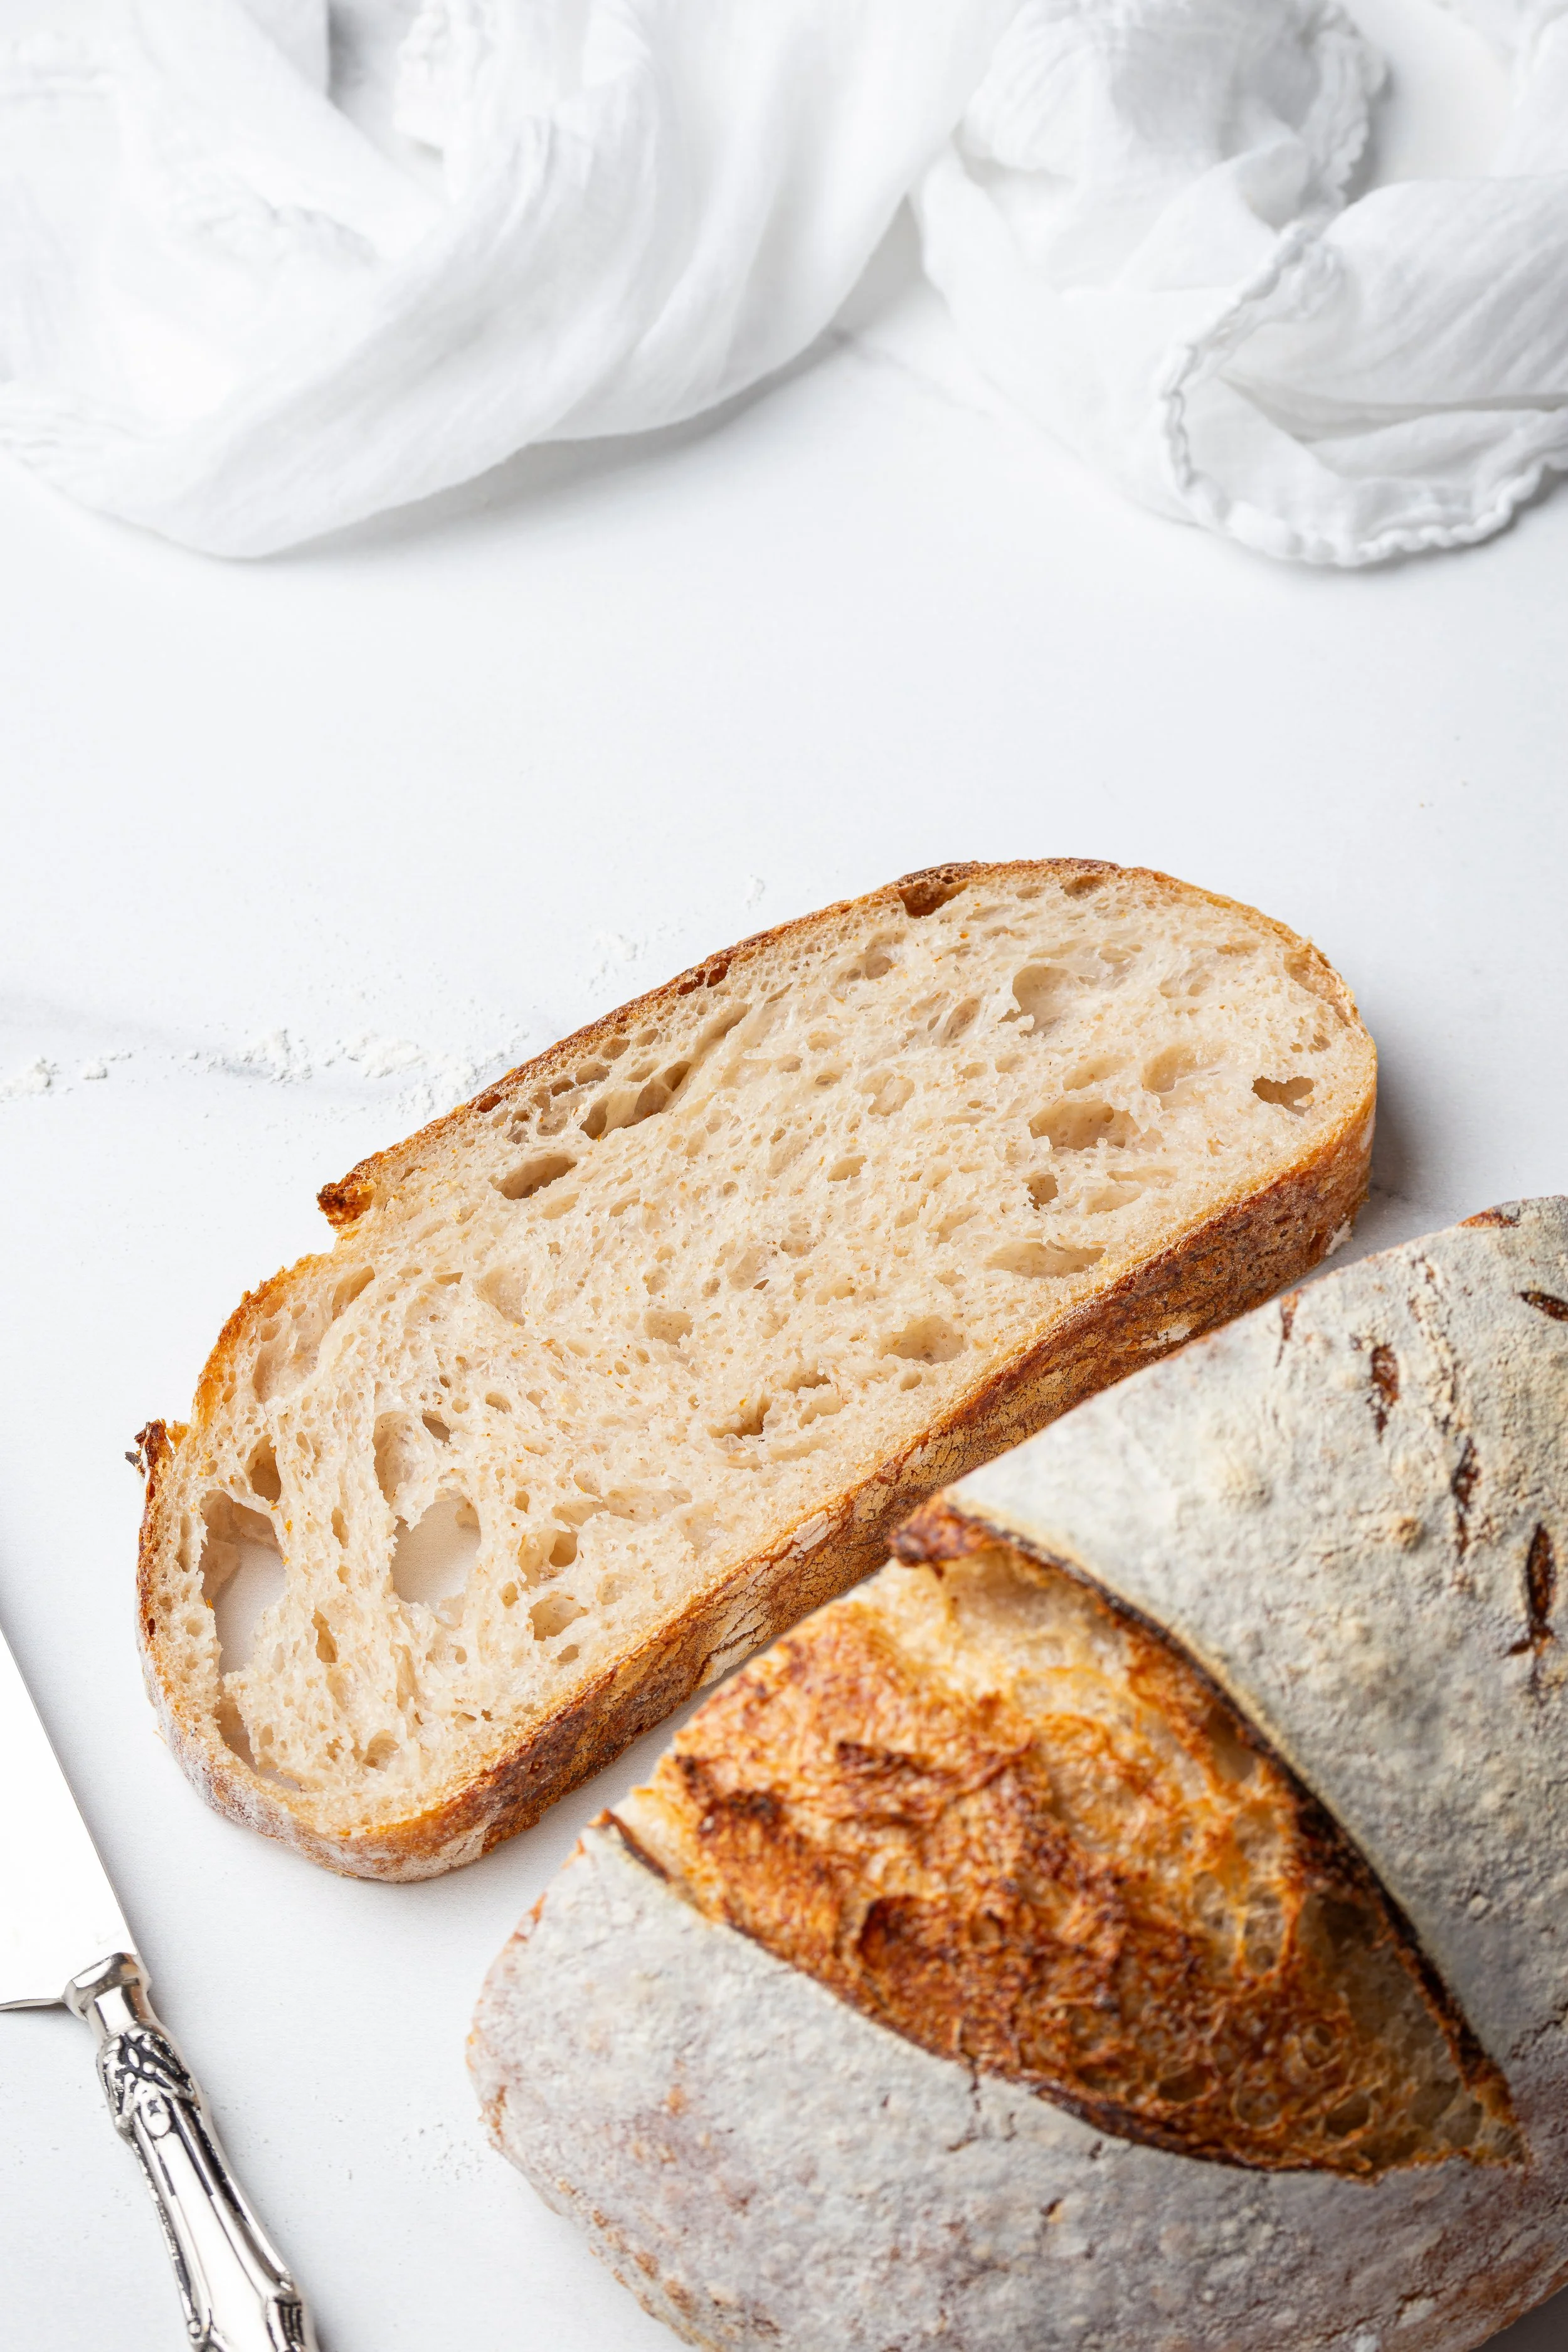
Enough for 1 large sourdough bread
SOURDOUGH INGREDIENTS
flour (high grade/bread), 500g
water, 350g - use bottled spring or filtered water if your tap water is heavily chlorinated
active sourdough starter, 100g - 100% hydration or last fed 1:1:1 (sourdough starter, water, flour ratio)
salt (fine), 10g
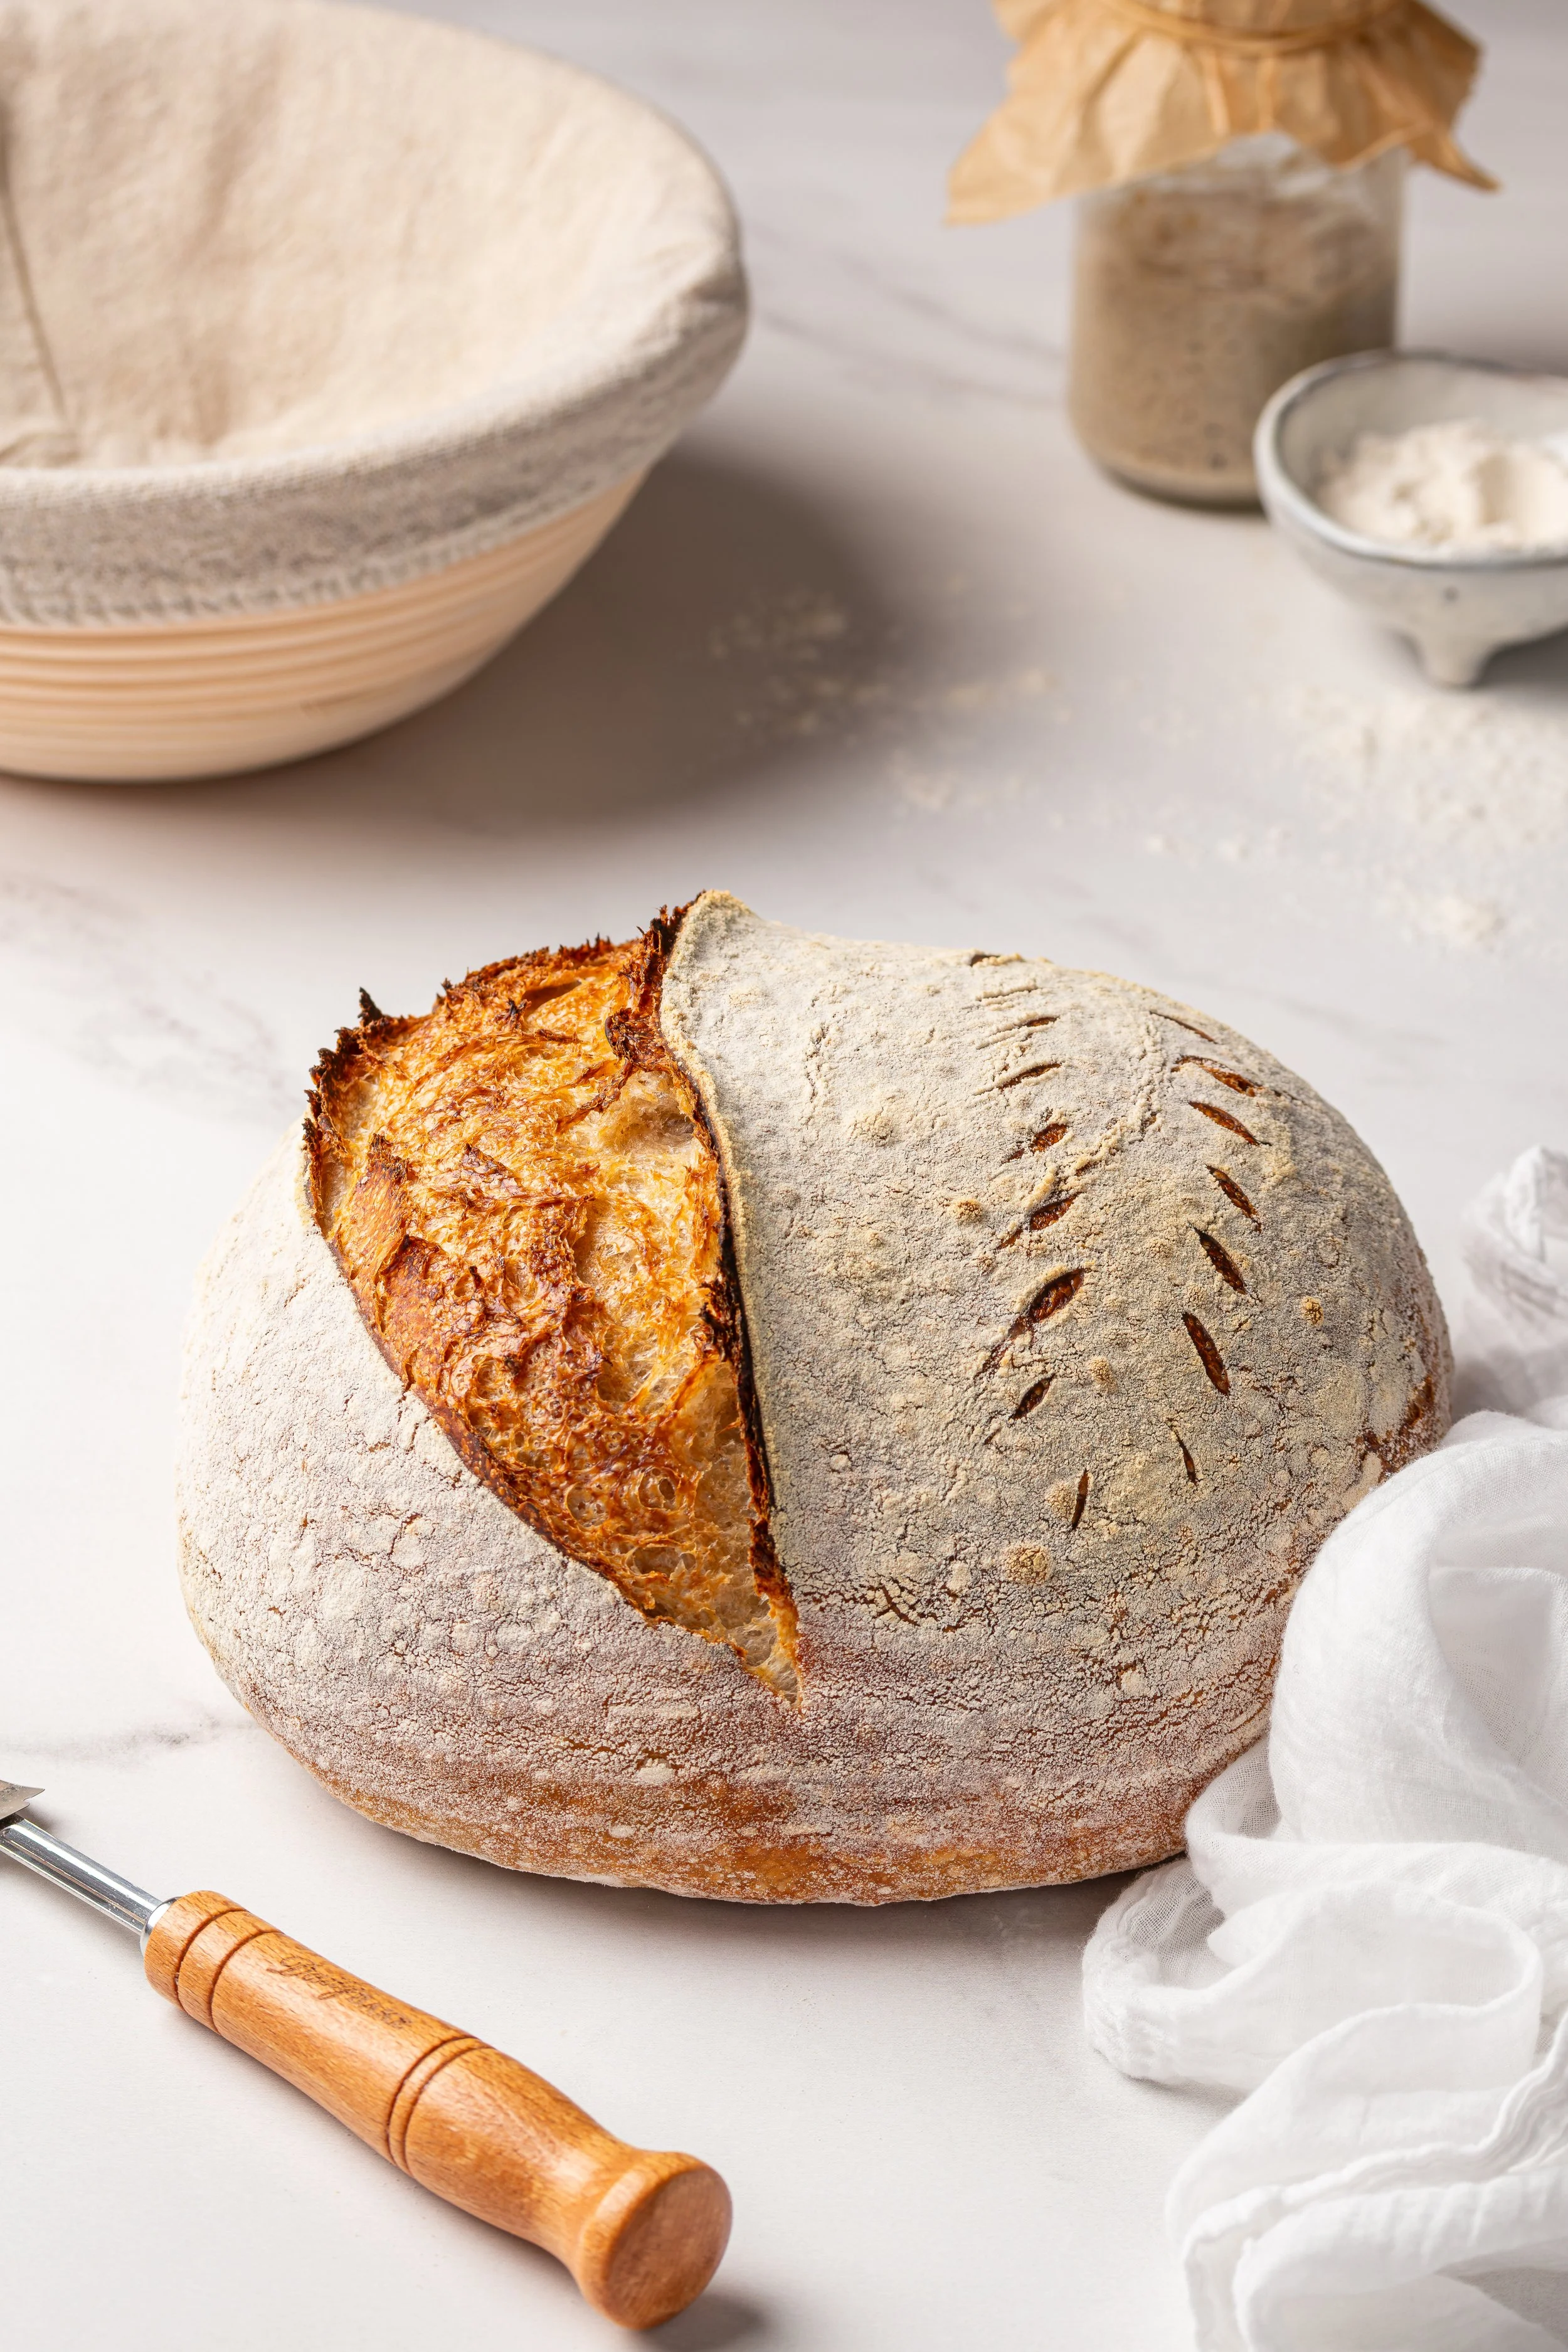
RECIPE OUTLINE
DAY 1:
STEP 1 - ACHIEVE AN ACTIVE SOURDOUGH STARTER
DAY 2:
STEP 2 - MAKE THE LEVAIN
STEP 3 - AUTOLYSE (COMBINE THE FLOUR AND WATER)
STEP 4 - ADD THE SOURDOUGH STARTER TO THE AUTOLYSED DOUGH
STEP 5 - ADD THE SALT AND MIX THE DOUGH WELL
STEP 6 - FOUR SETS OF STRETCH AND FOLDS 30 MINUTES APART
STEP 7 - UNDISTURBED BULK FERMENTATION
STEP 8 - SHAPE THE DOUGH AND PLACE IT IN A PROOFING BASKET
STEP 9 - REFRIGERATE OVERNIGHT
DAY 3:
STEP 10 - PRE-HEAT THE OVEN
STEP 11 - BAKE
STEP 12 - COOL THE BAKED BREAD
STEP 13 - SLICE AND ENJOY!
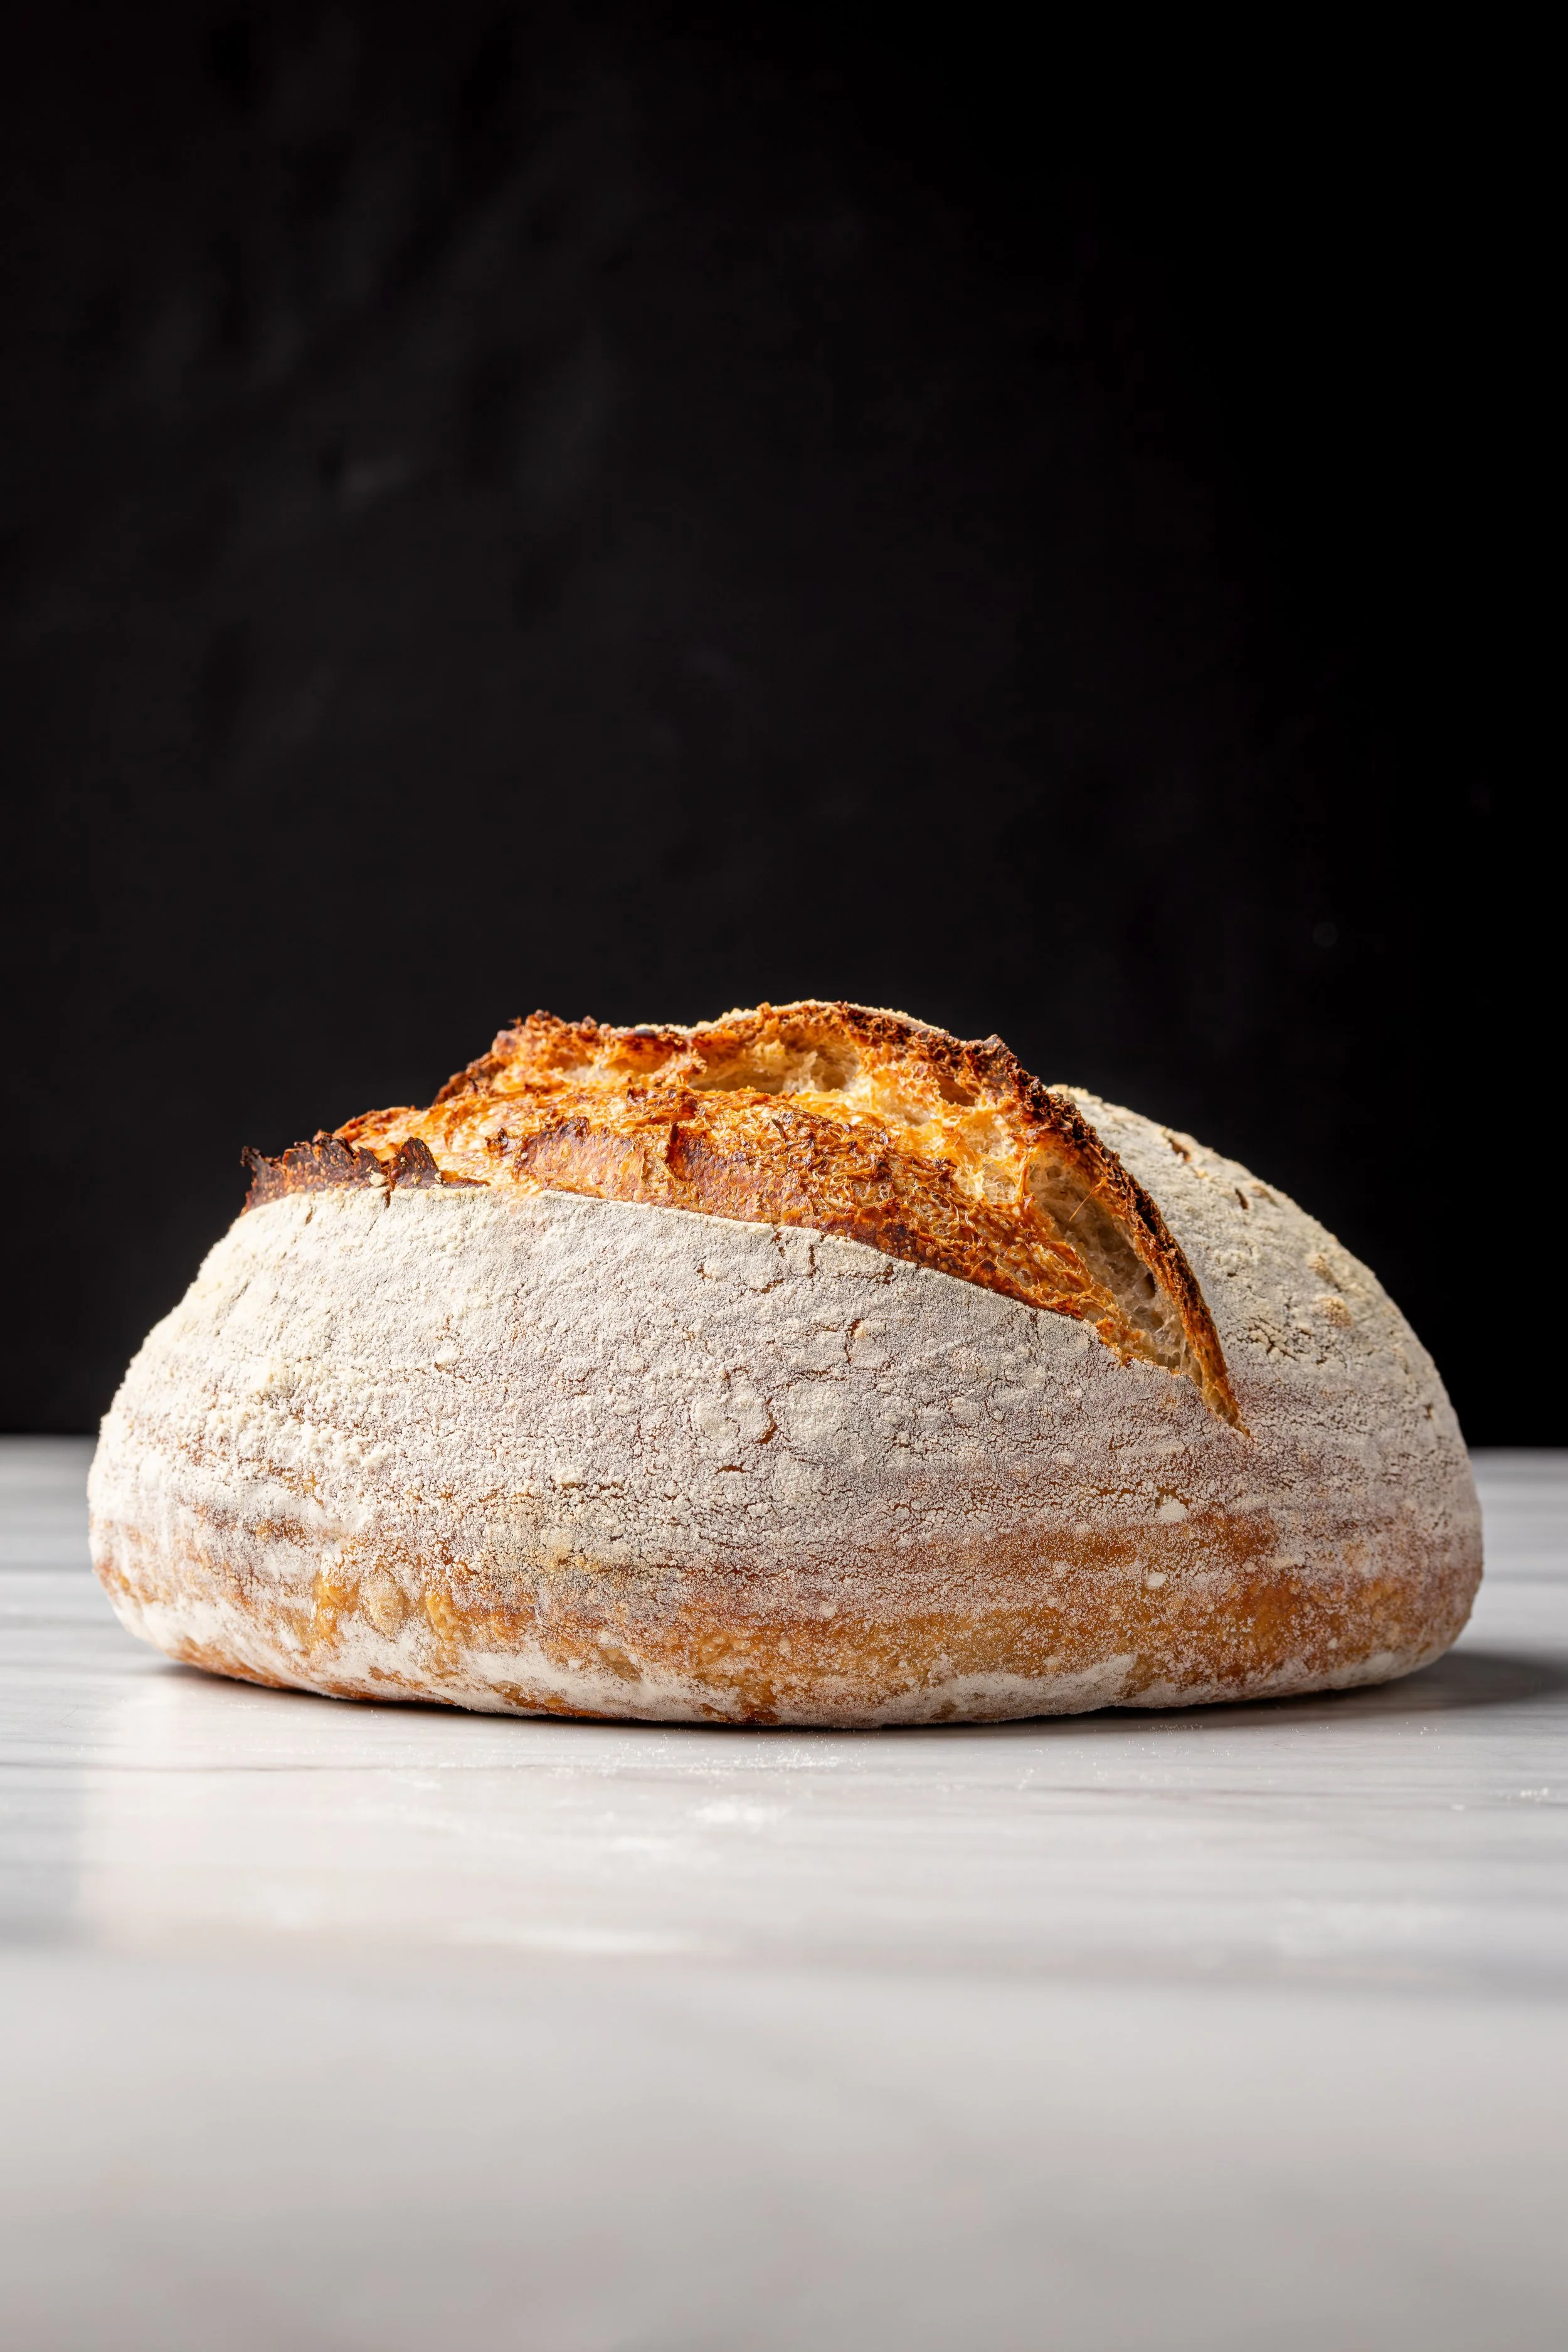
RECIPE HOW-TO
DAY 1 - STEP 1 (Friday evening just before going to bed)
NOTE: You need an active sourdough starter to make good sourdough bread.
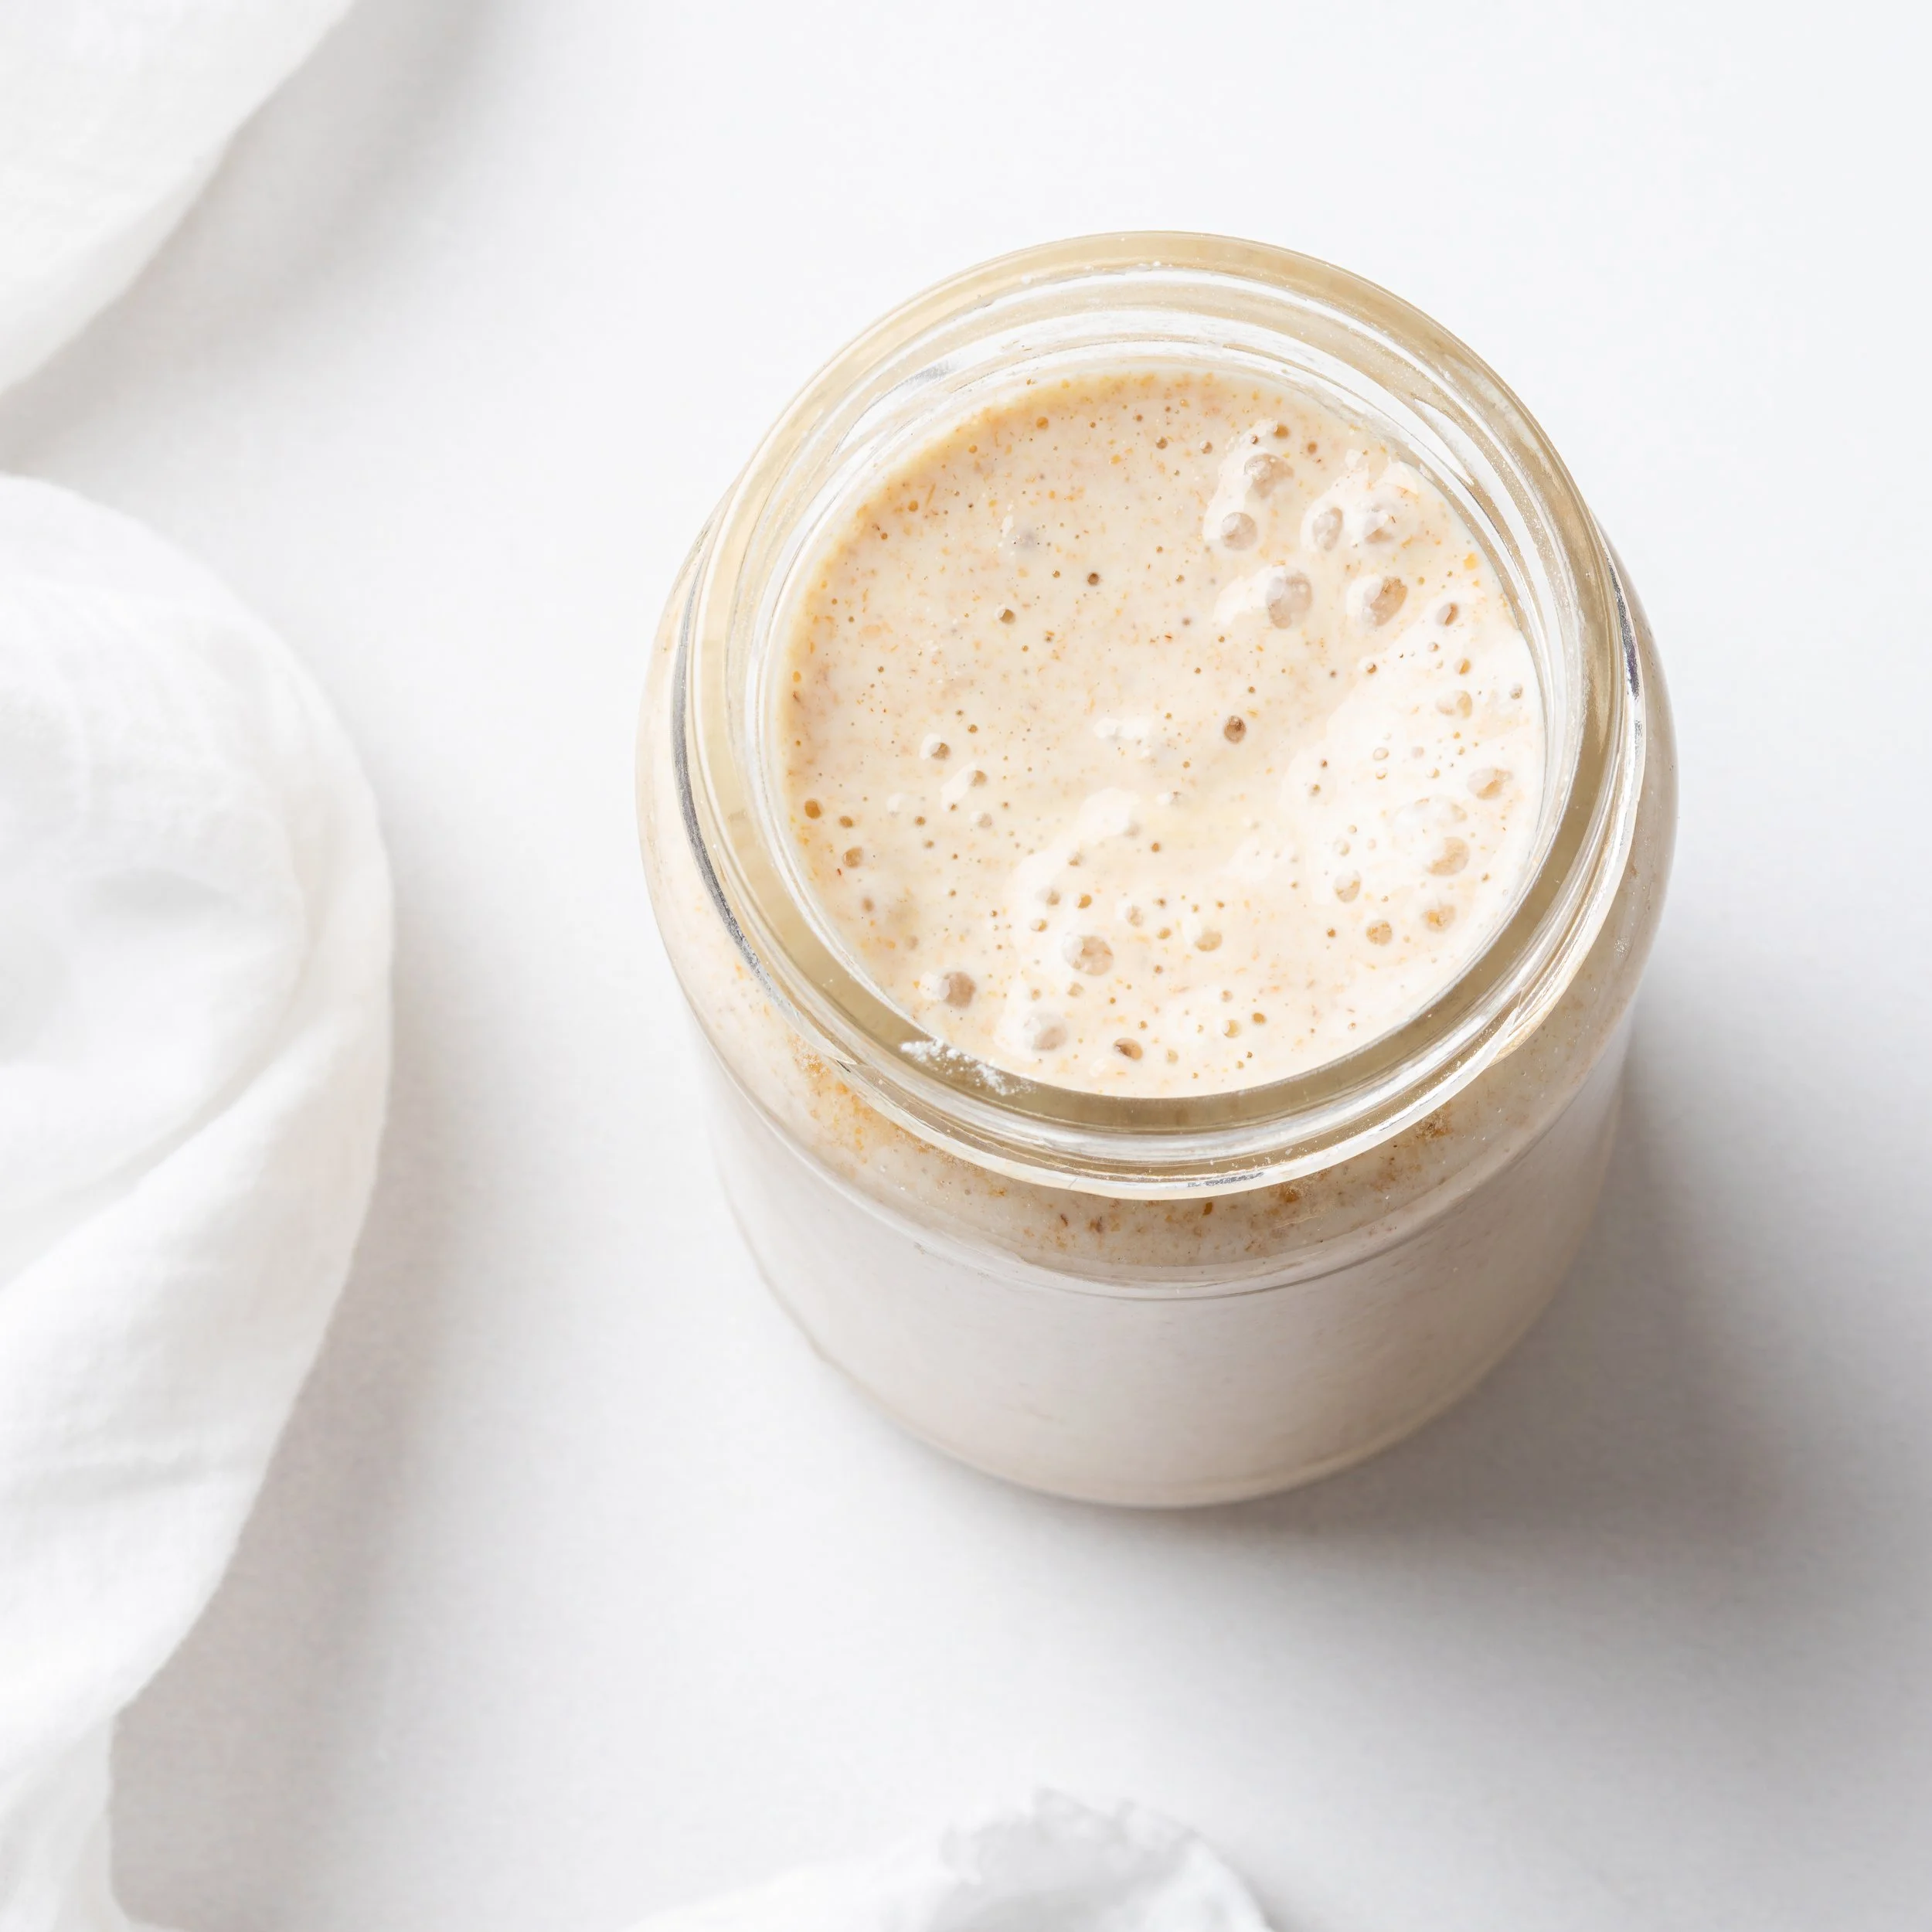
Feed your starter 1:1:1 (100% hydration): 50g sourdough starter + 50g water + 50g flour (I do rye flour for this feed)
Mark the level with an elastic and leave it covered with a loose-fitting lid at room temperature to double (or triple) in volume overnight.
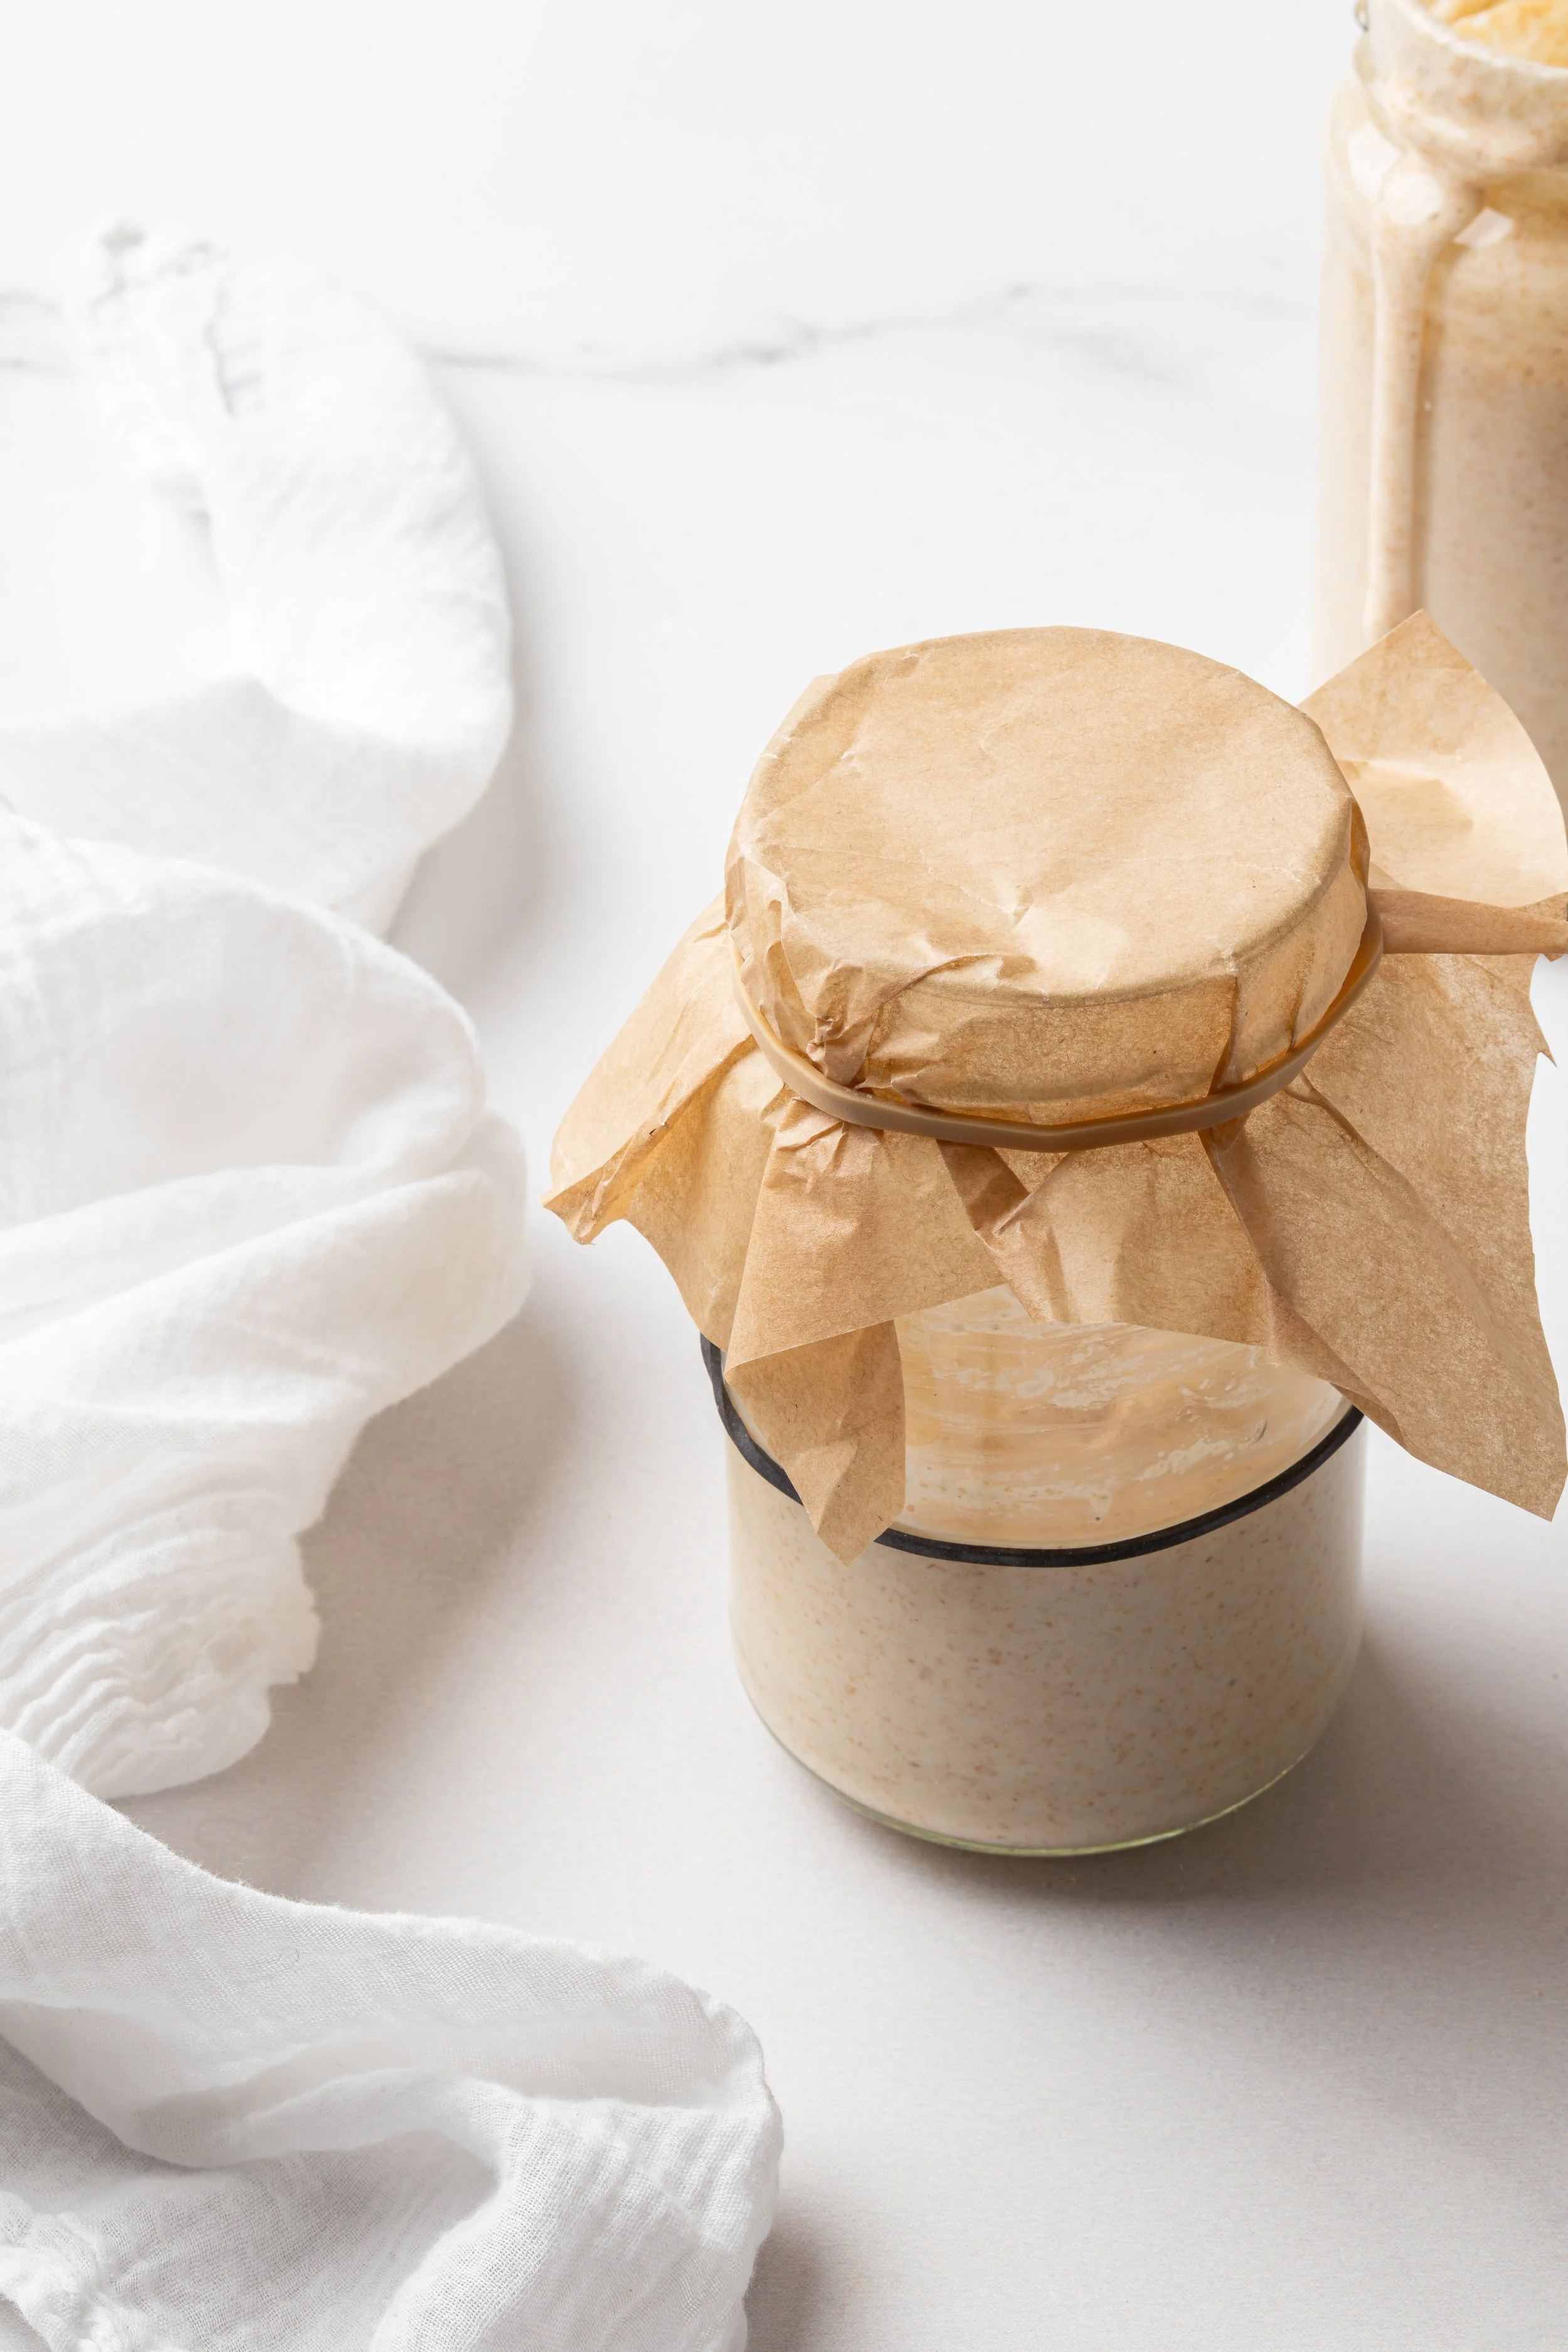
Sourdough starter fed, ready to be left overnight at room temperature.
DAY 2 - STEP 2 (Saturday morning around 8am)
NOTE: Sourdough starter = your permanent culture that you keep alive indefinitely. Levain = a portion of that starter that you build specifically for one bake.
Make the levain for your bread by combining: 50g sourdough starter that you fed the night before + 50g warm water (26–28°C) + 50g flour (rye or spelt or bread flour)
Mark the level with an elastic and place it in a warm, room temperature spot (but not in direct sunlight): 24–26°C is ideal if you have a room thermometer.
Feed the remaining sourdough starter in a clean jar (1:1:1), cover, label the date you fed it and place it in the fridge for next time you want to make a sourdough bread.
Your levain should double in size within 4 - 6 hours.
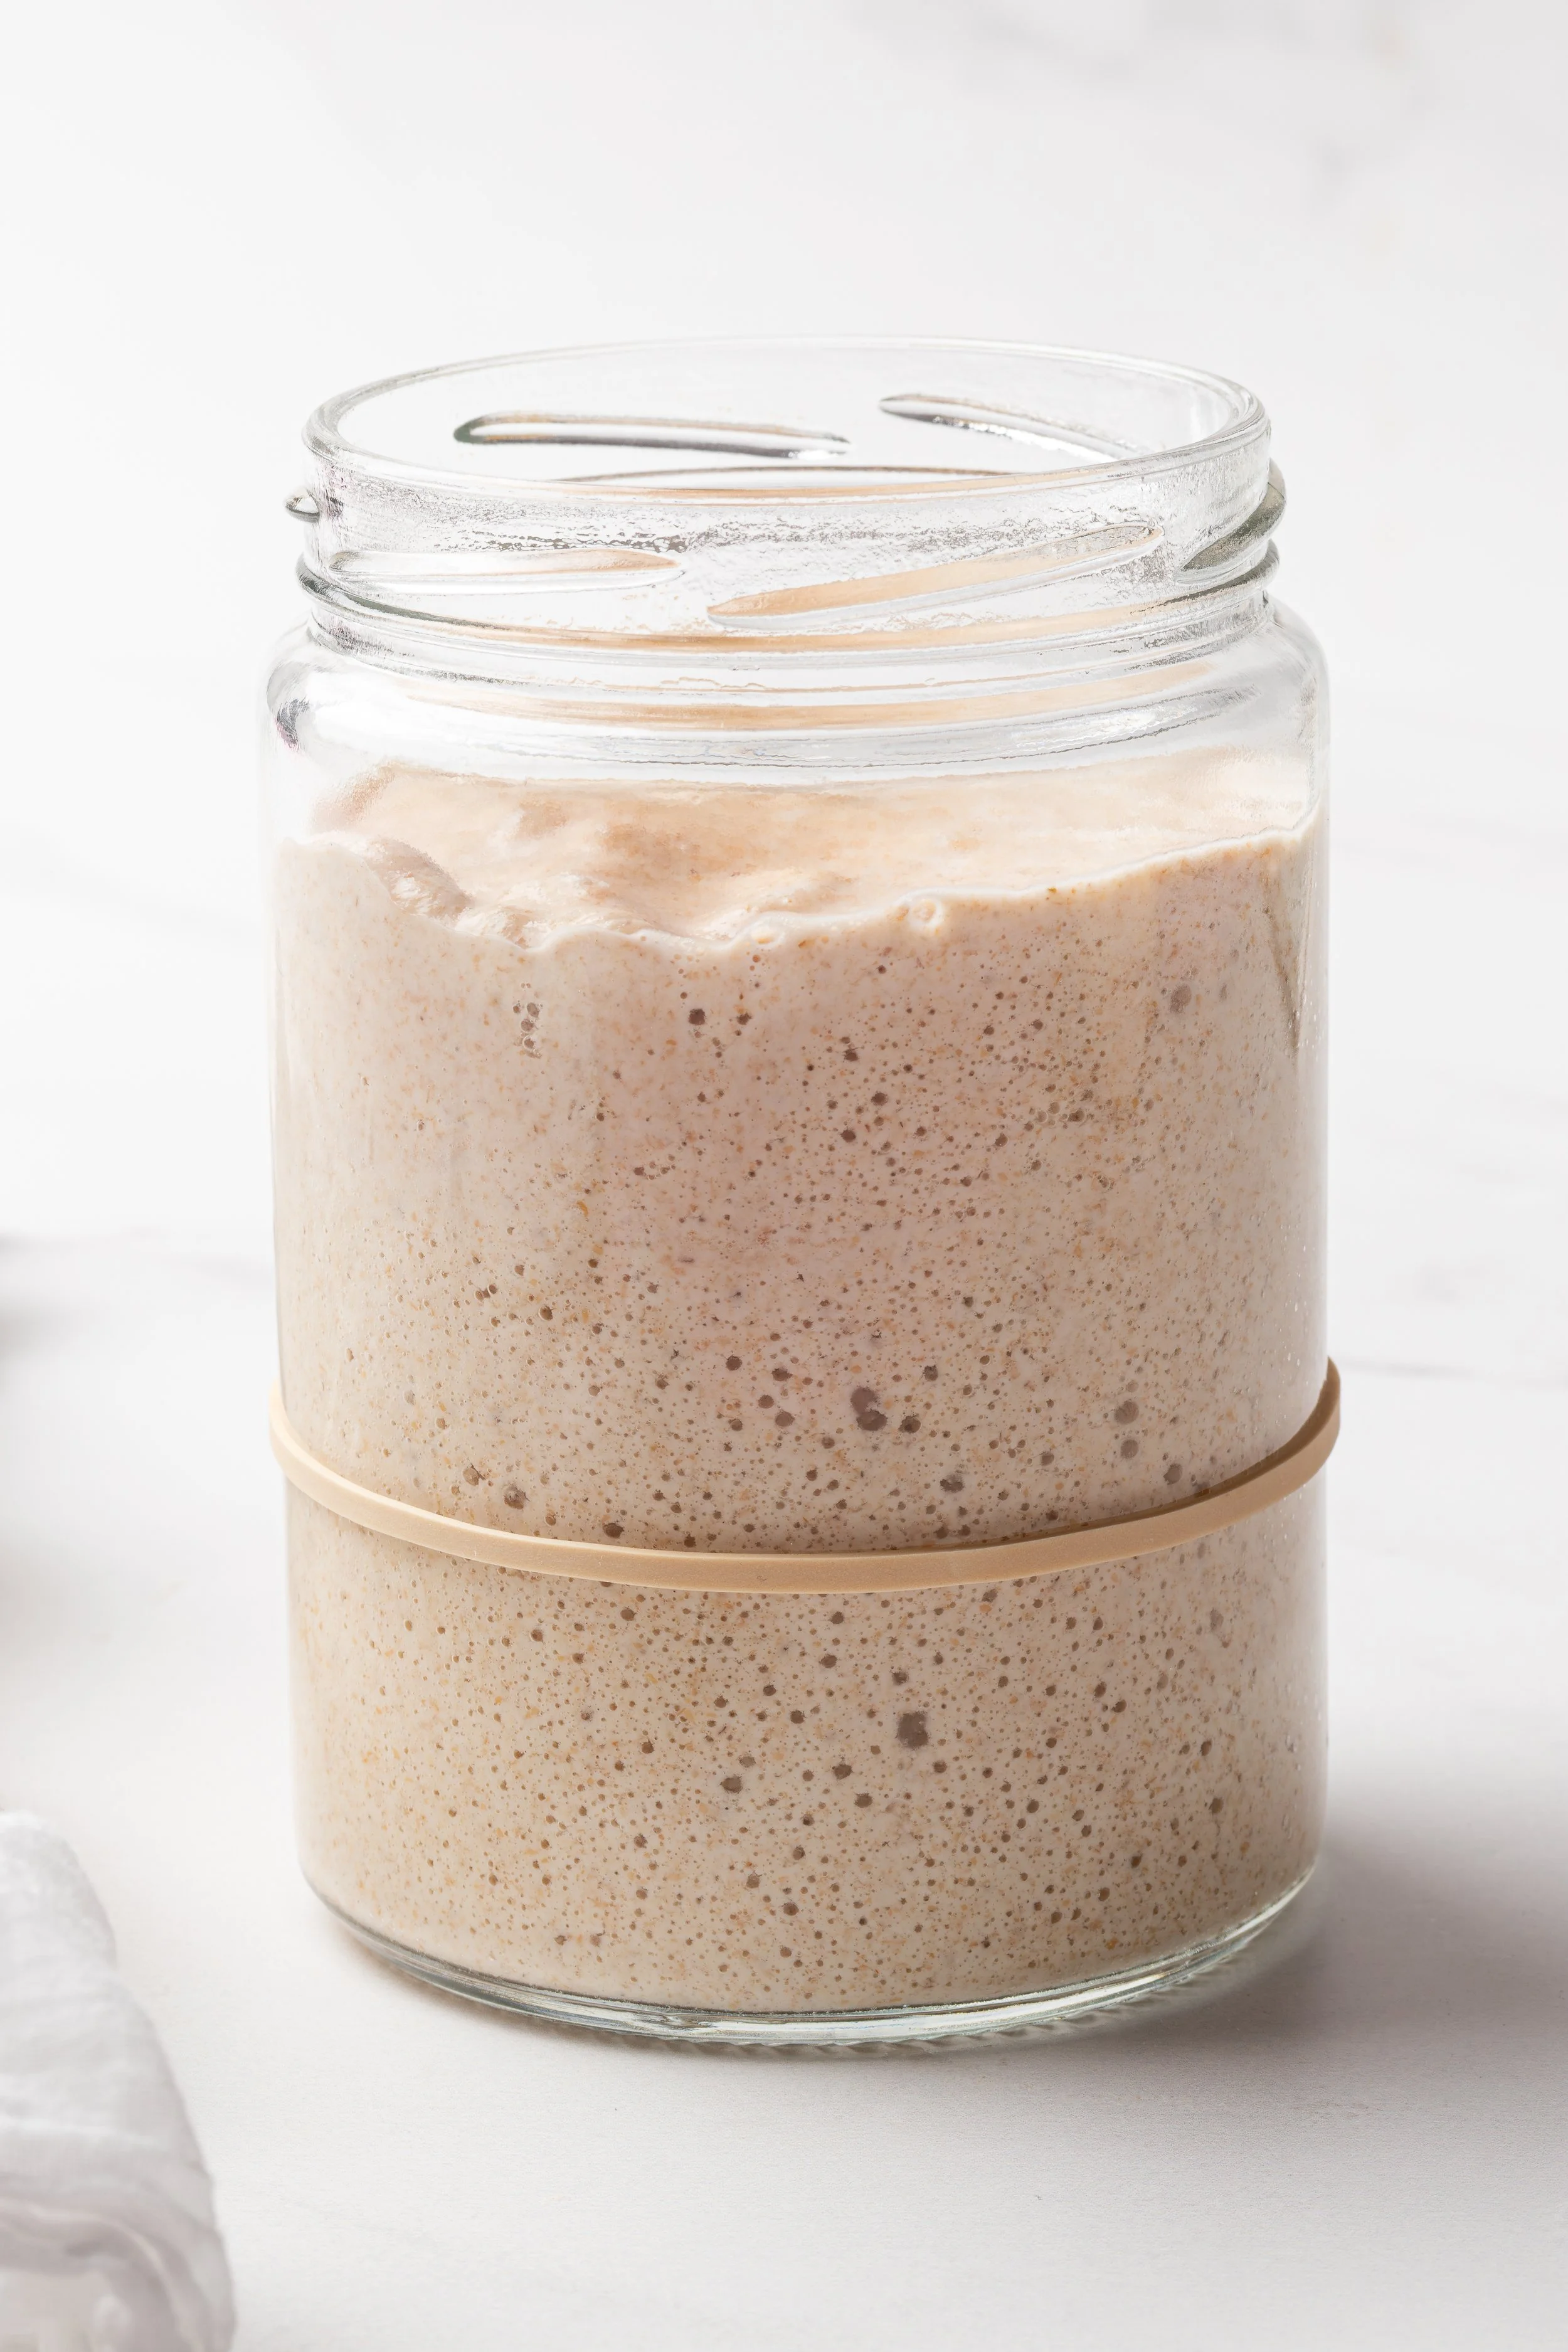
My levain almost at its peak.
STEP 3 - AUTOLYSE (Saturday morning around 12pm)
NOTE: Autolyse is a resting period after you mix flour and water, but before adding the sourdough starter and salt. It is one of the simplest ways to improve dough strength, extensibility, and handling.
When your starter is almost at its peak (double or triple in volume):
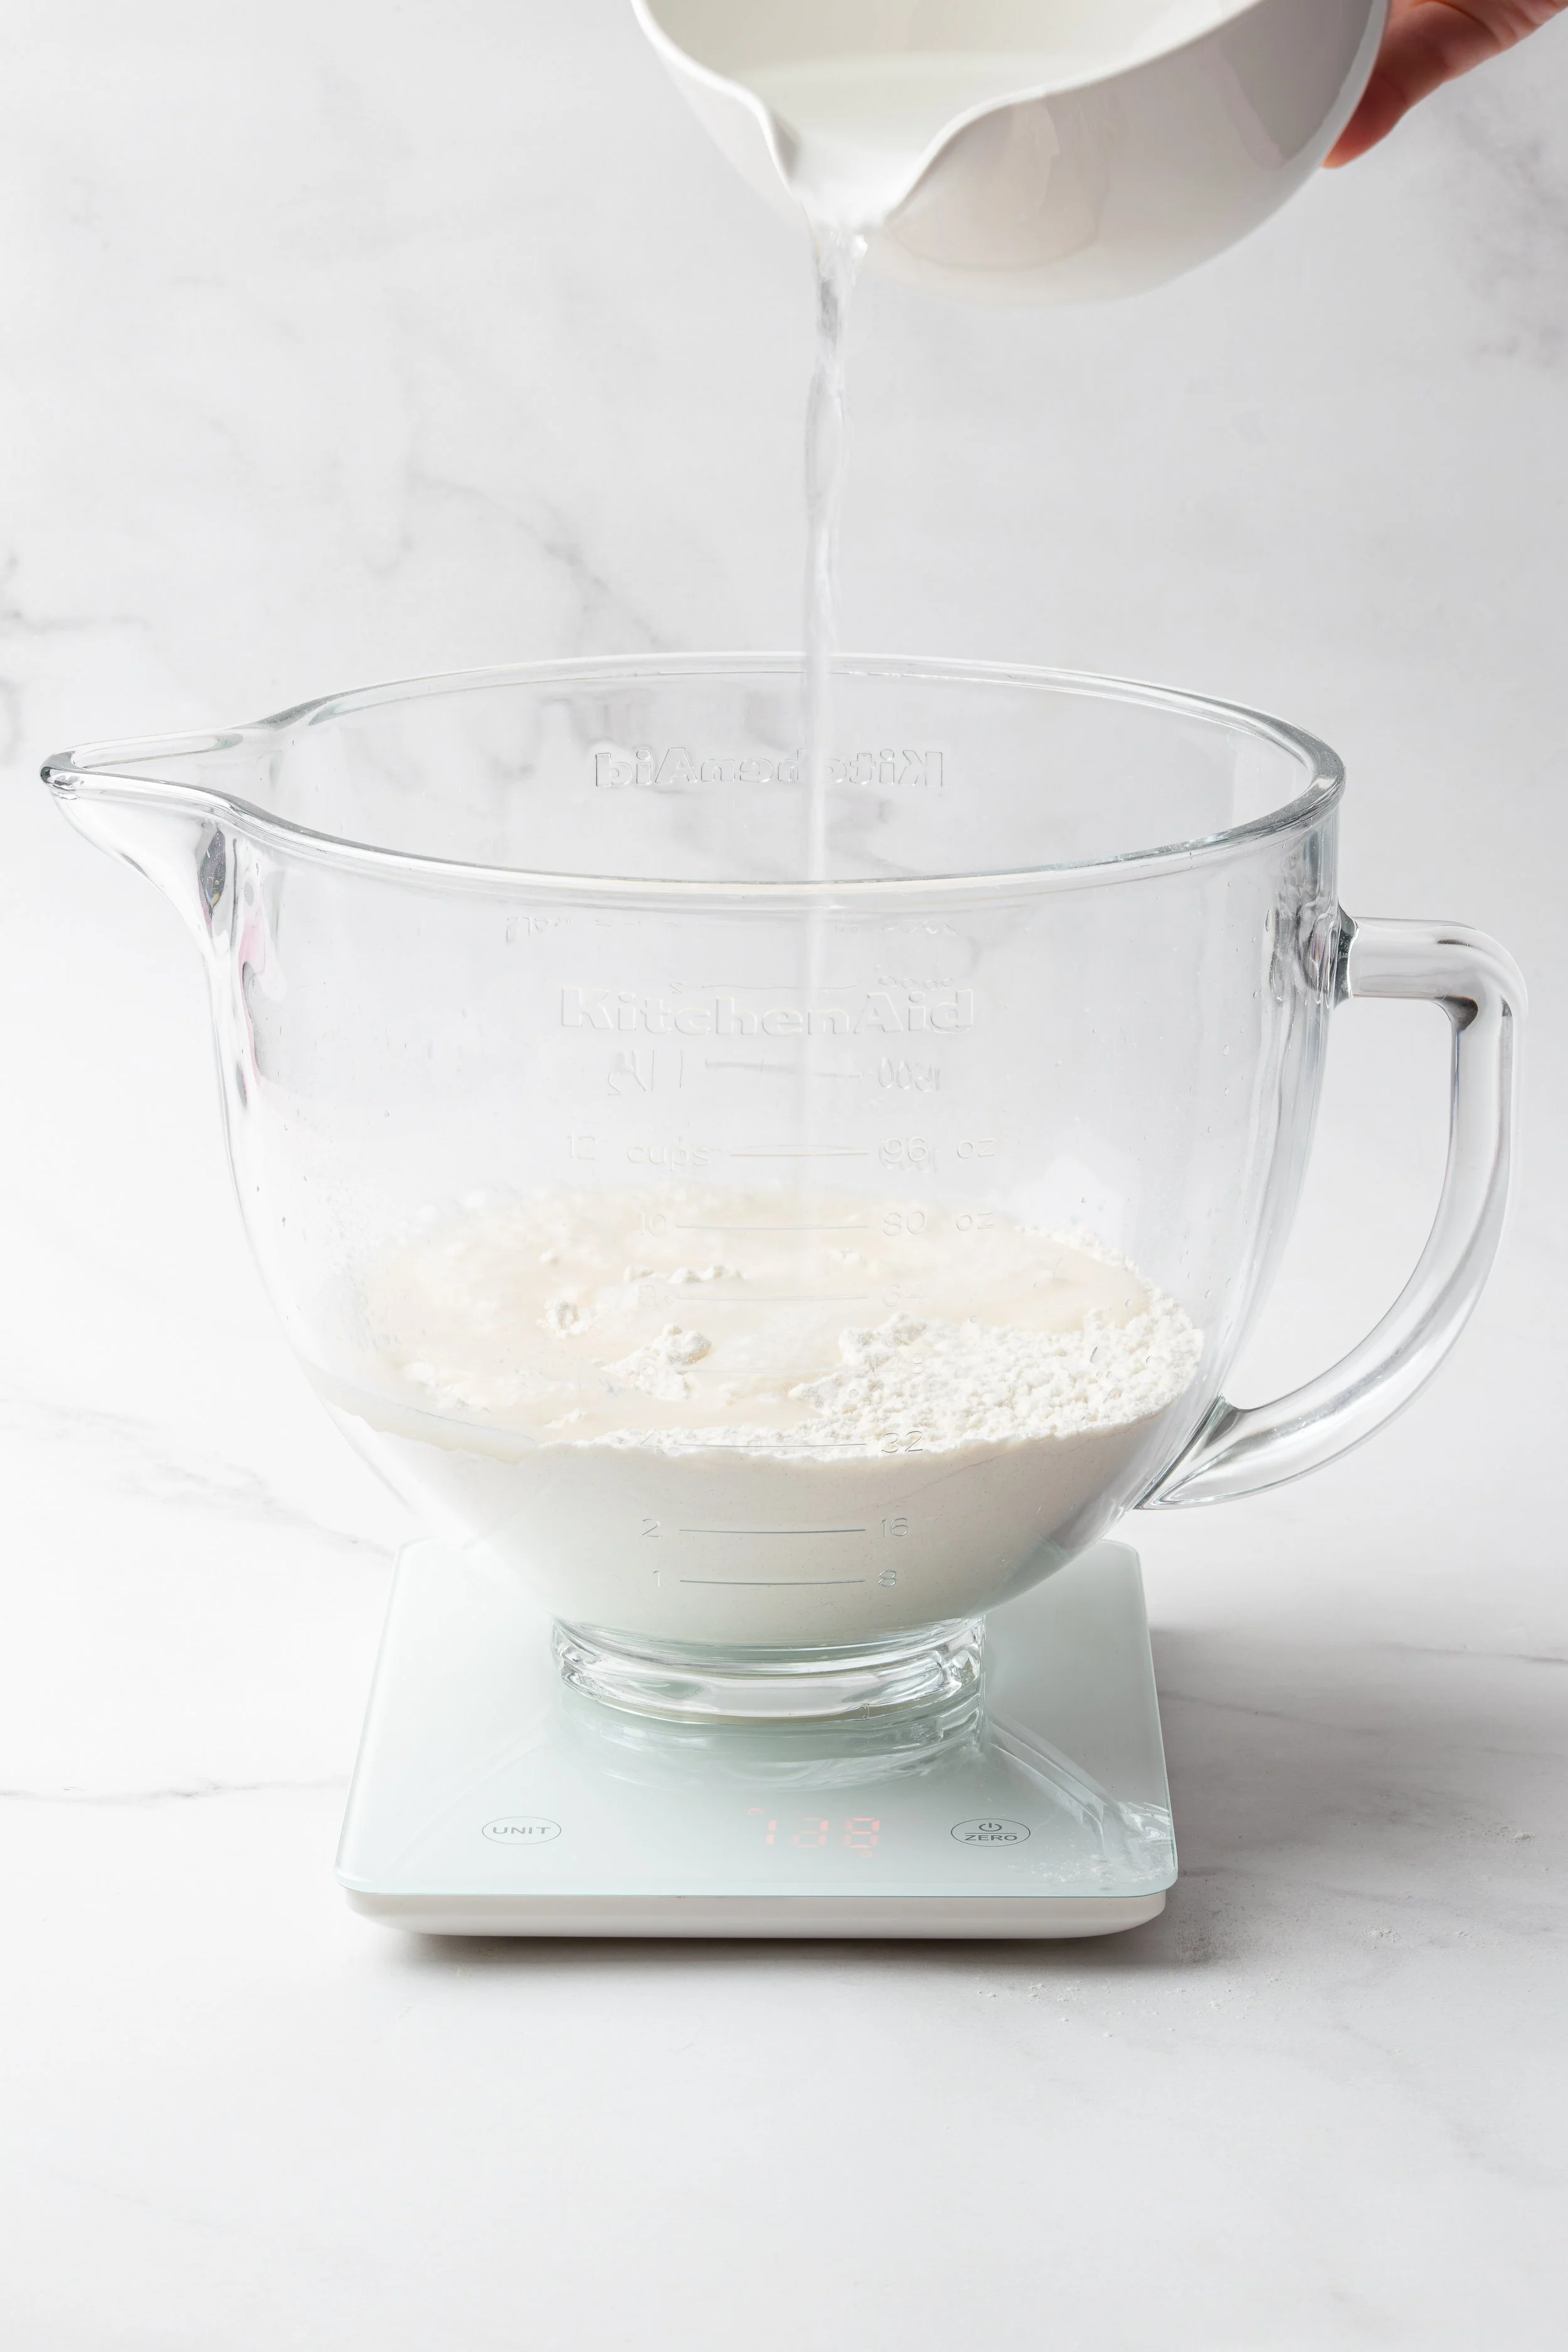
Place 500g high-grade/bread flour in a large bowl (I use a free-standing mixer for ease, but it is not essential if you don’t mind getting your hands dirty and have strong arms for kneading - the dough will be very sticky at first).
Warm 340g of water in the microwave to a temperature of 35 - 36°C (if you have a thermometer).
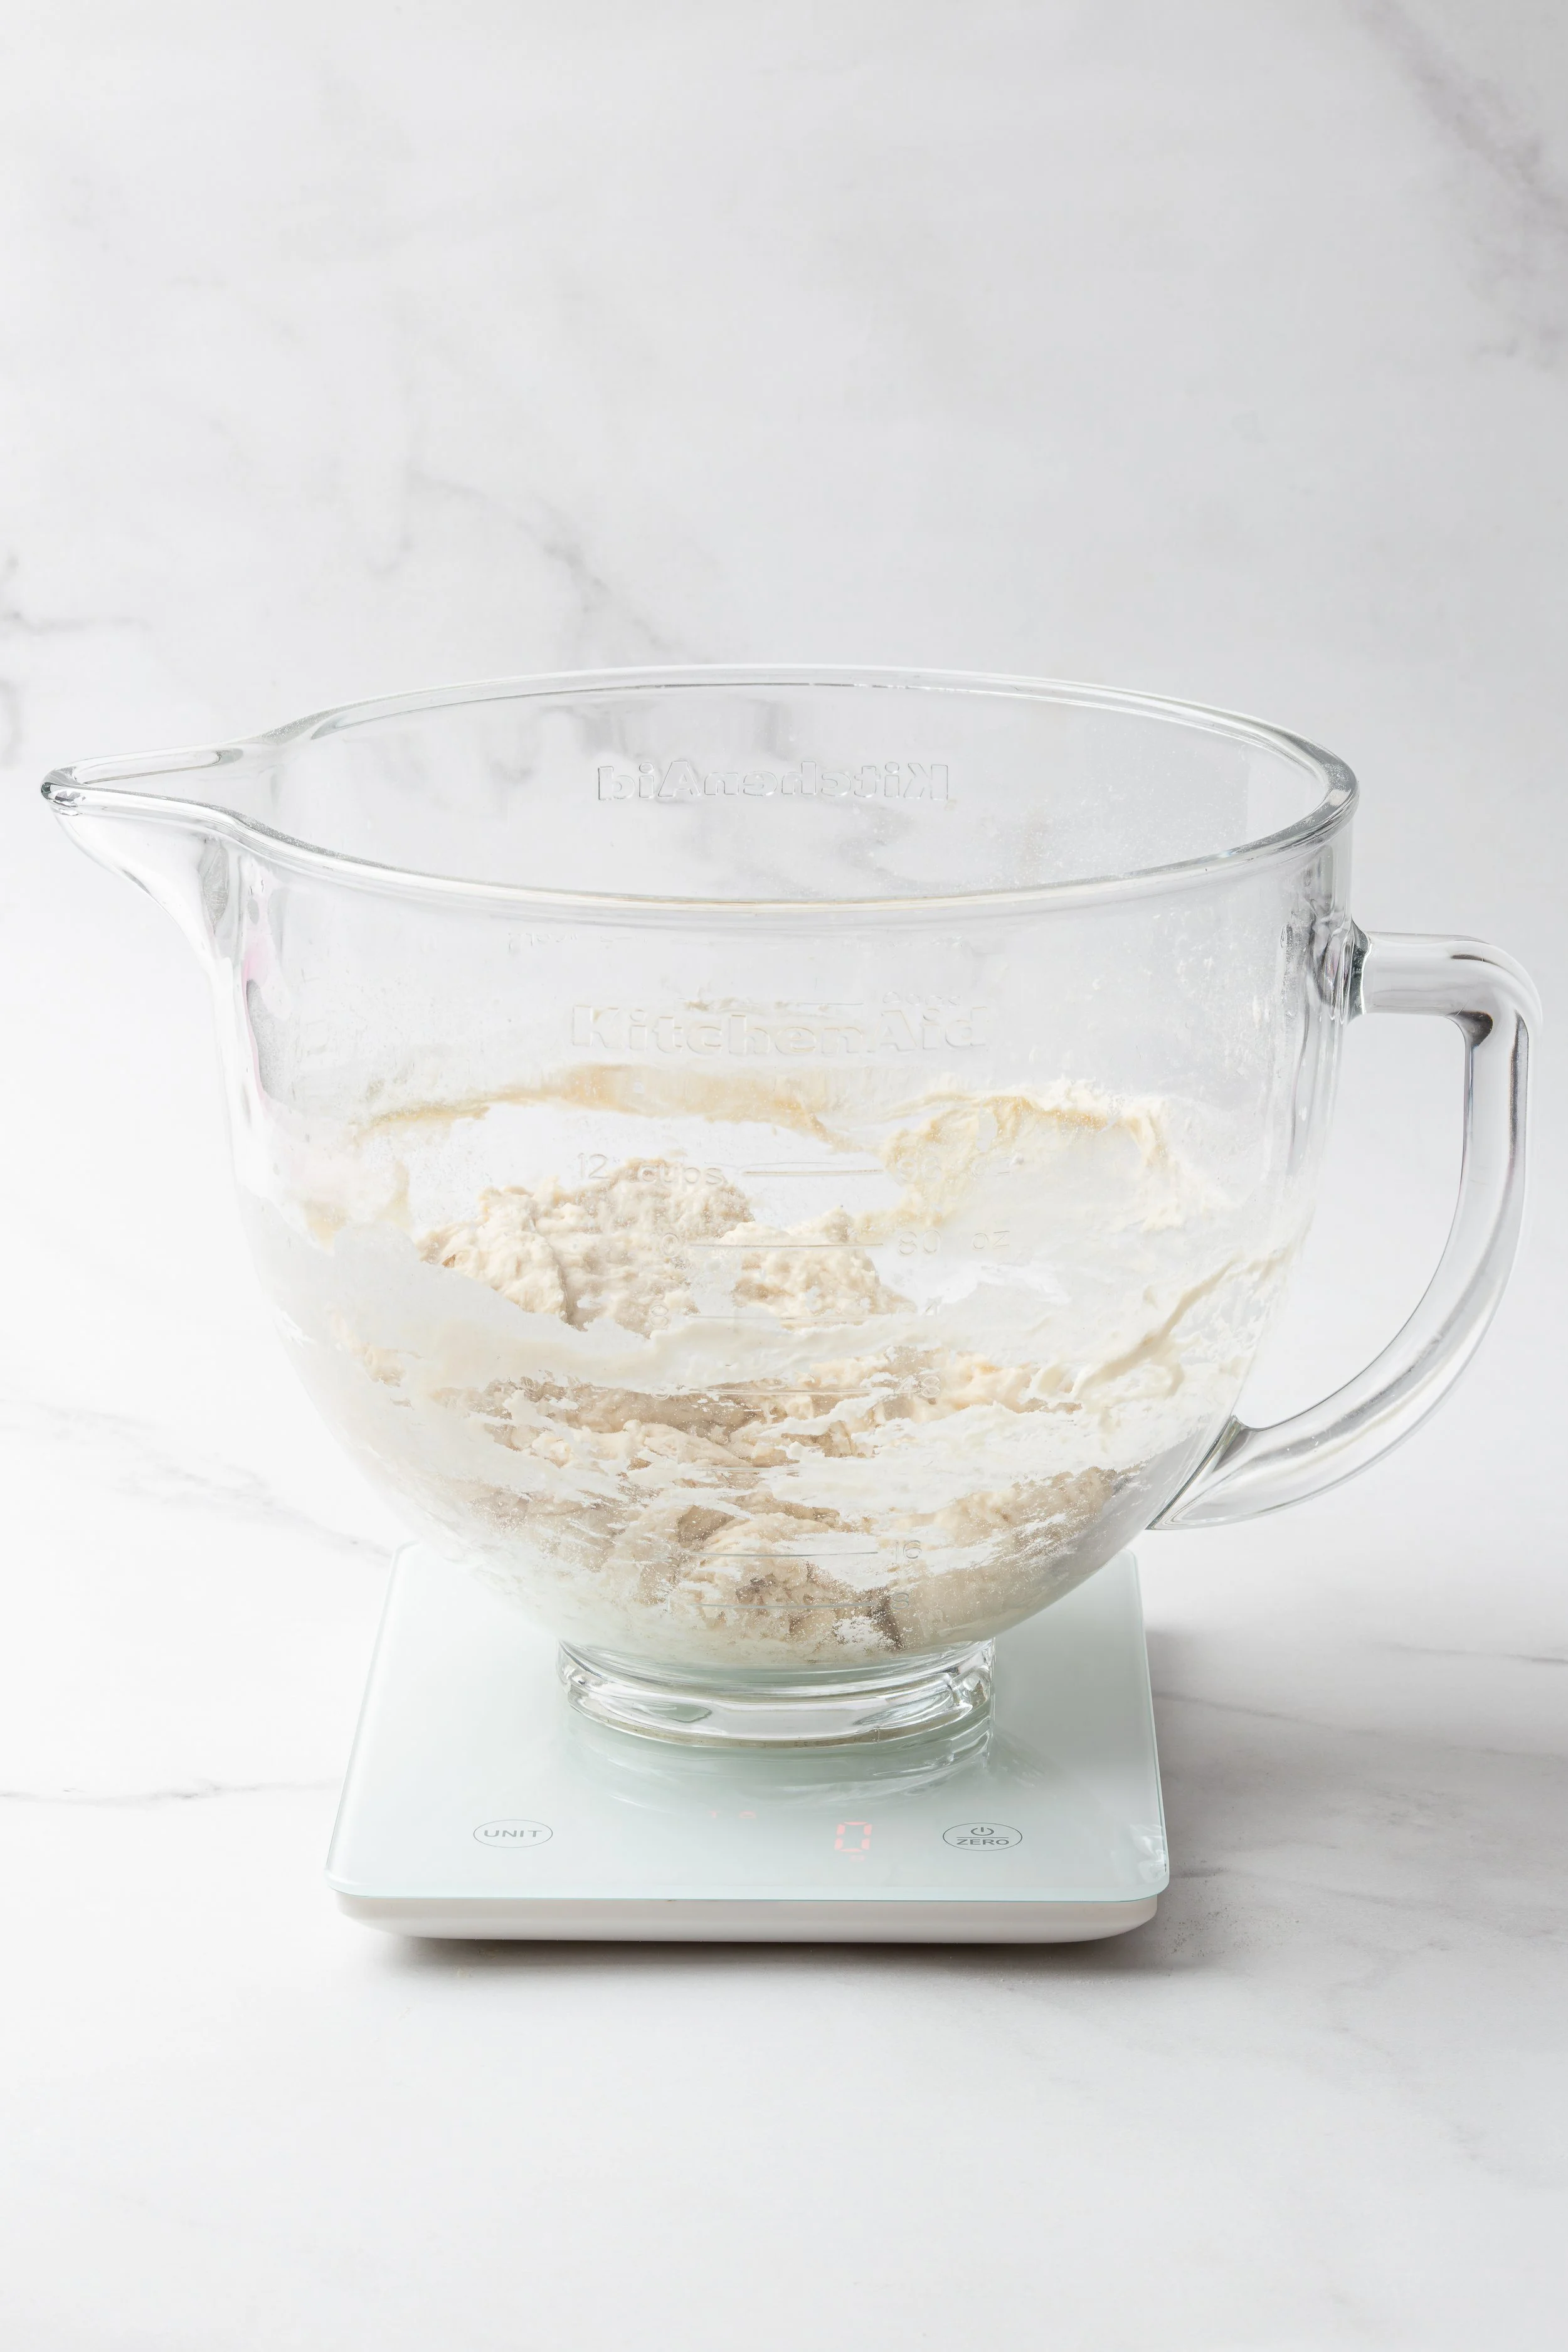
Mix (with a dough hook or your hands) the flour and water until clumpy and no dry flour remains.
Leave this to rest covered with a clean tea towel for about 30 - 60 minutes while you wait for your starter to reach peak or double its volume.
STEP 4 - ADD THE LEVAIN TO THE AUTOLYSED DOUGH (Saturday around 12.30pm)
Once the levain reaches its peak (at least double in volume), add 100g levain to the autolysed dough.
Mix it well (using a dough hook or with your hands) until uniform (you might have to scrape down the sides with a dough scraper once in a while).
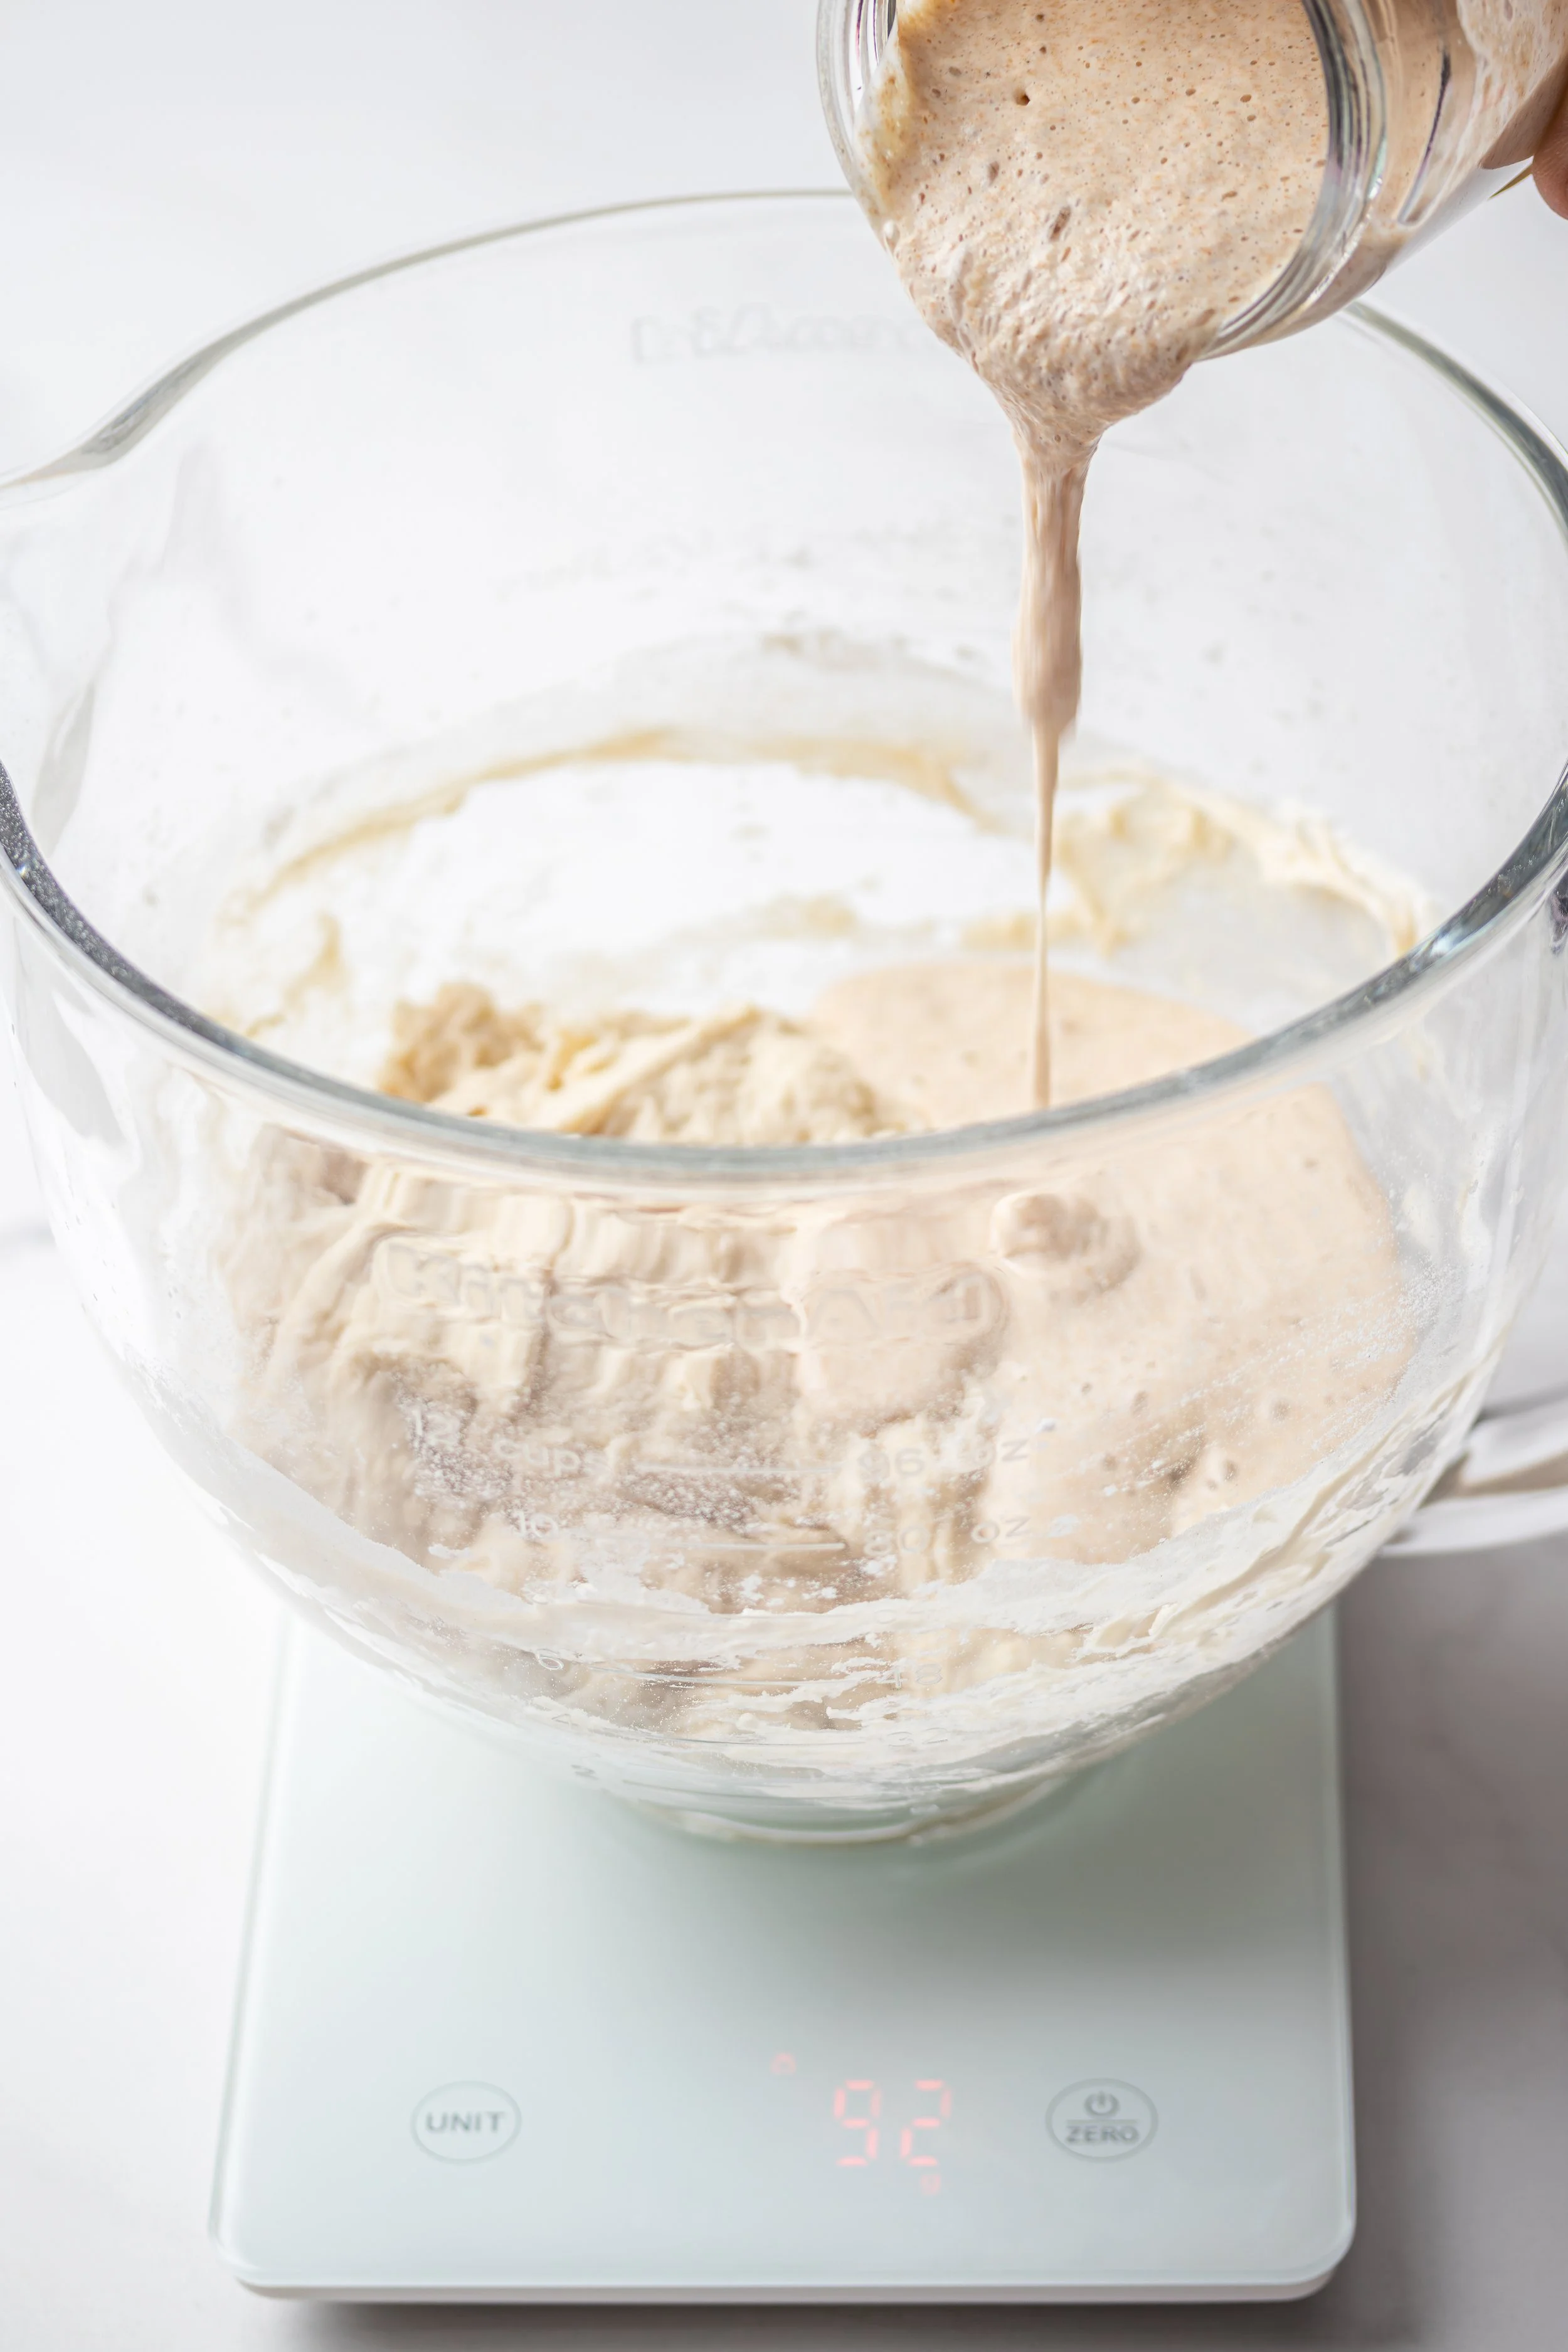
Add 100g levain to the autolysed dough.
STEP 5 - ADD THE SALT AND MIX THE DOUGH WELL - around 12:45pm
In a small bowl, combine 10g fine salt with the remaining 10g of water.
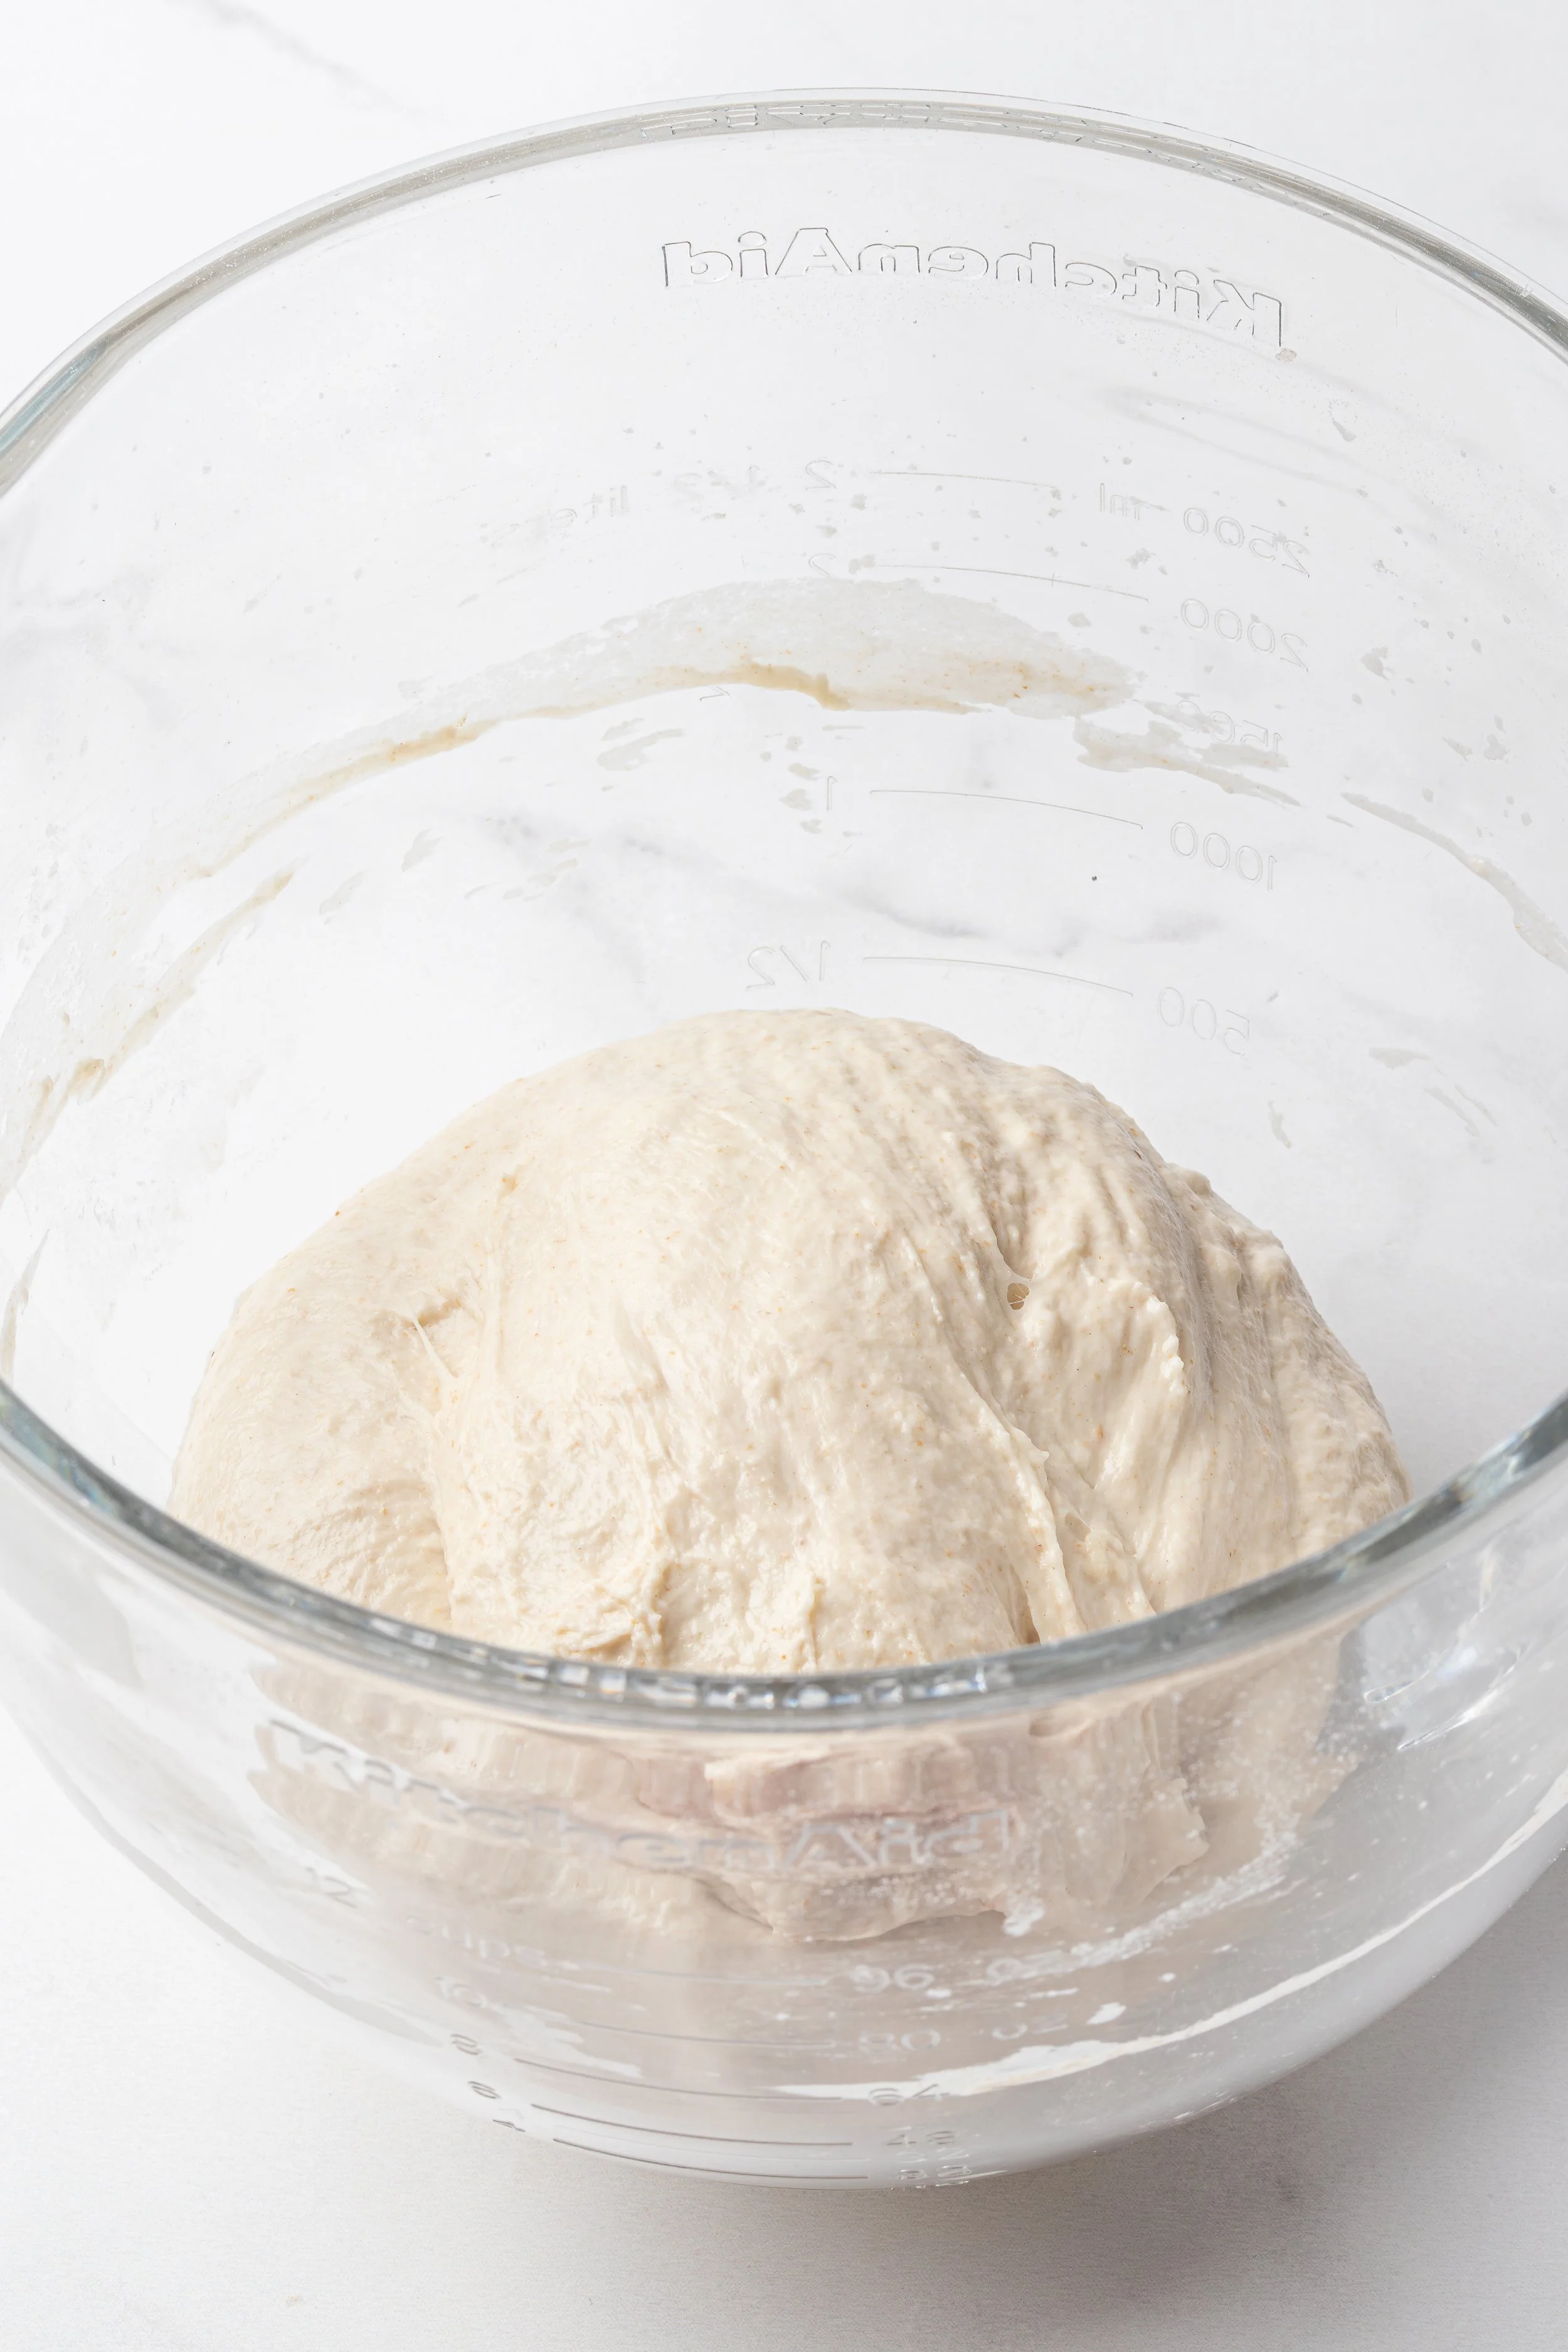
Add this to the dough and knead the dough really well with a dough hook or your hands.
Cover the bowl and leave it in a warm, room temperature spot for 30 minutes.
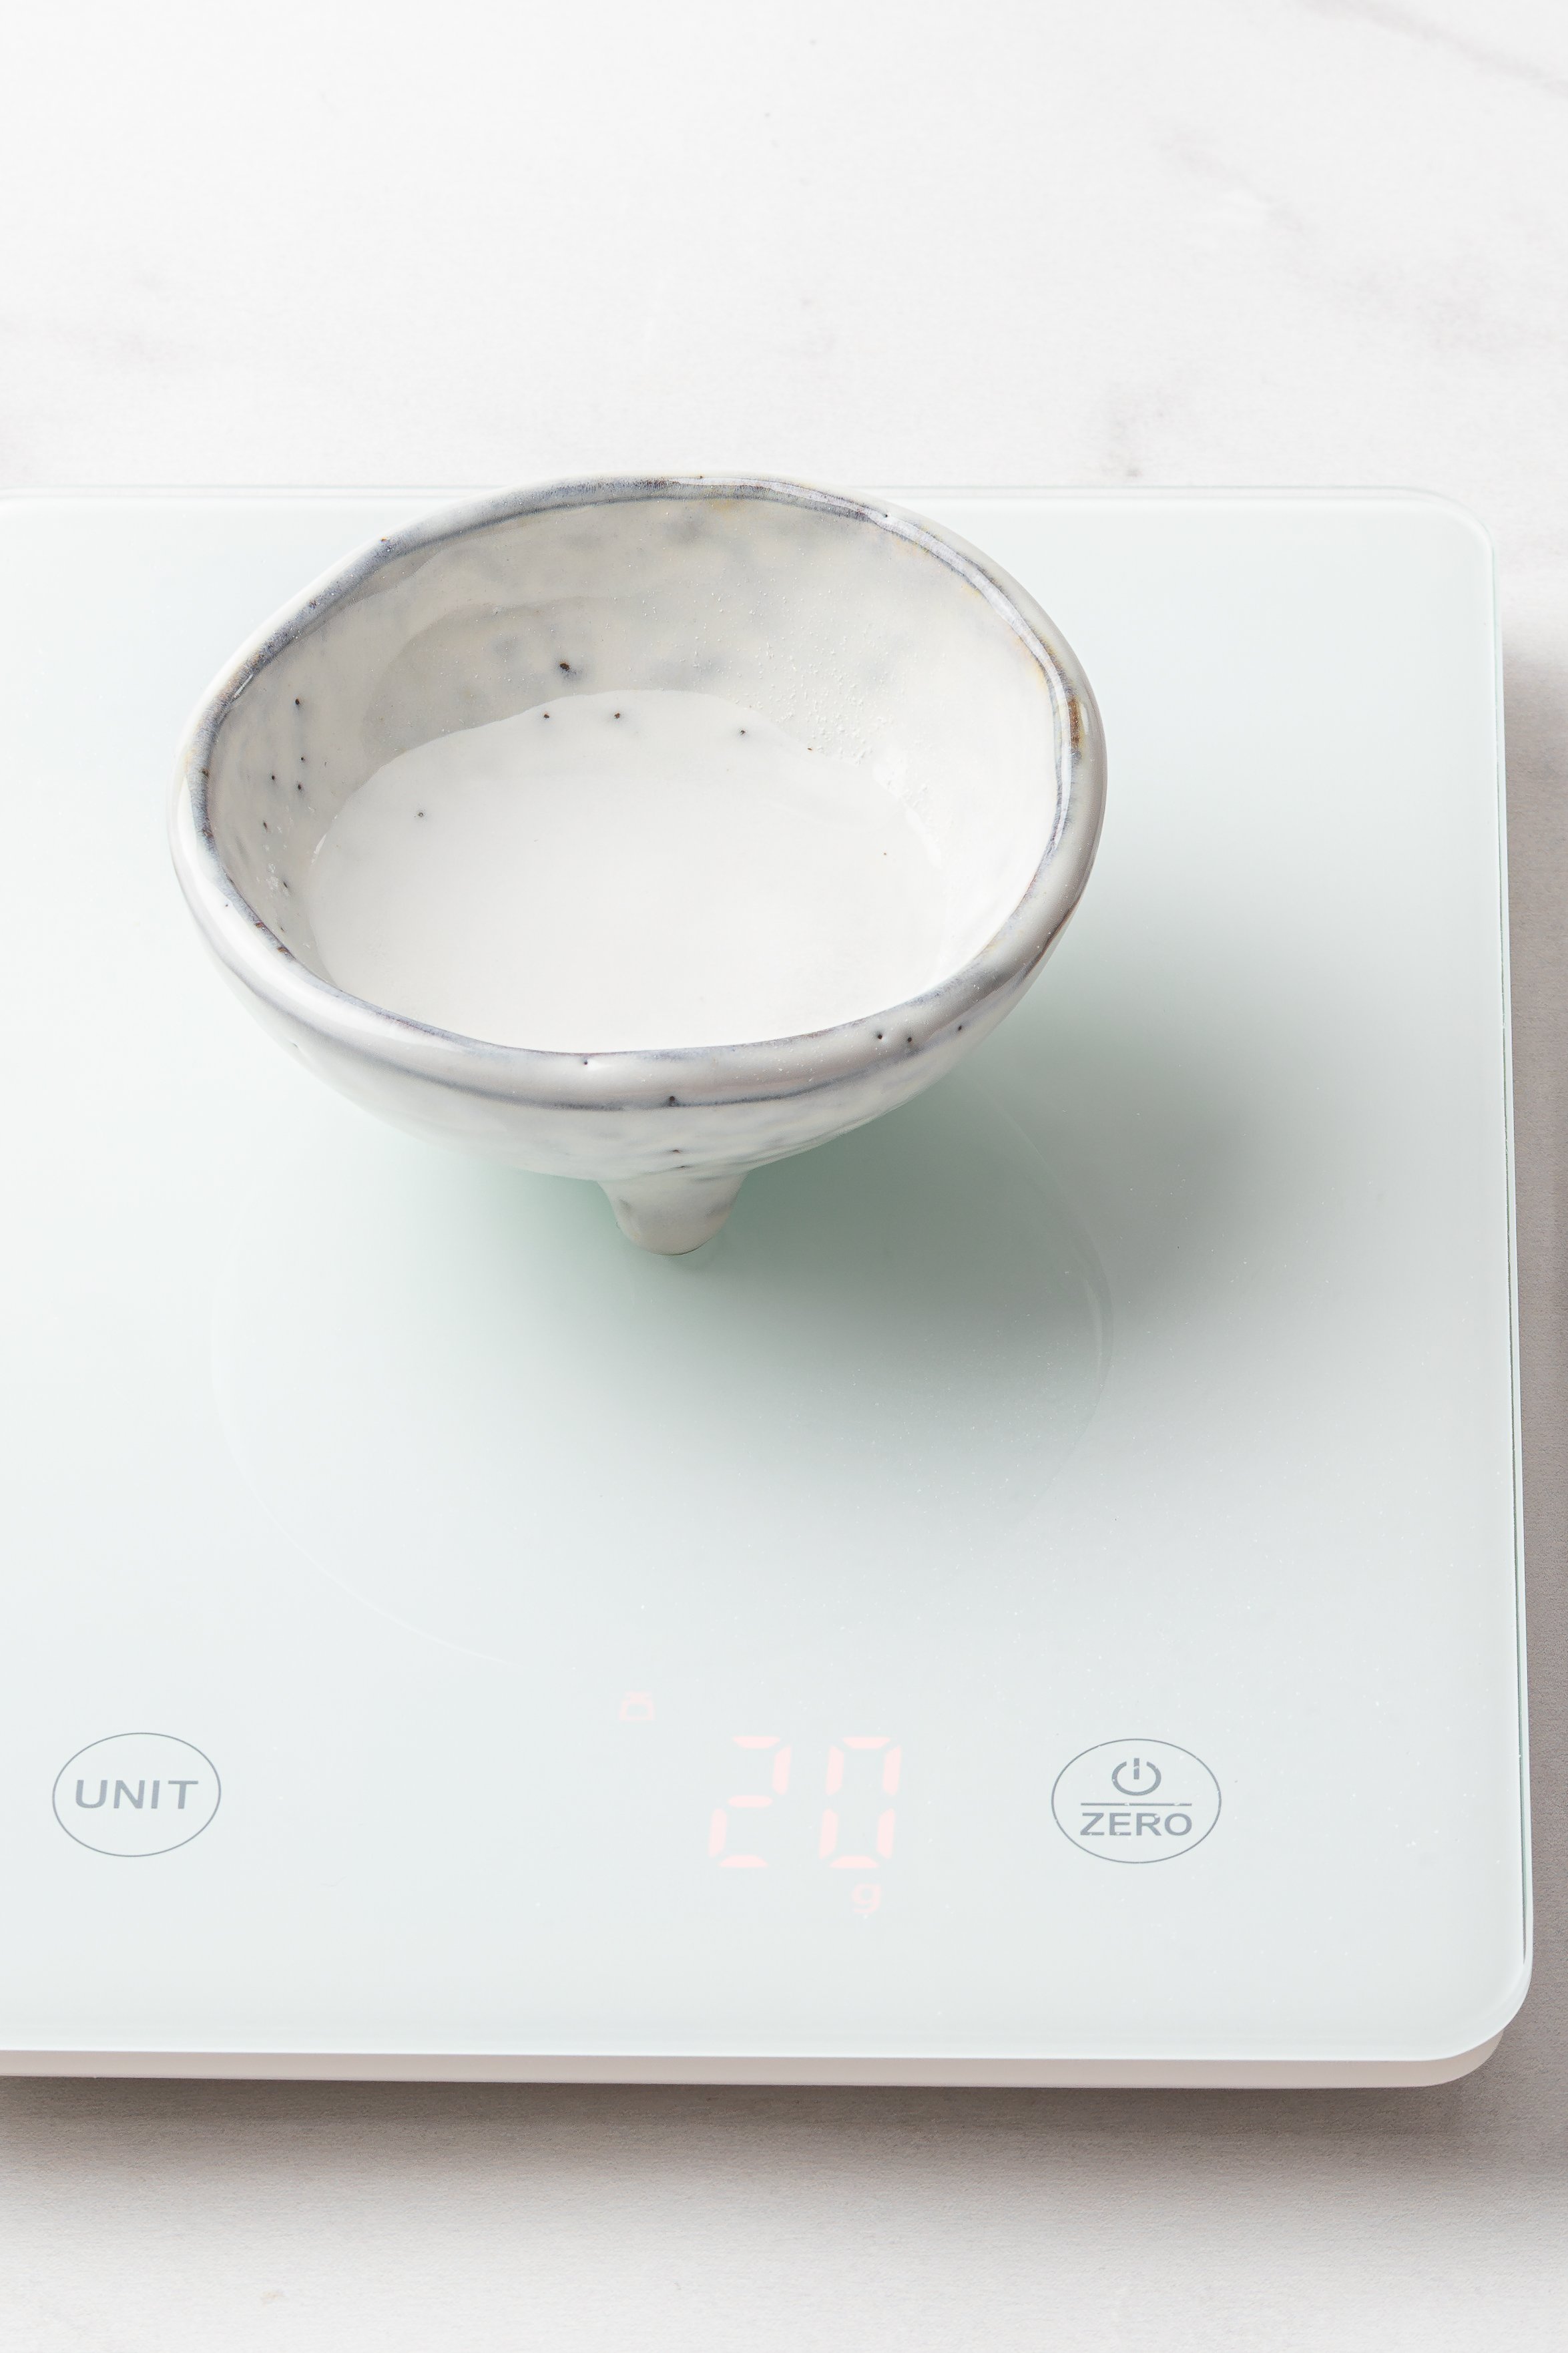
10g of fine salt + 10g of water combined before adding the mixture to the dough.
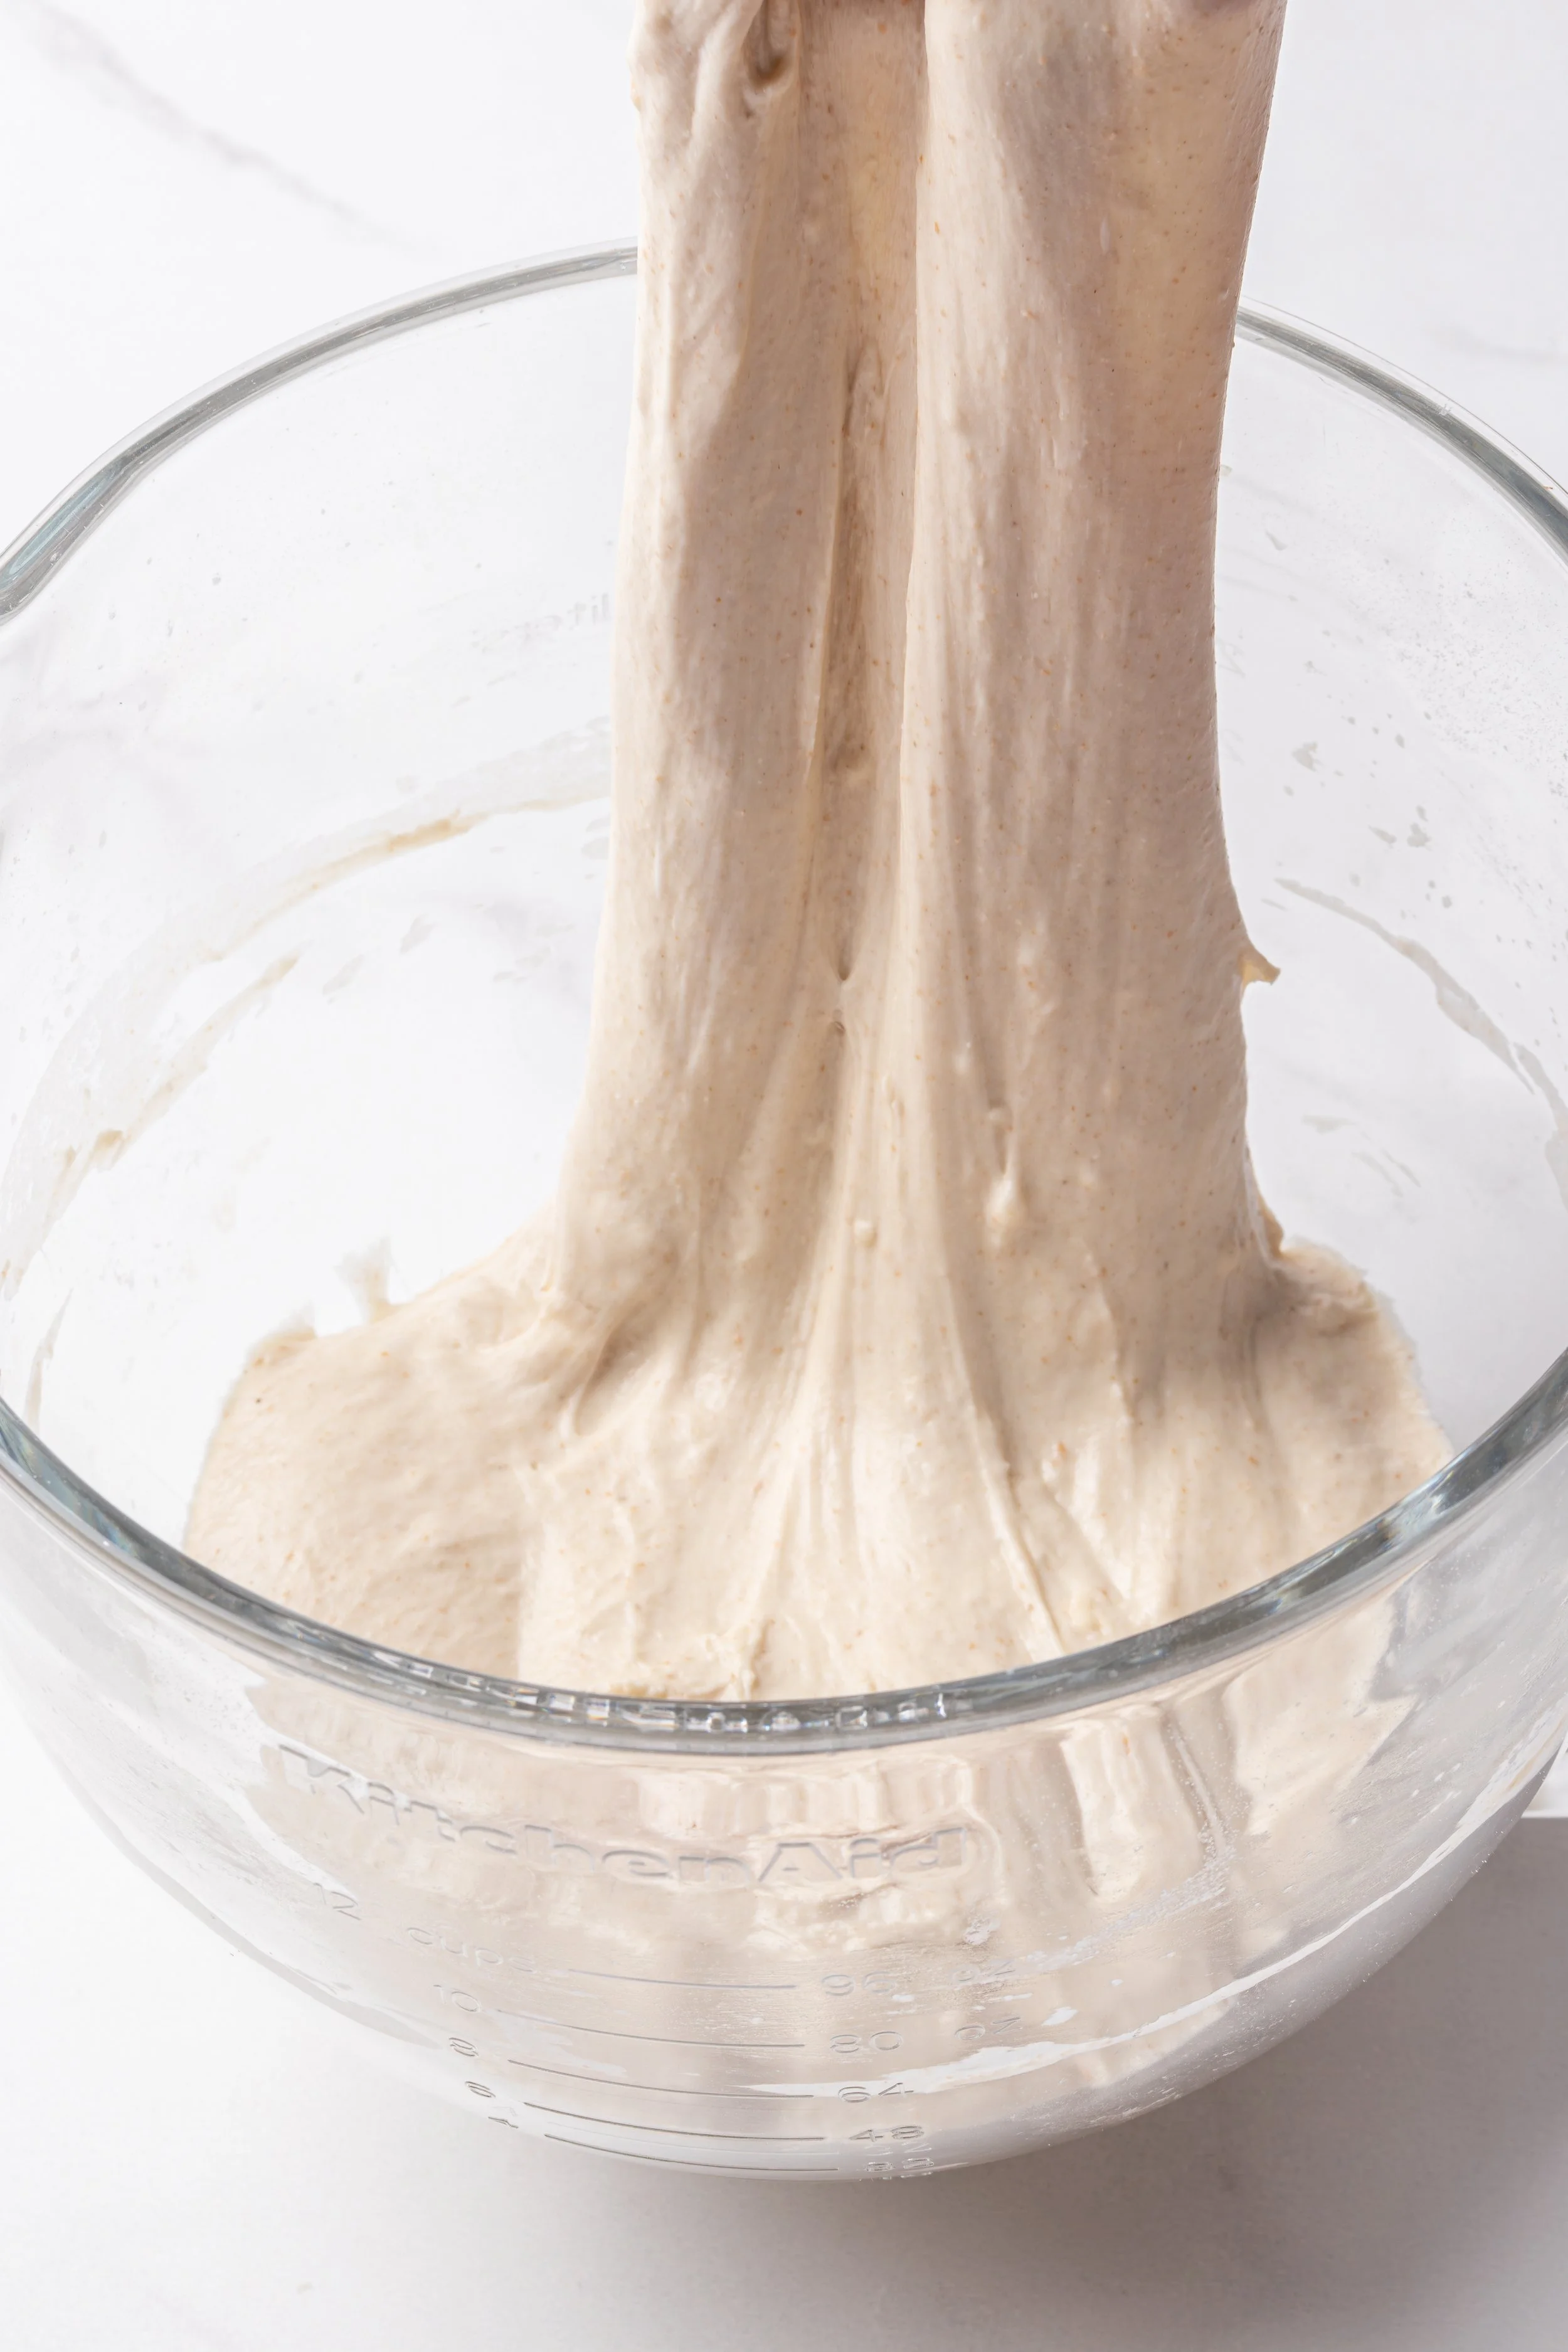
NOTE: Do not rush mixing/kneading the dough really well at this stage as it will influence the gluten network and ultimately the shape of the final bread! I knead my dough really well at this stage with a free-standing mixer fitted with a dough hook (resting my machine a few seconds once in a while) until the dough is elastic. You can do a ‘windowpane test’ by taking a small portion of dough and stretch it into a square with your fingers. The dough should stick together and appear almost transparent, like a window. If the dough breaks very quickly, the gluten strands are too weak and more kneading is needed.
After mixing my dough well, I check the temperature of the dough with a thermometer measured in the centre. I aim for between 24–26°C (Final Dough Temperature), as this is ideal for most sourdough. If the temperature is lower than this, I keep kneading the dough on a slow speed for a few minutes at a time until I have the desired temperature. This is one of the most important (and often overlooked) factors in making consistent sourdough.
STEP 6 - FOUR SETS OF STRETCH AND FOLDS 30 MINUTES APART - around 1.30pm/2pm/2.30pm/3pm
NOTE: The purpose of bulk fermentation is to allow the dough to develop structure, flavour, and gases before it is divided and shaped. It is one of the most important stages in making sourdough.
After about 30 minutes (after you have added the salt), do one set of stretch and folds:
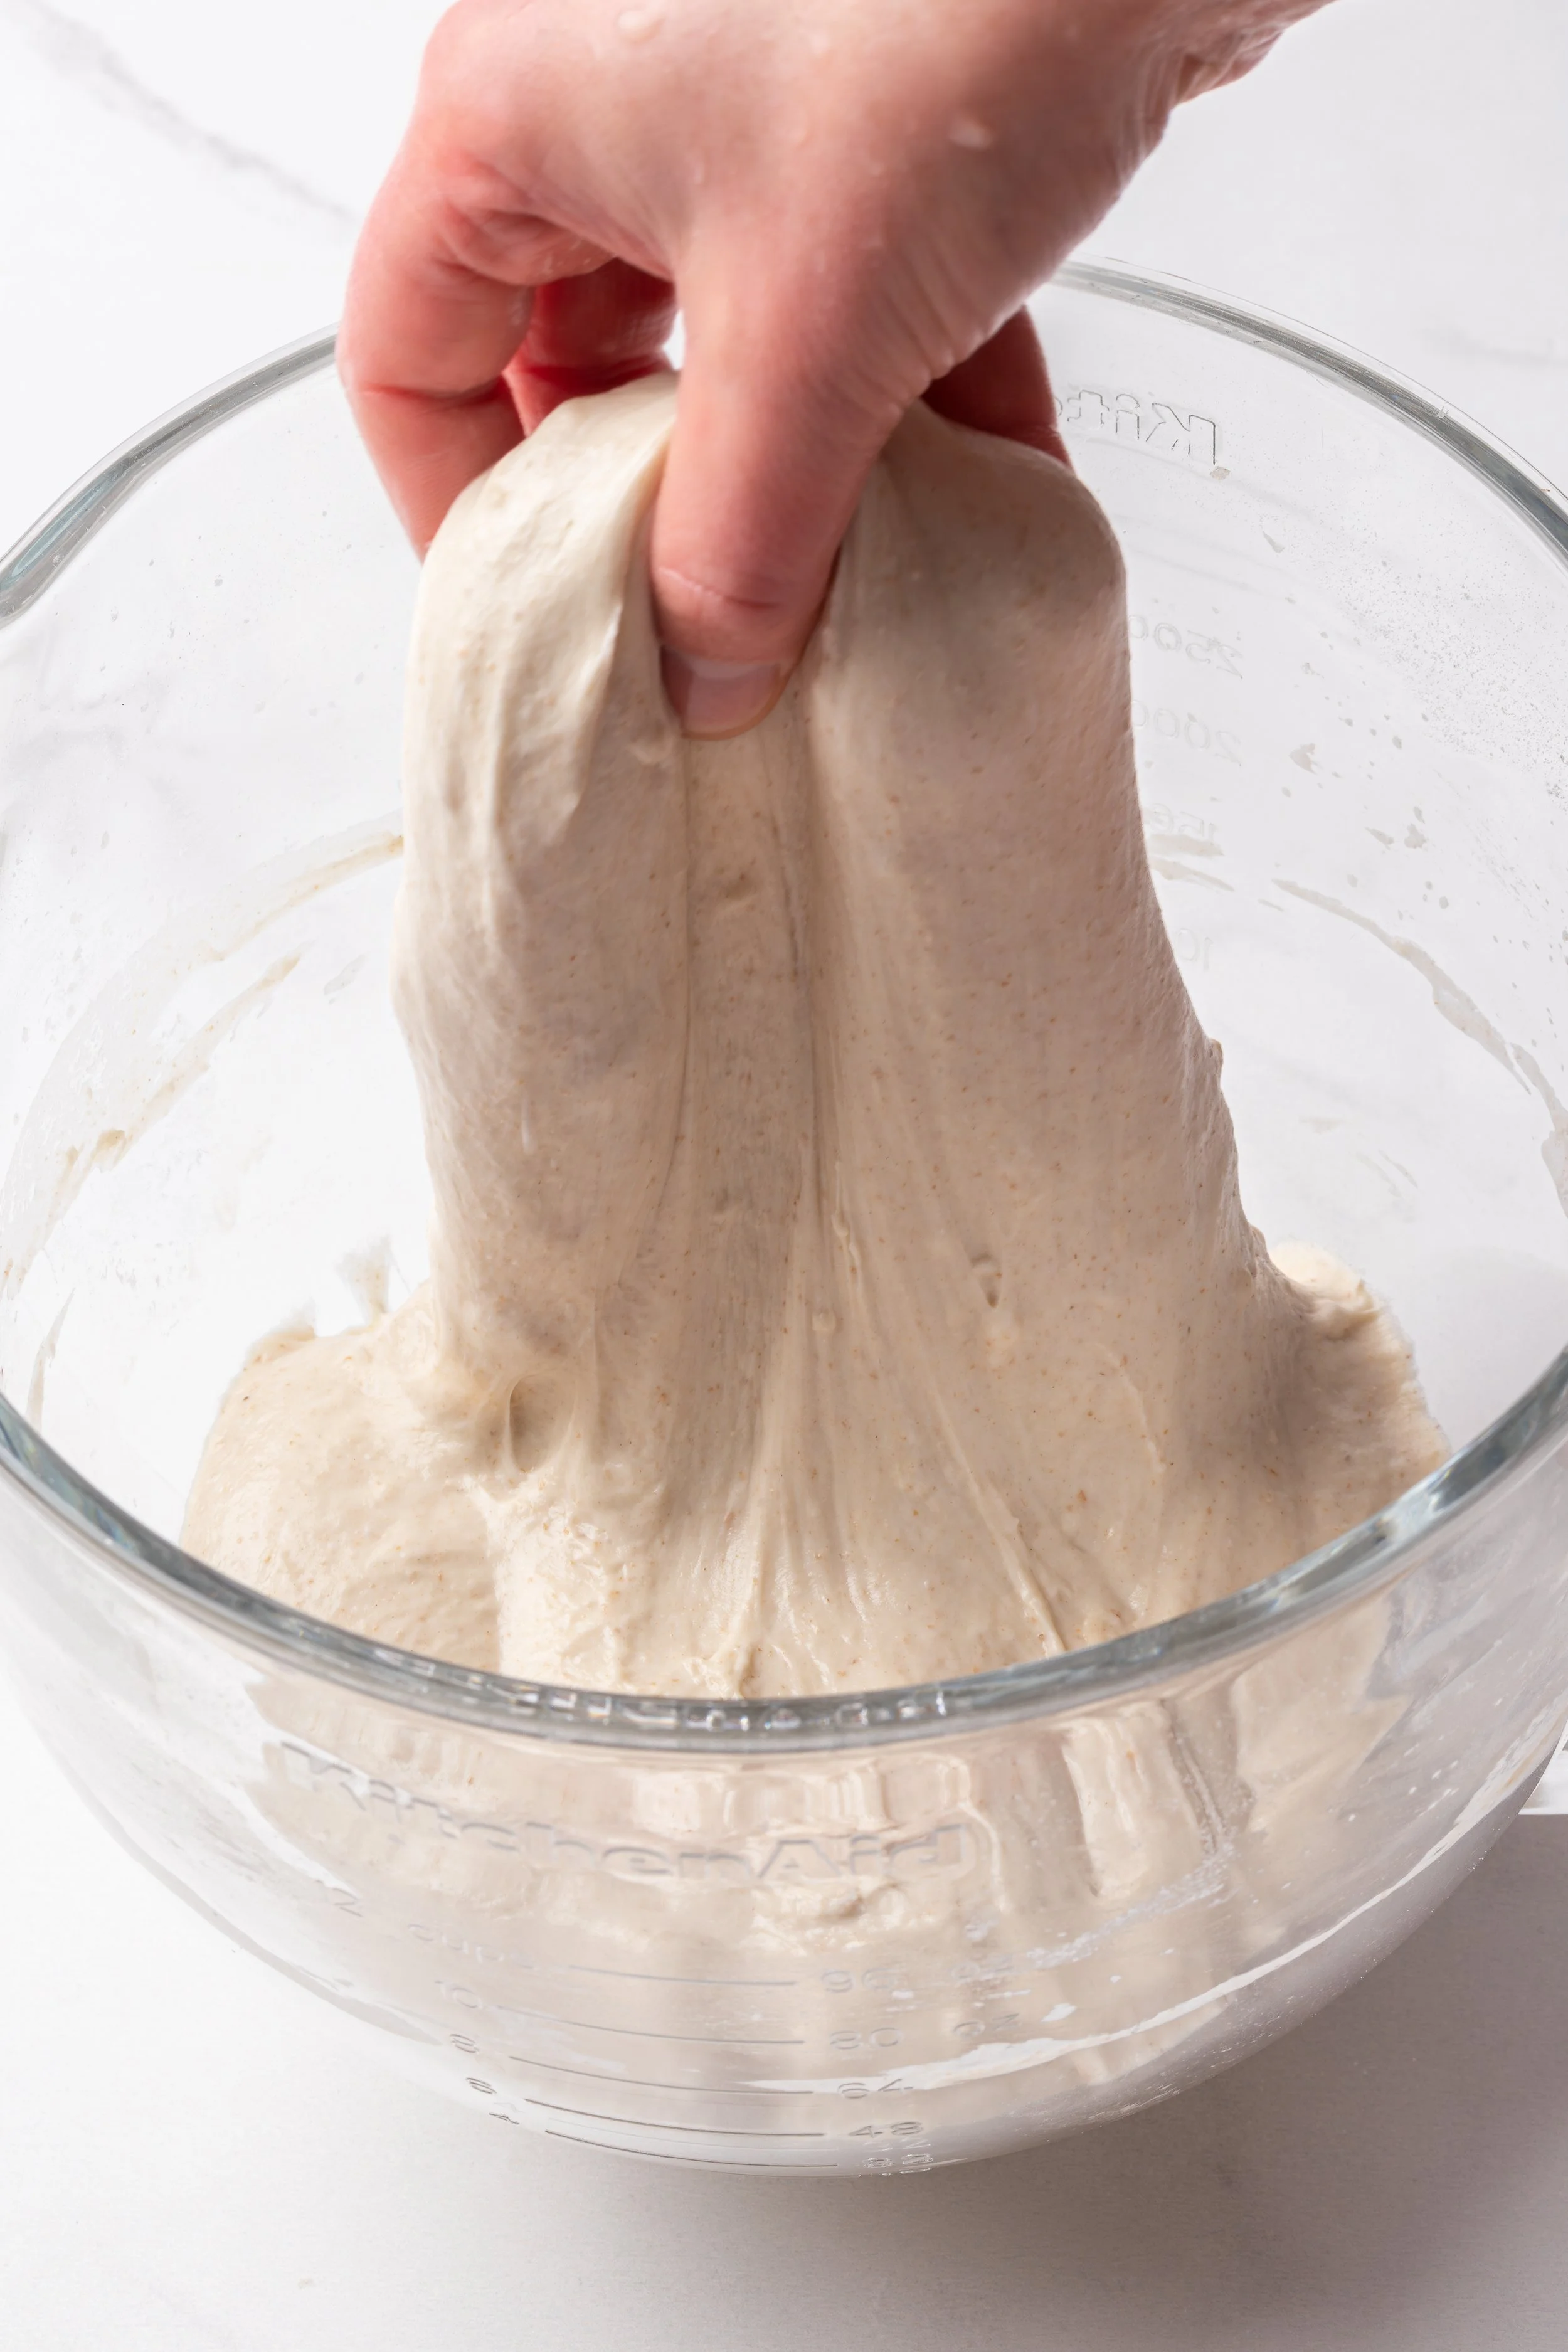
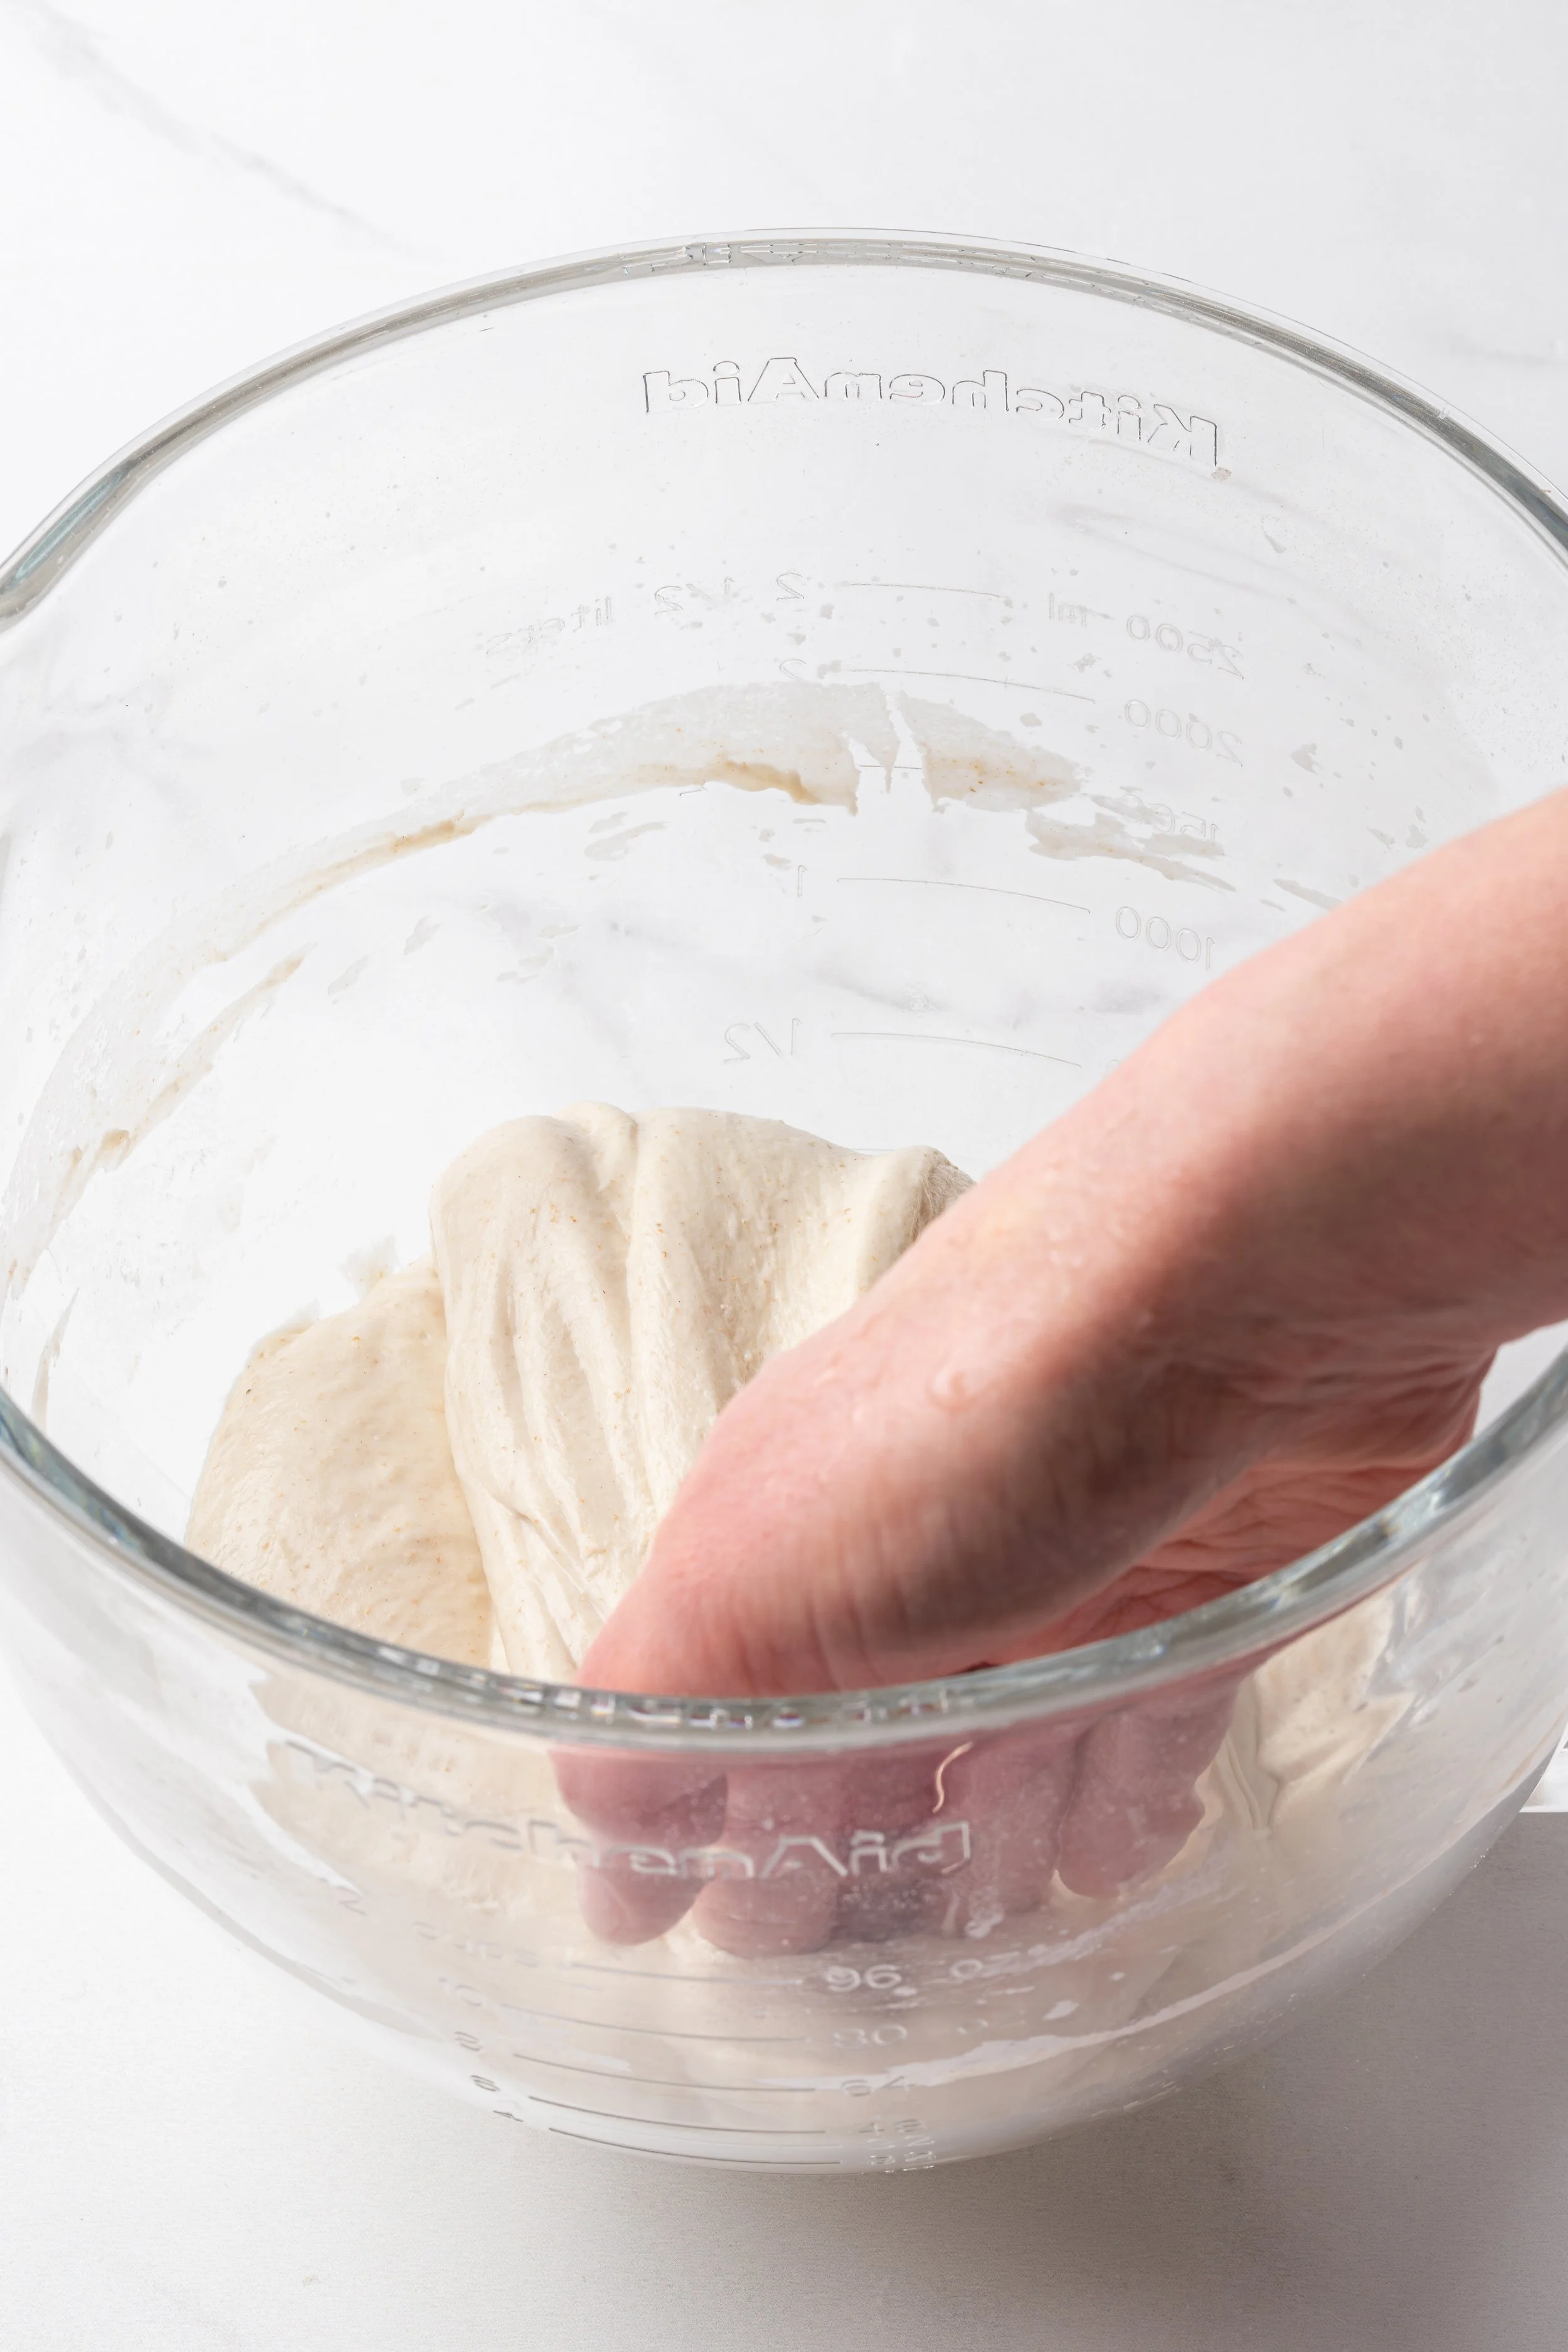
Wet your dominant hand with water, grab a part of the dough and stretch it upwards, then fold the dough onto itself. Do a quarter turn of the bowl and repeat until you have done four of these stretch and folds (in all four ‘corners’ of the dough), turning the bowl by a quarter turn each time. This is one set. You need to do about four sets of stretch and folds 30 minutes apart.
Cover the dough each time and place it in a warm, room temperature spot (24–26°C is ideal).
STEP 7 - UNDISTURBED BULK FERMENTATION - around 3pm to 7pm+
NOTE: The reason for leaving the dough undisturbed is that it now needs time to ferment, expand, and organize its internal structure without being deflated.
Leave the dough covered and undisturbed for anything between 4 - 6 hours in a warm, room temperature spot (24–26°C is ideal).
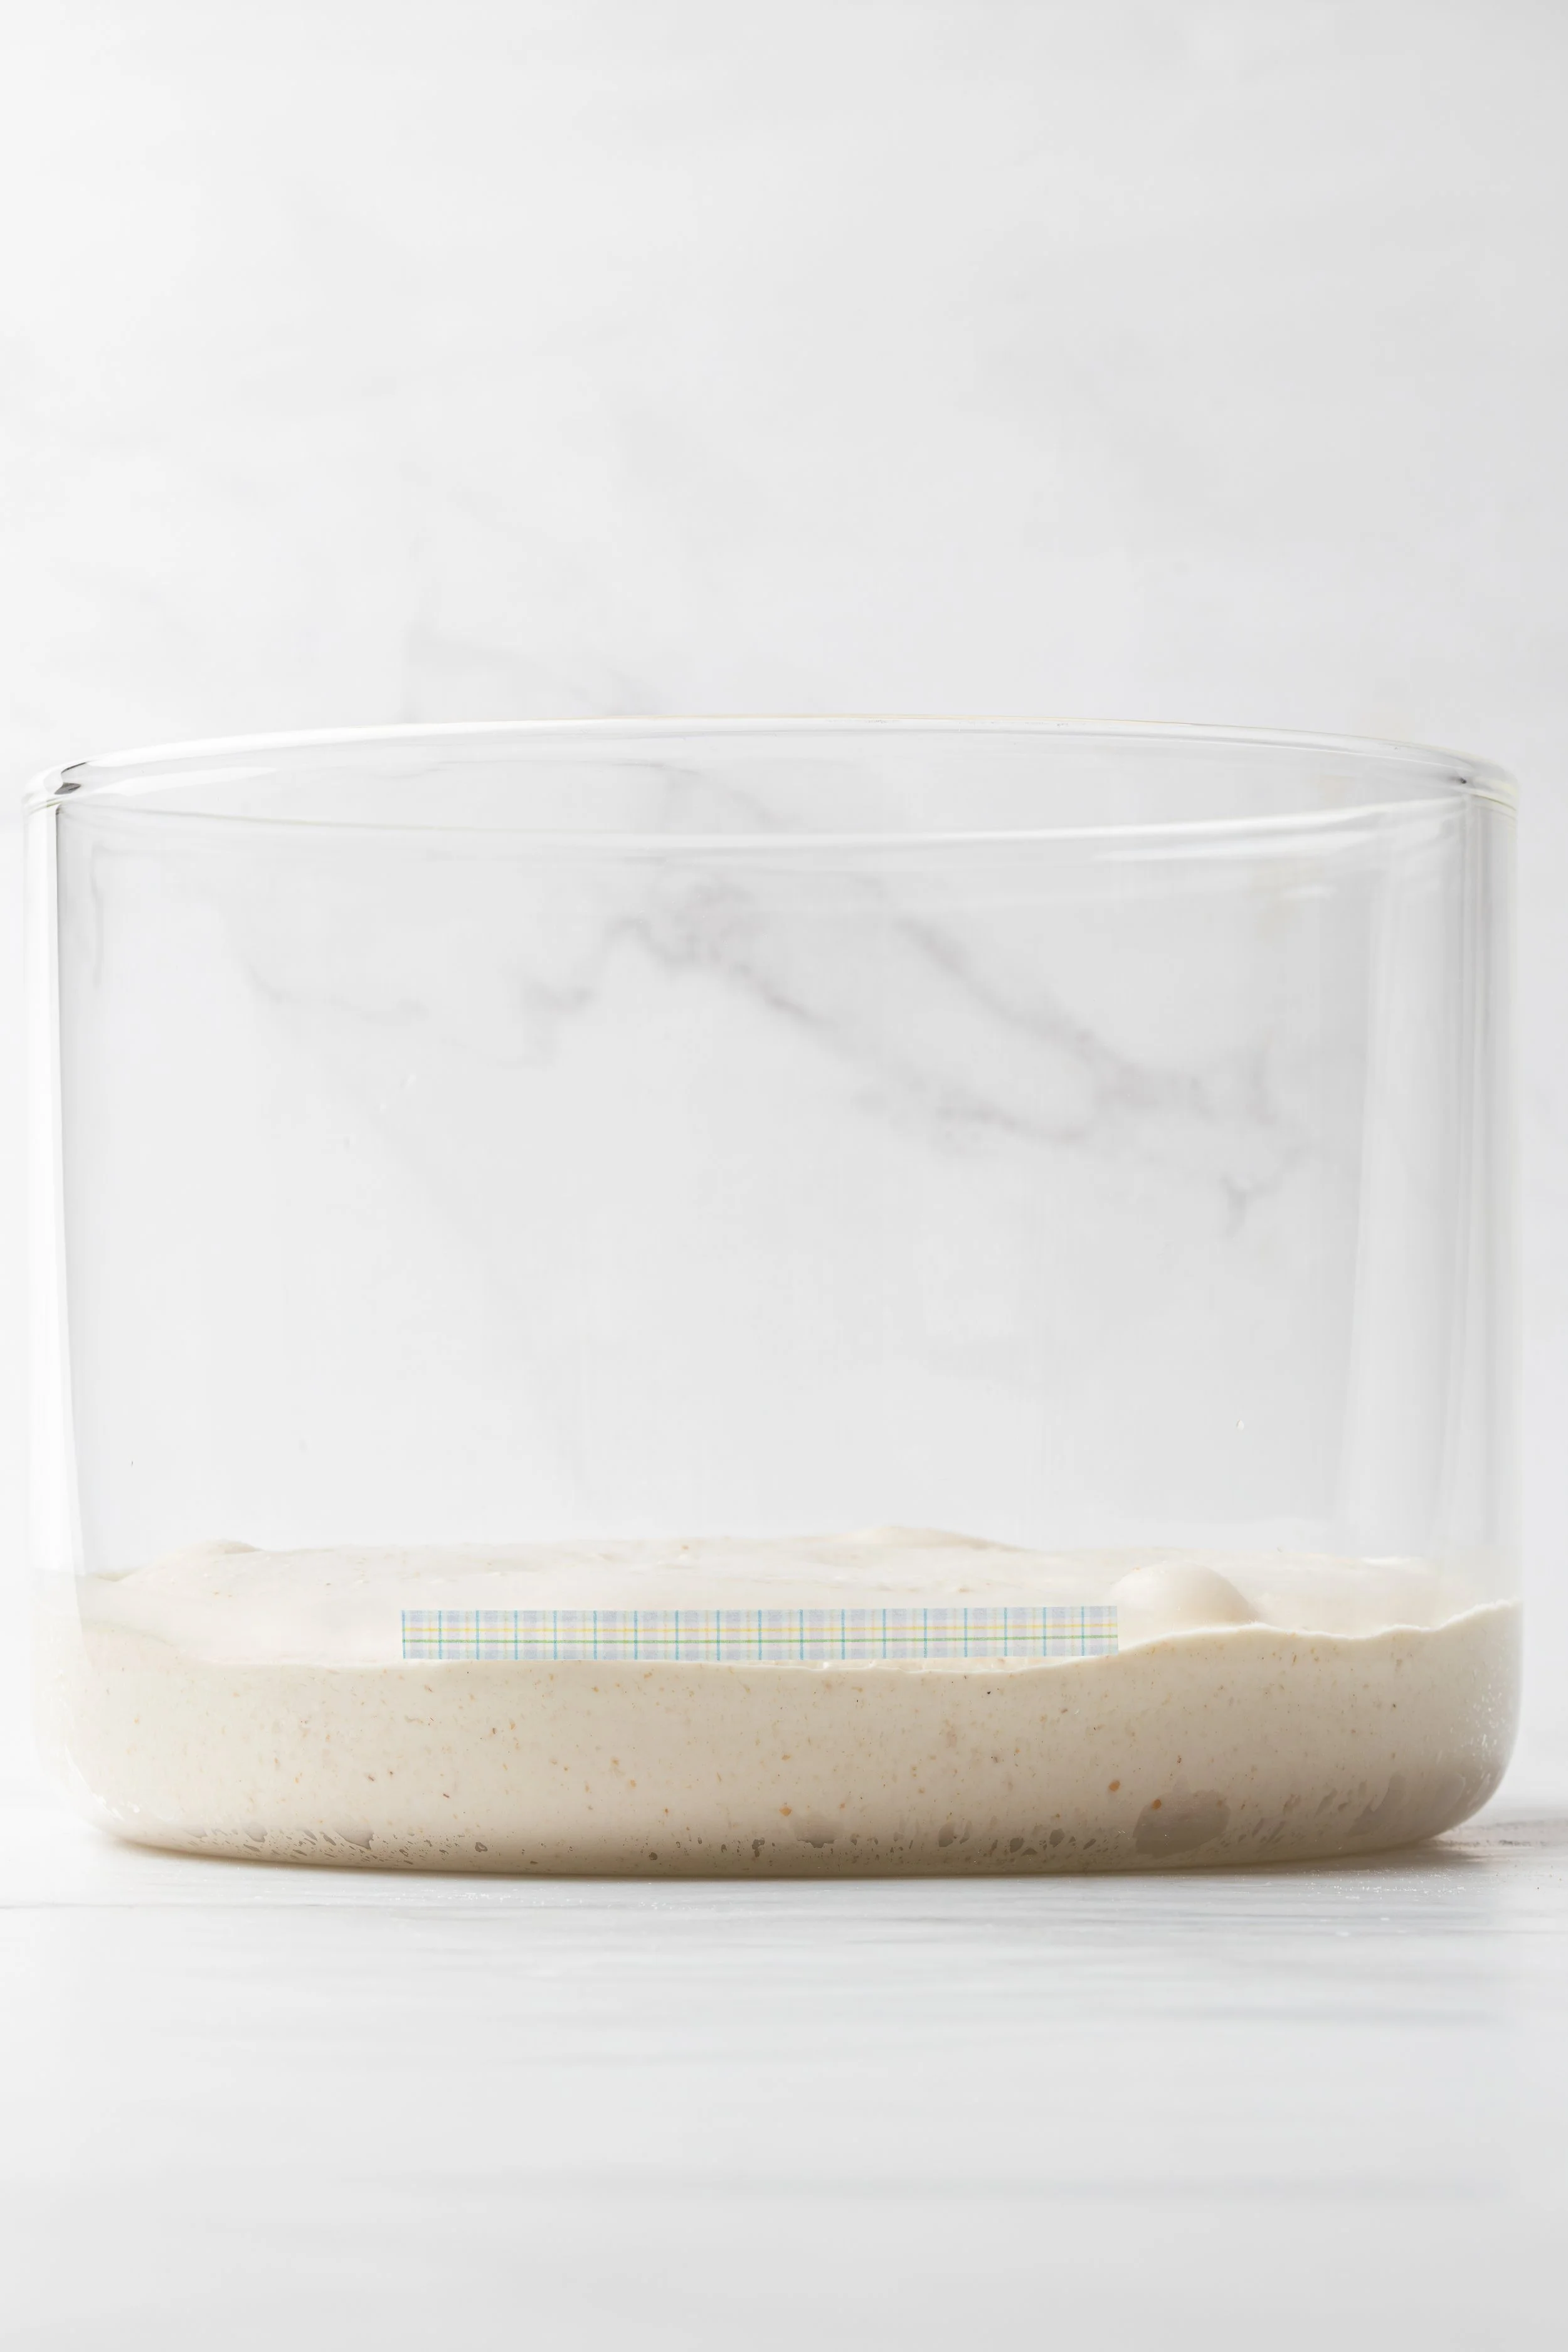
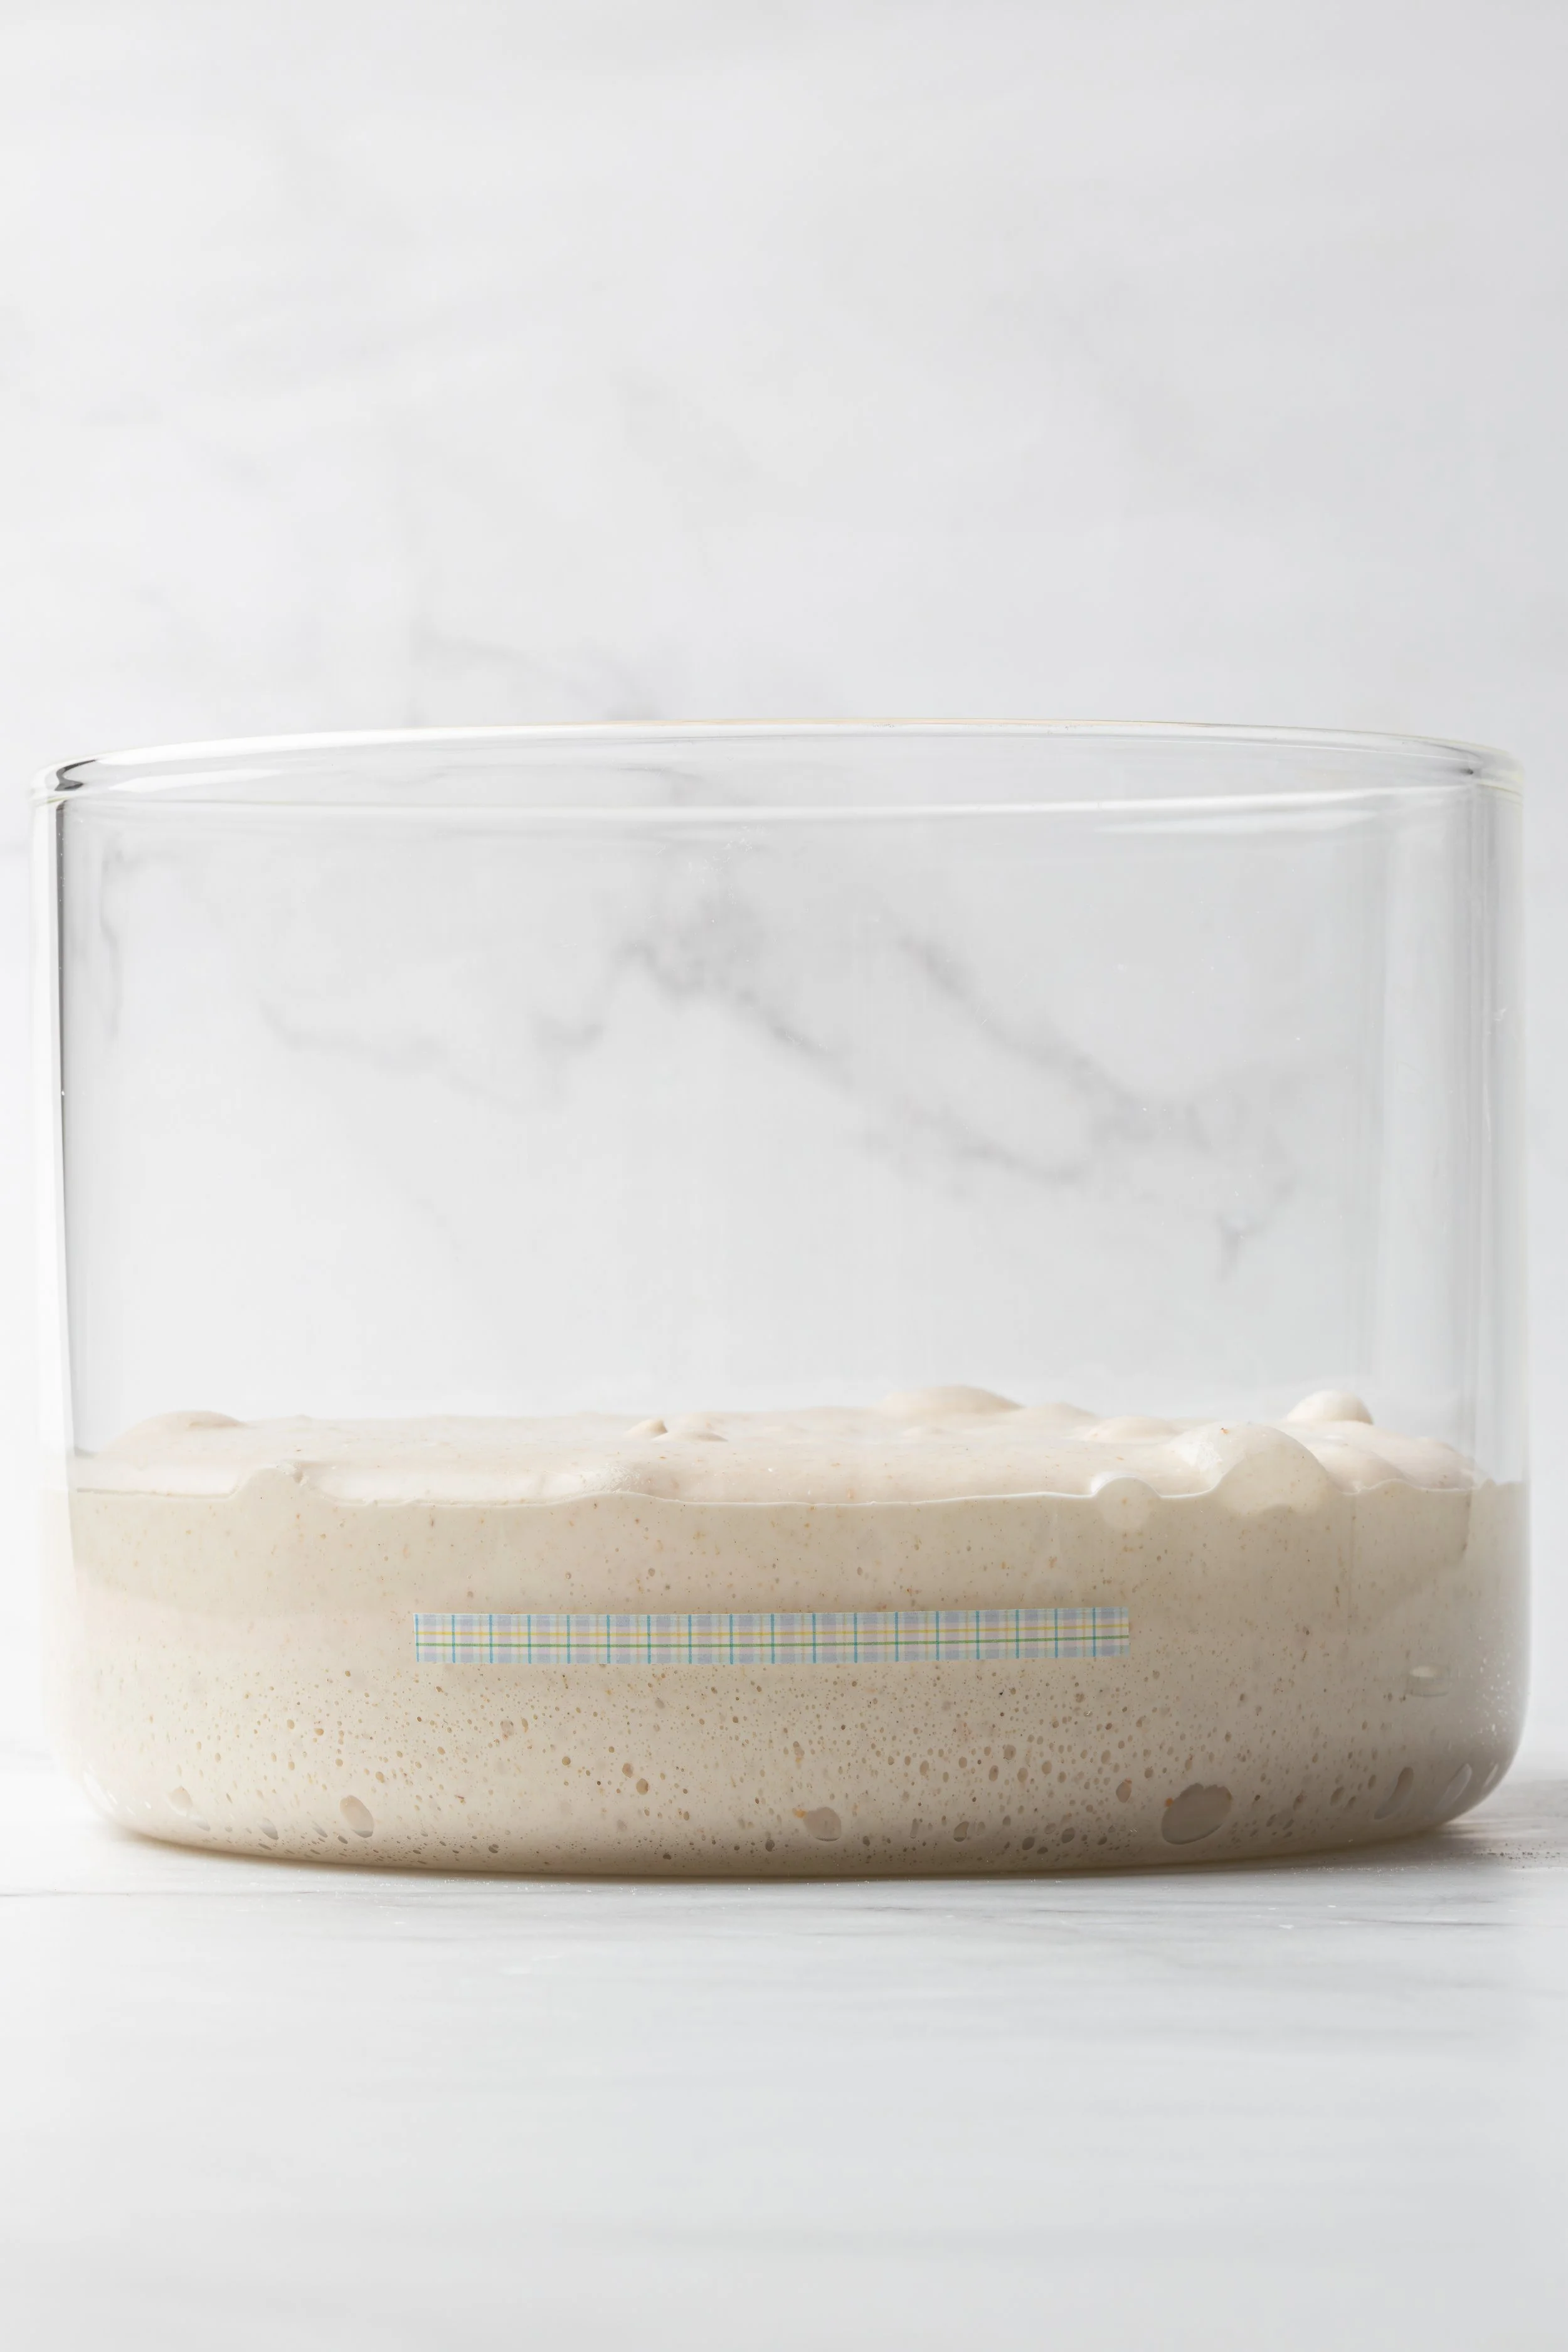
This step is done when the dough has increased in volume by about 75% (more than this and you risk over-fermenting the dough, which results in a flat loaf, pale crust, irregular crumb with large holes near the top and dense areas elsewhere).
You can use a clear-sided container to watch the rise (mark it at the start).
Judge bulk fermentation by the dough's appearance and feel—not the clock.
The dough should look smooth with bubbles, with a slight dome to it and jiggle when the bowl is shaken.
STEP 8 - SHAPE THE DOUGH AND PLACE IT IN A PROOFING BASKET (Saturday evening)
NOTE: There are many ways to shape the dough. You essentially want to create surface tension (which encourages a taller loaf) and to redistribute the gas and remove some oversized bubbles that could create too many large voids.
Prepare a banneton (bread proofing basket, I use a 23cm diameter round rattan one with or sometimes without a linen liner) or a bowl lined with a clean tea towel by dusting it well with flour (if you have access to it, rice flour works even better to dust the banneton as it is much less likely to absorb moisture and become sticky).
Shape the dough by tipping it out onto a floured surface.
I pinch the opposite ends then roll the dough up (I sometimes roll it up twice until I see and feel nice surface tension like a balloon).
Place the shaped dough into the prepared basket/bowl with the seam side up. Pinch the seam a few times with floured hands to ensure a tight seam.
Dust the seam with extra flour (or rice flour) and cover the banneton/bowl well with one or two tea towels.
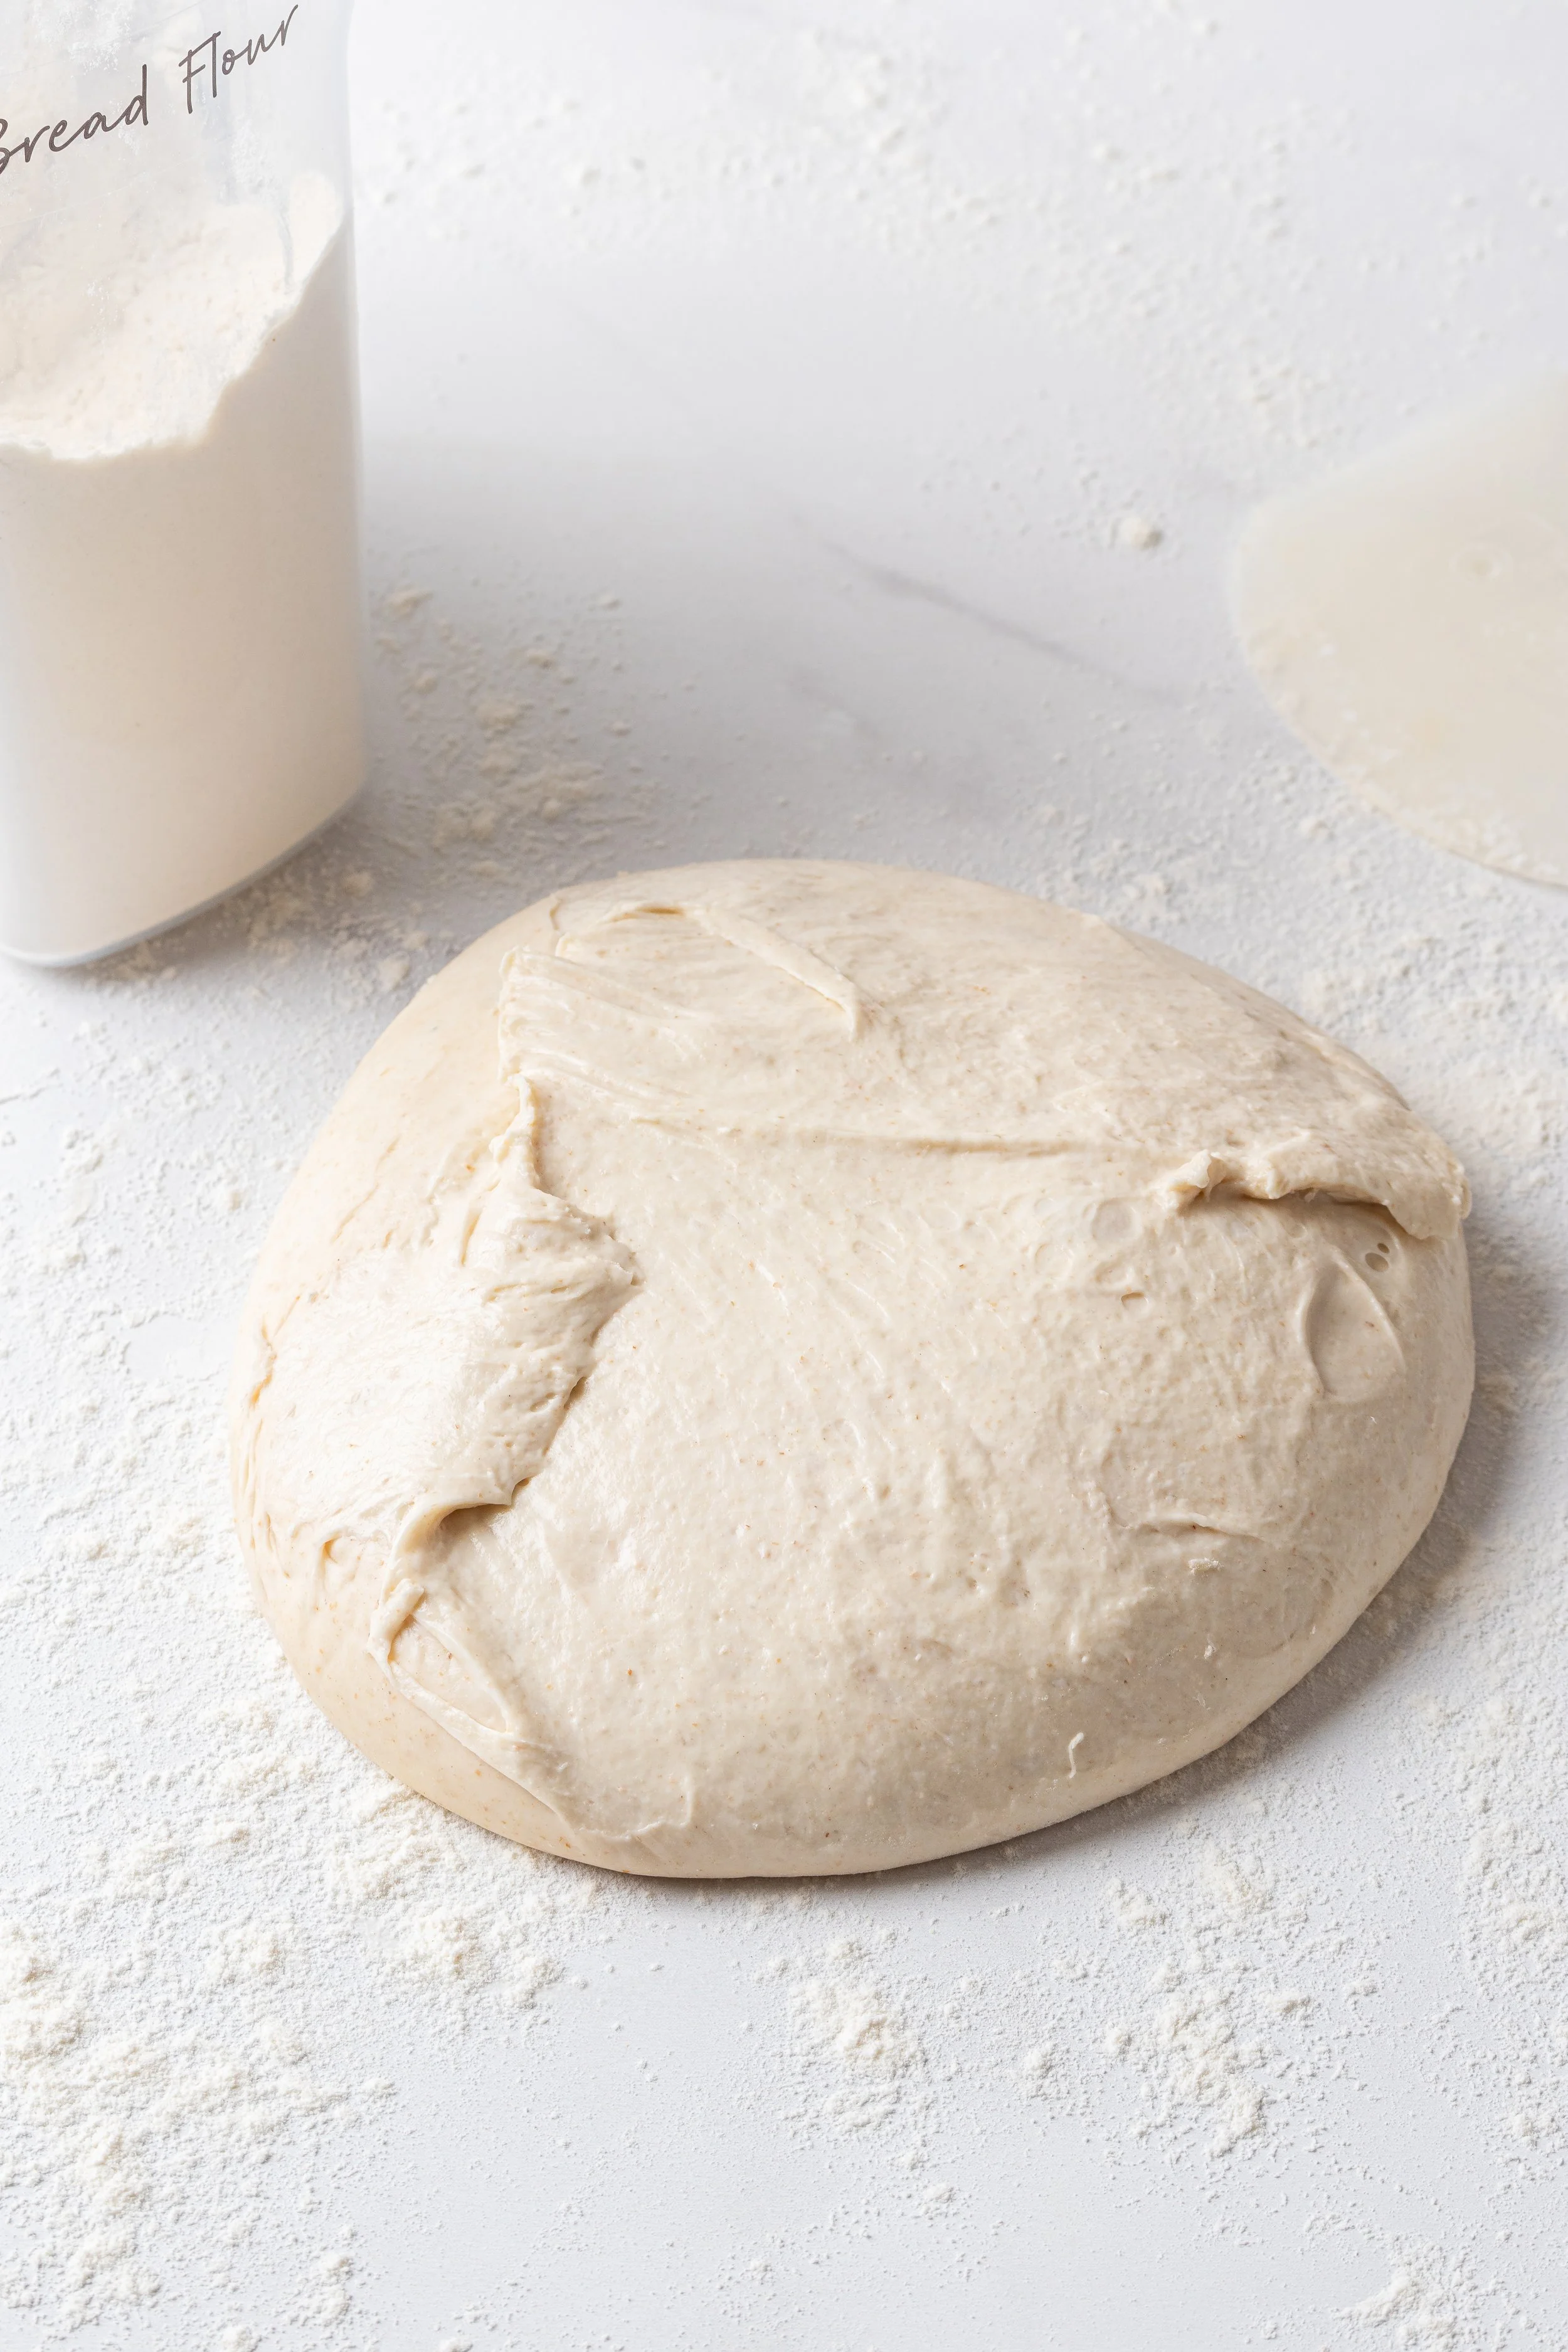
Dust your surface with bread flour before turning the dough out.
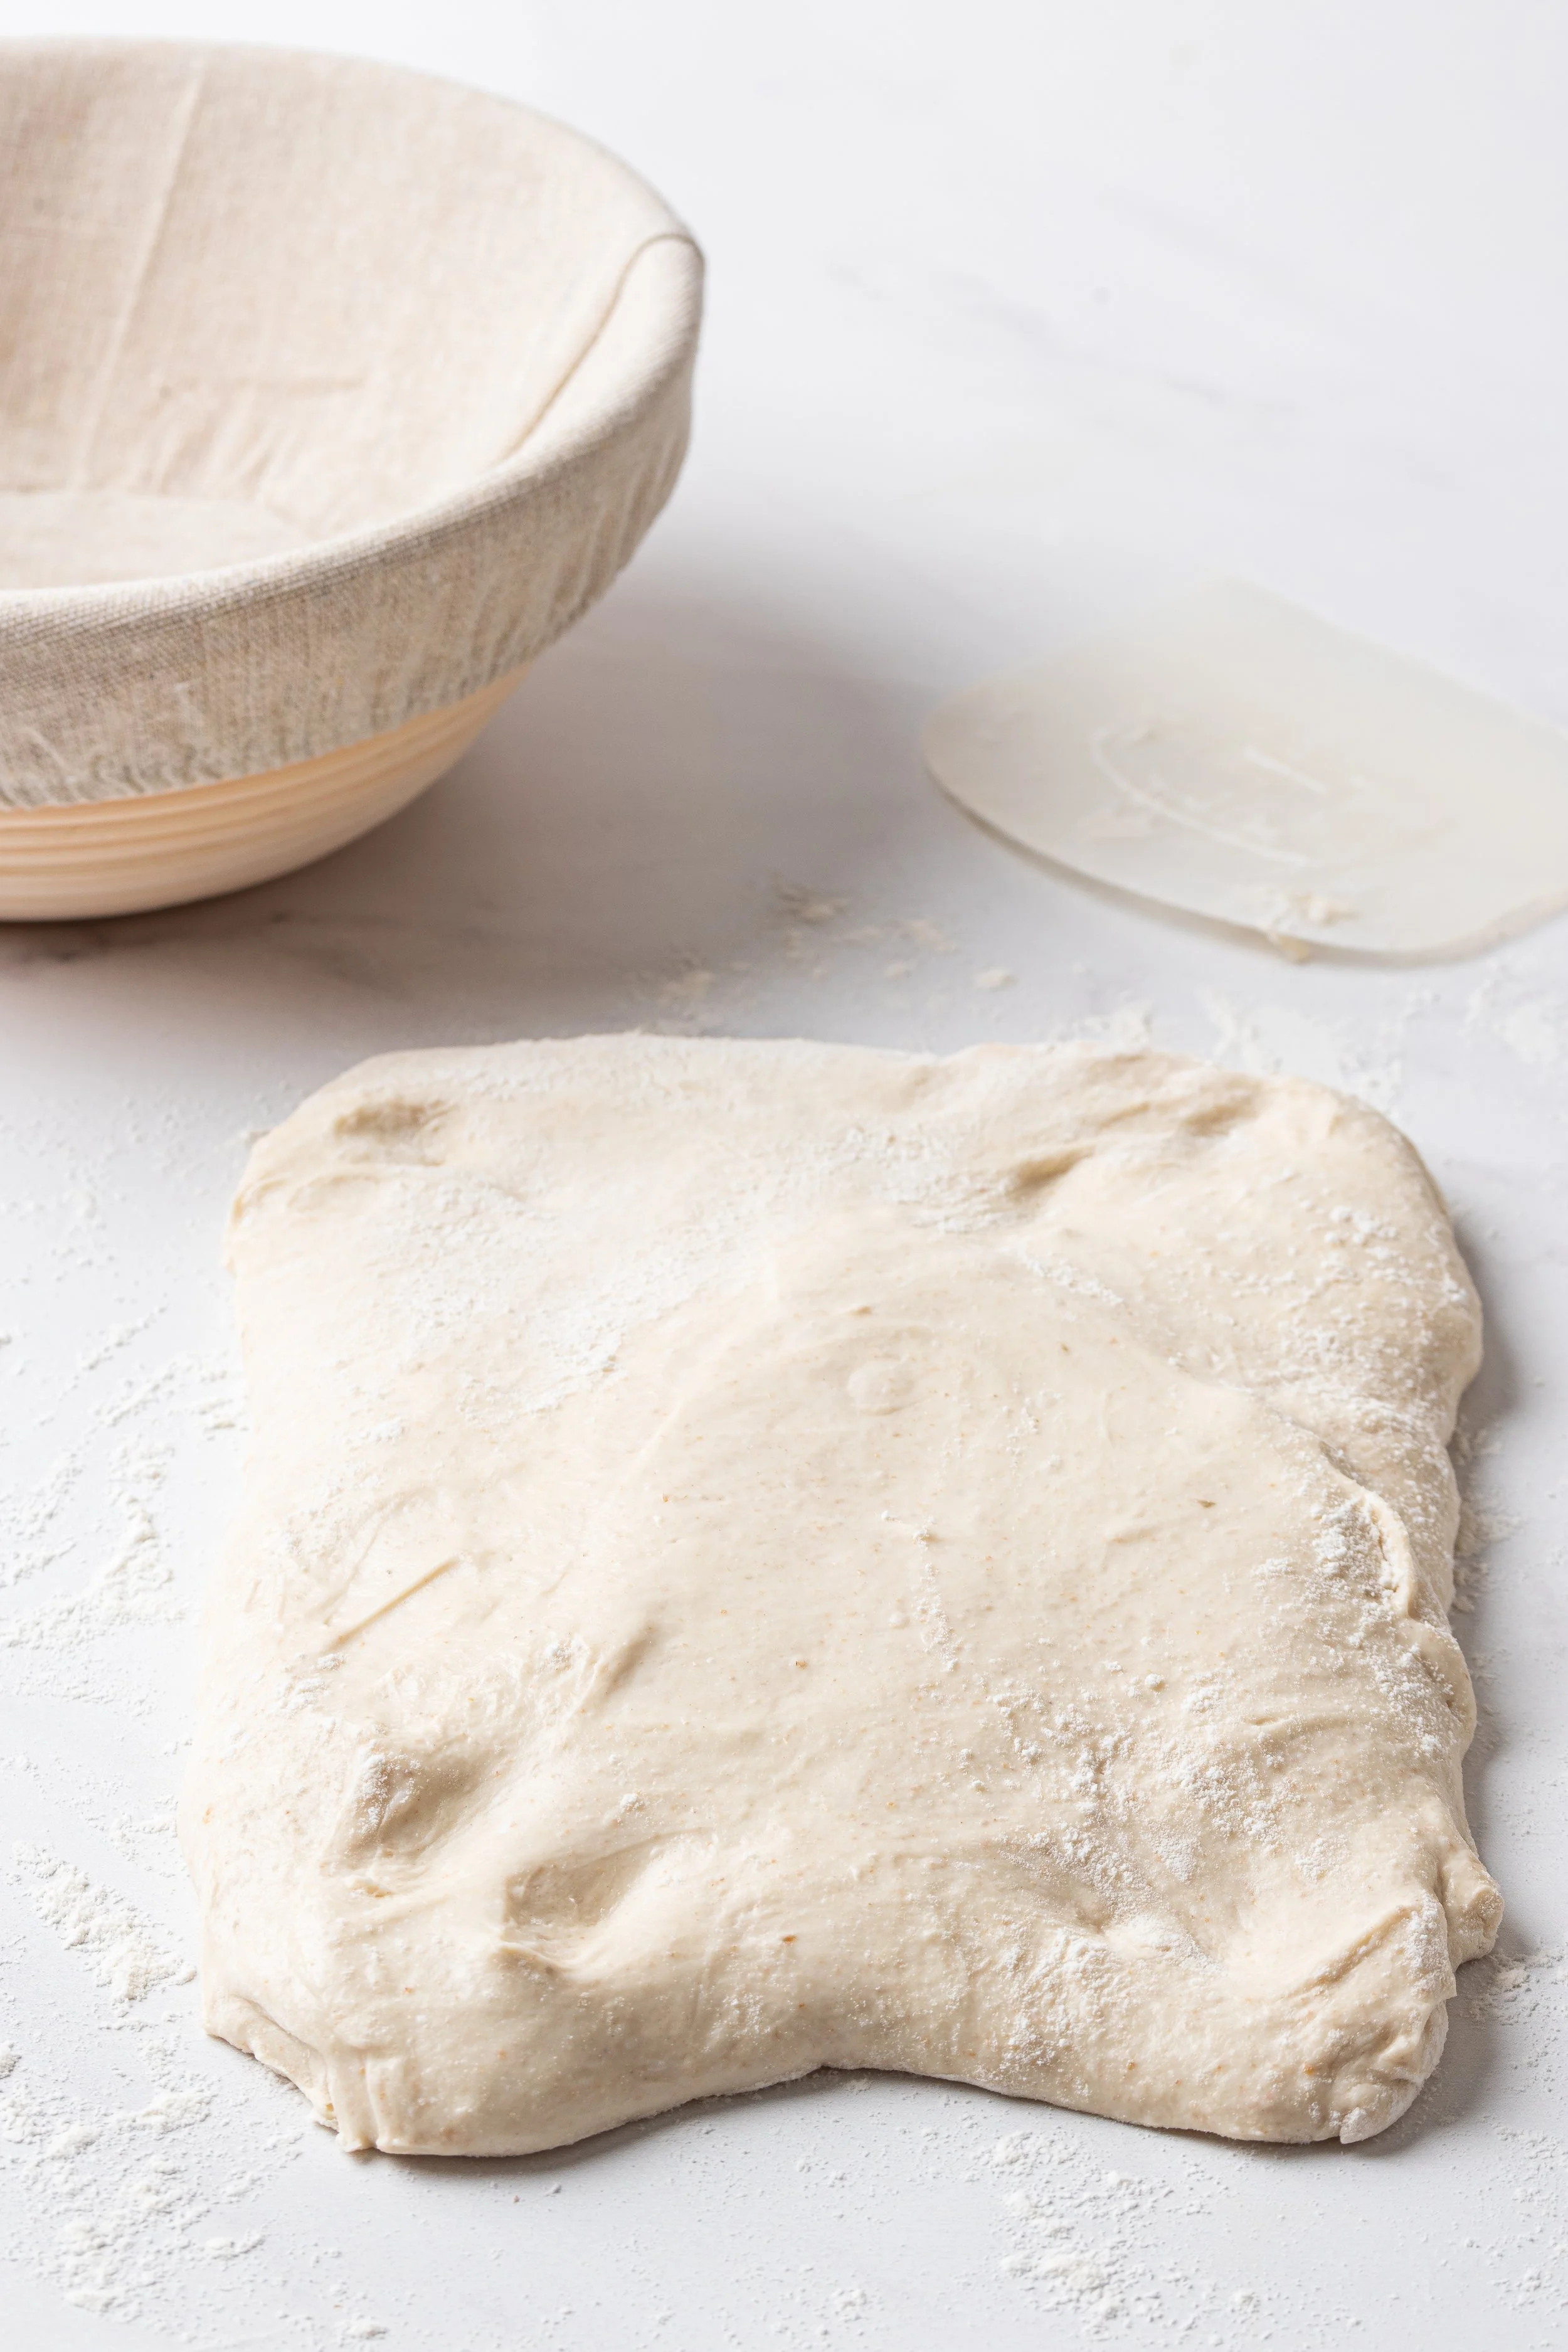
Flatten the dough with floured hands into a rectangle.
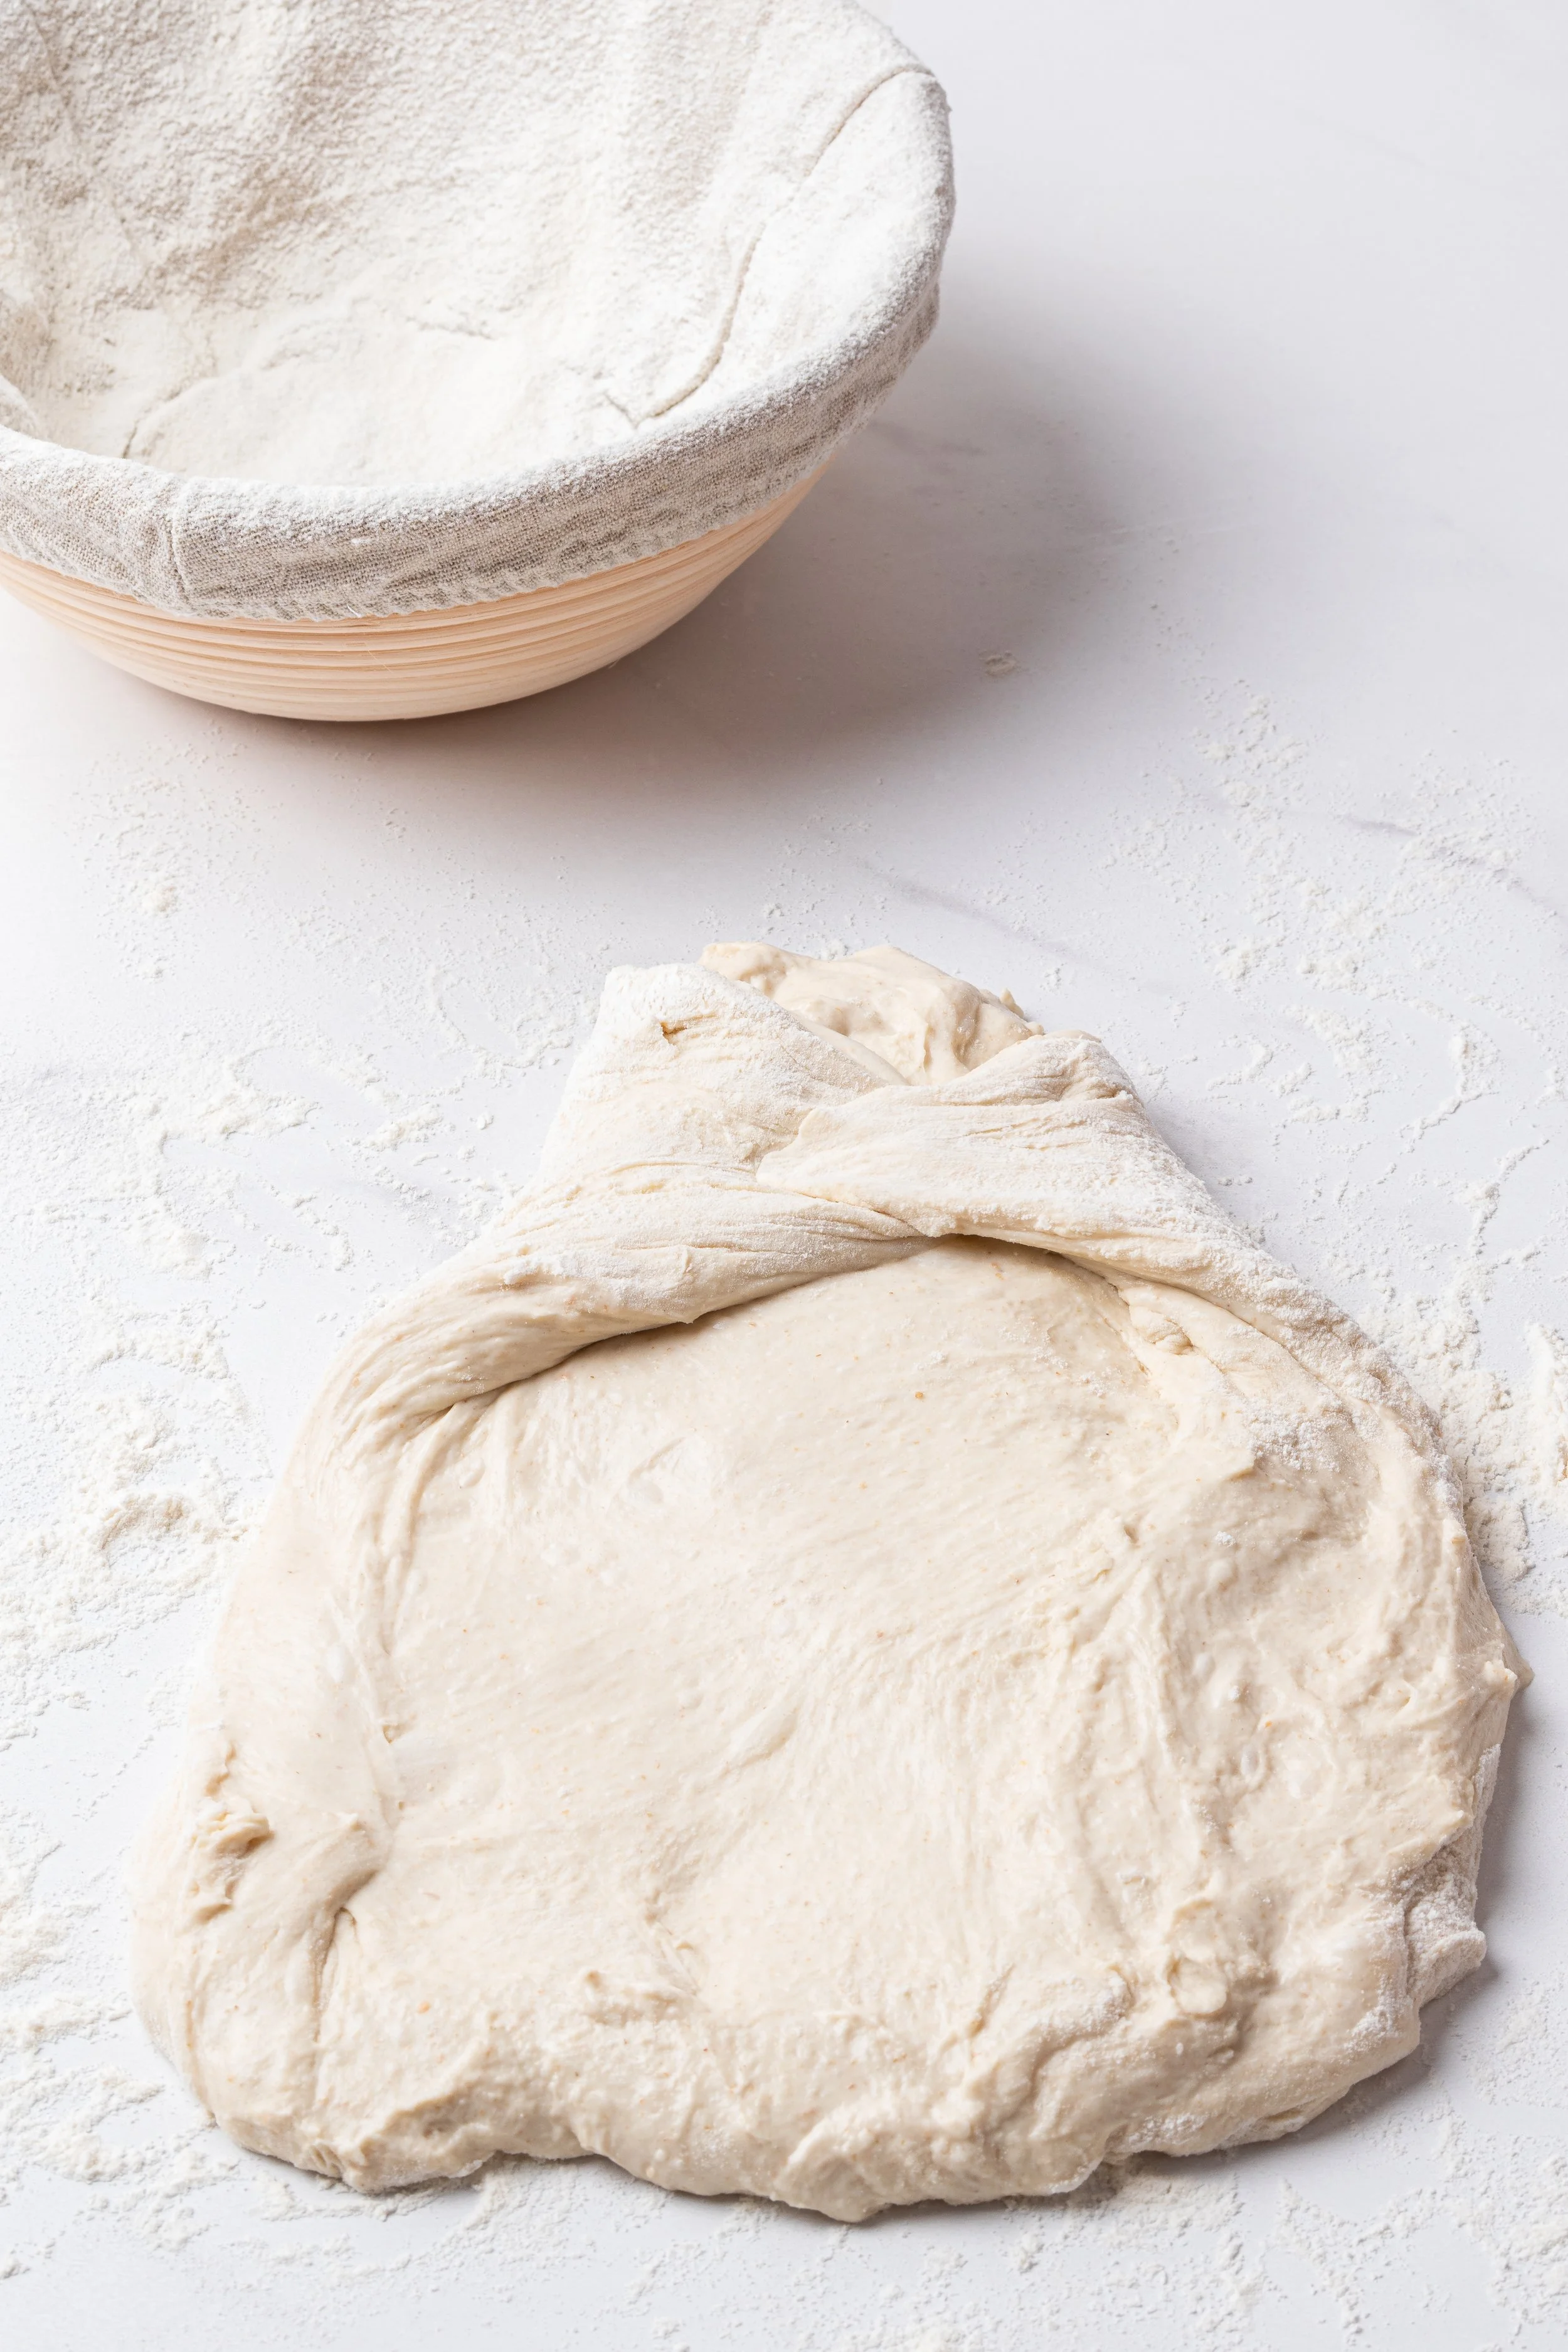
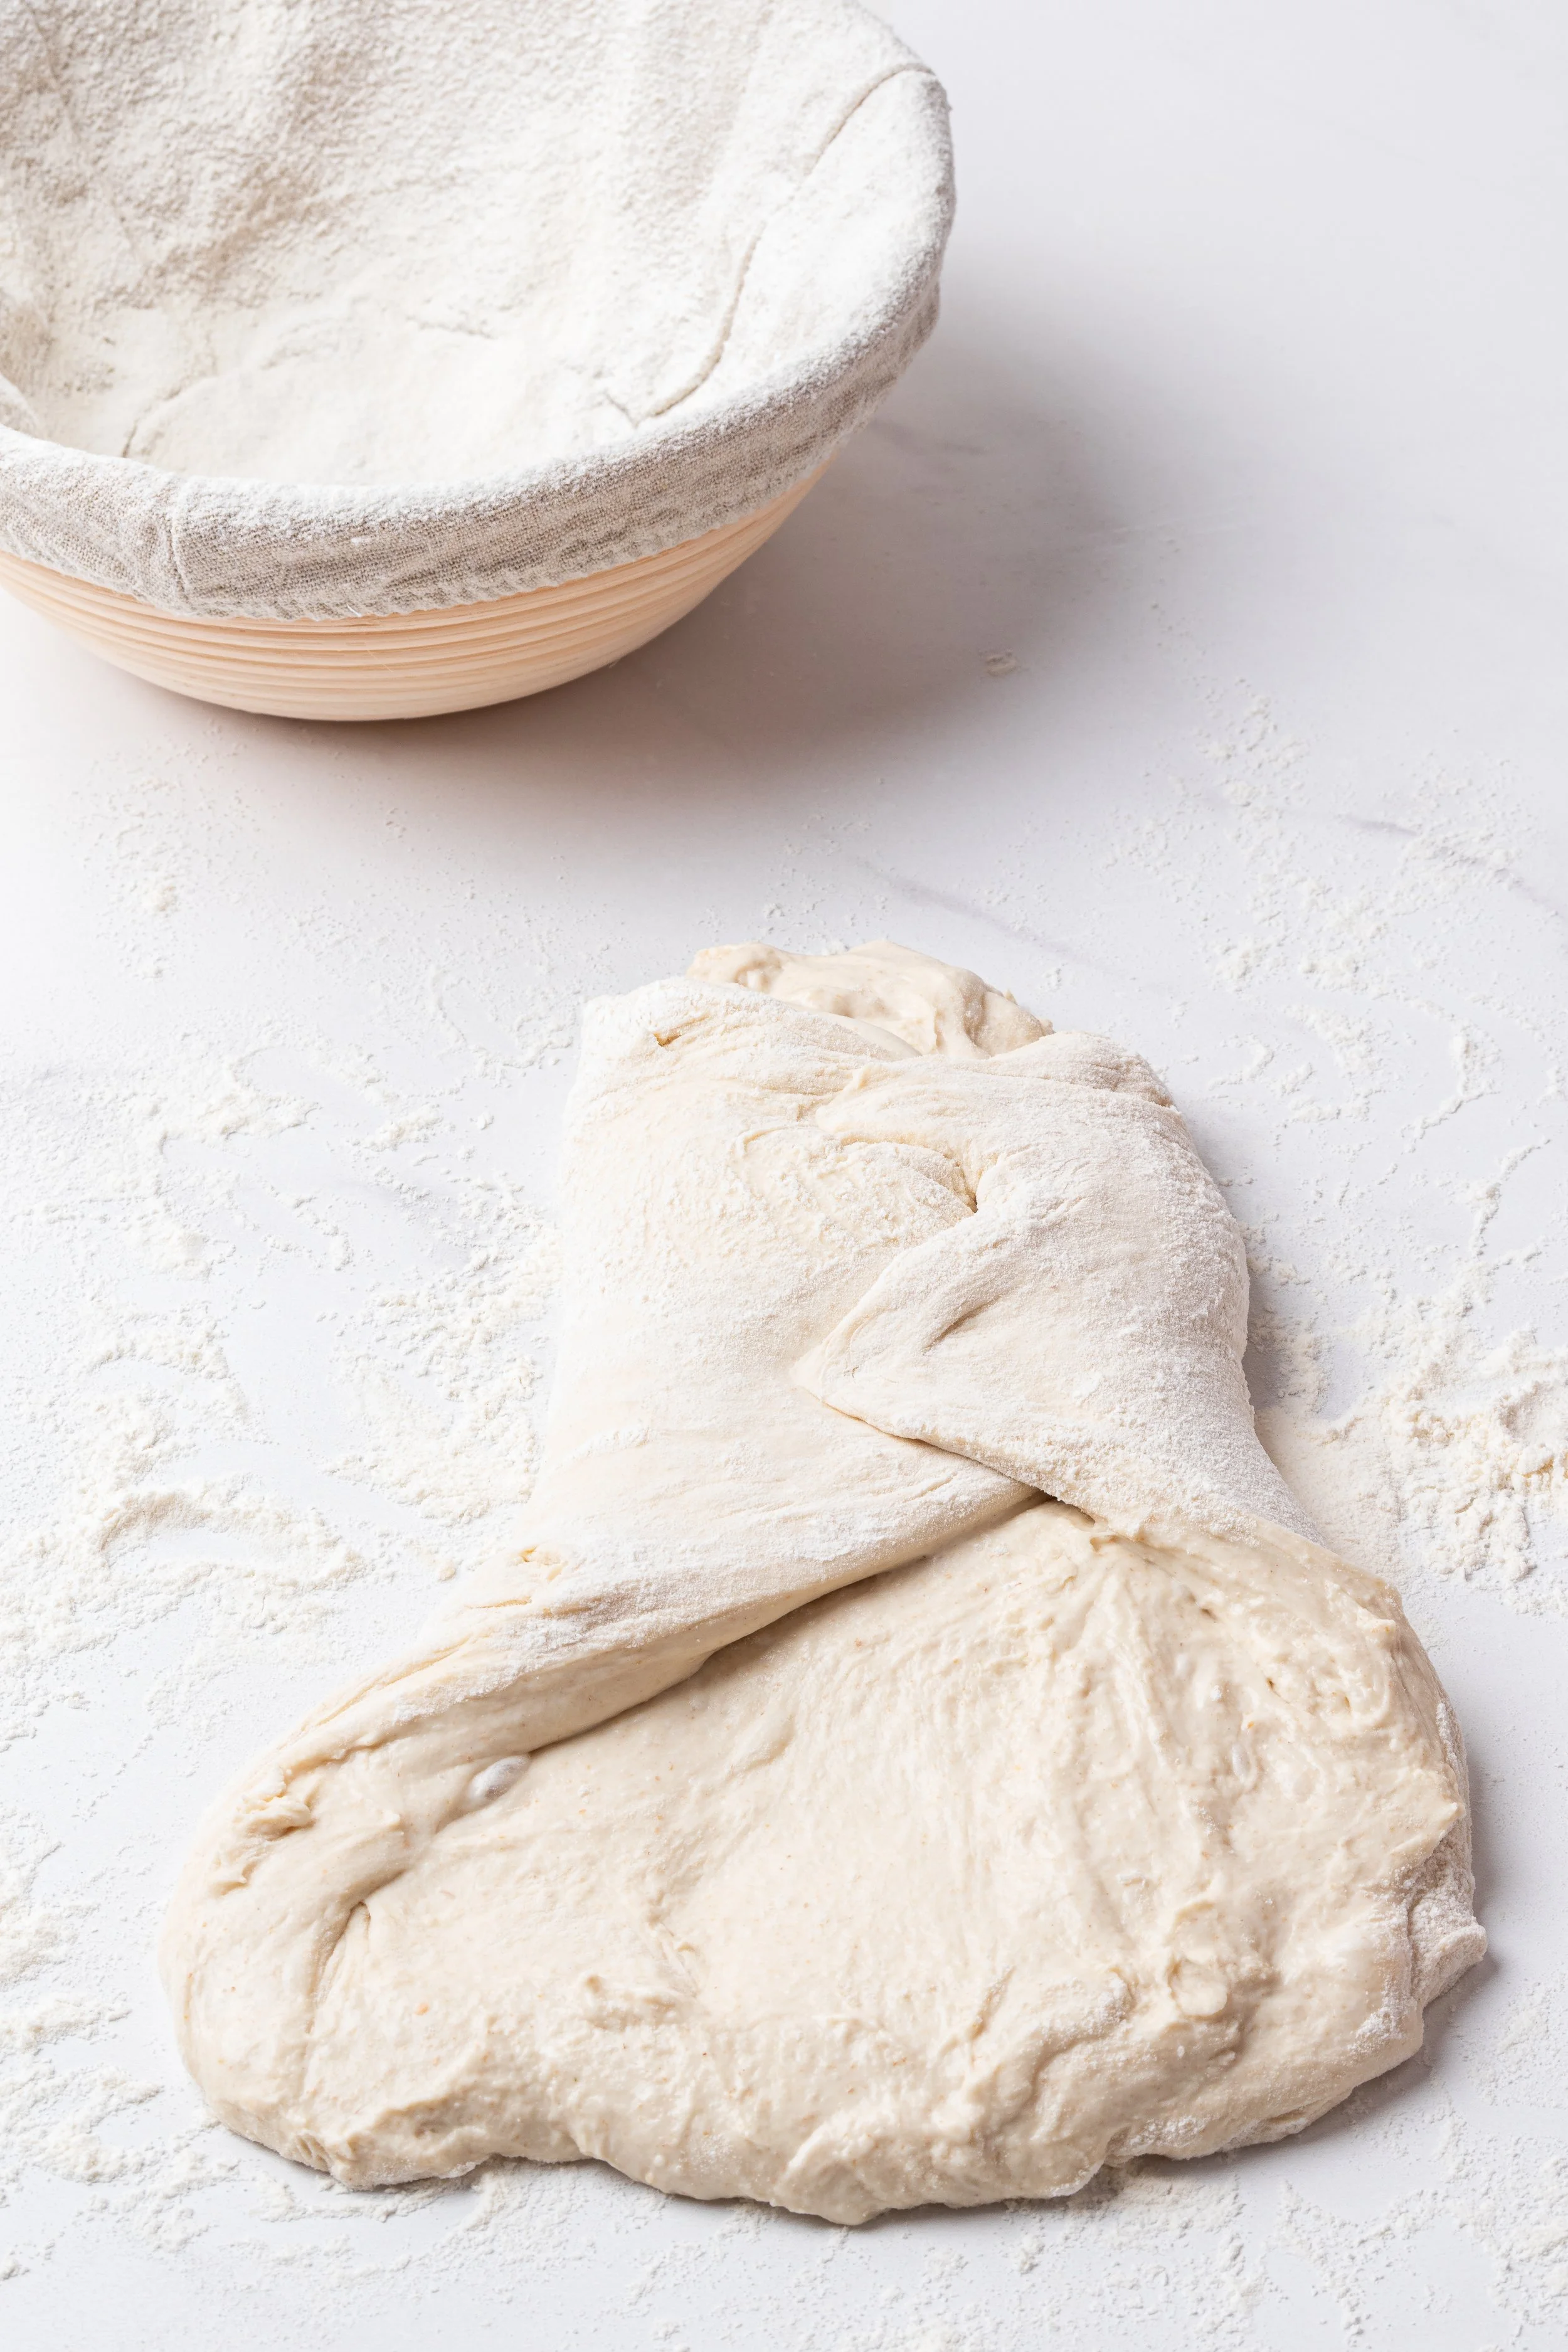
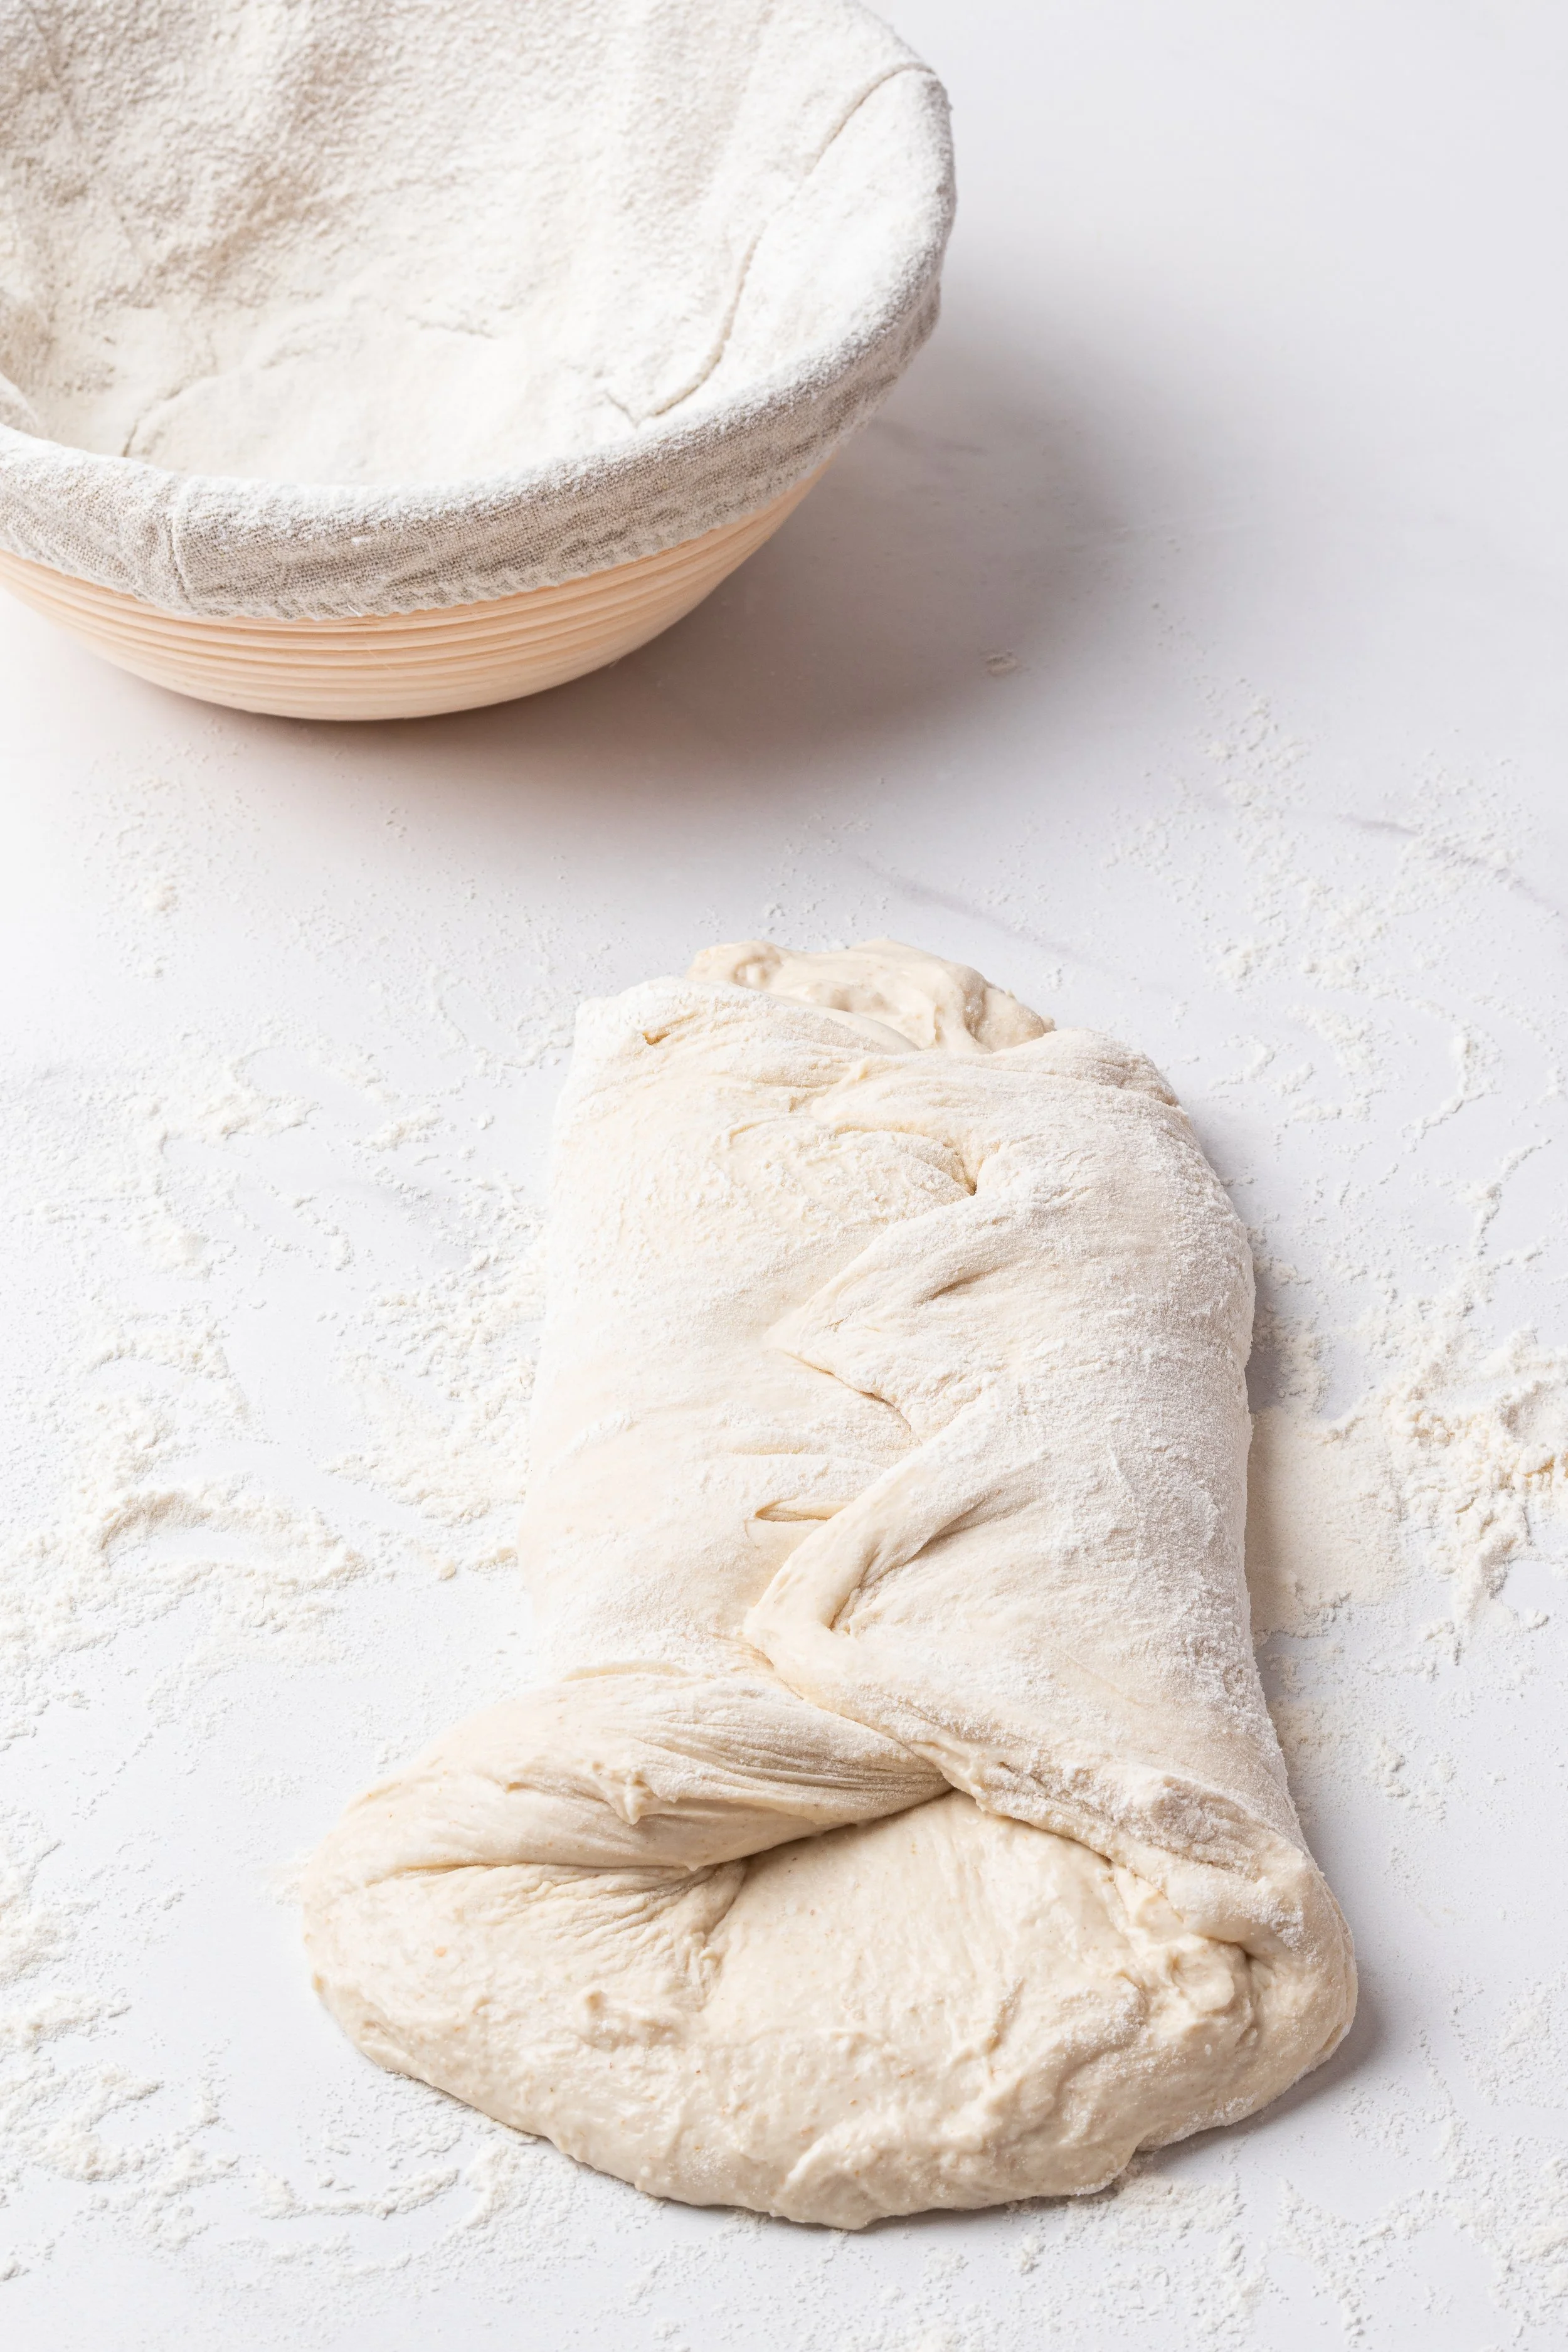
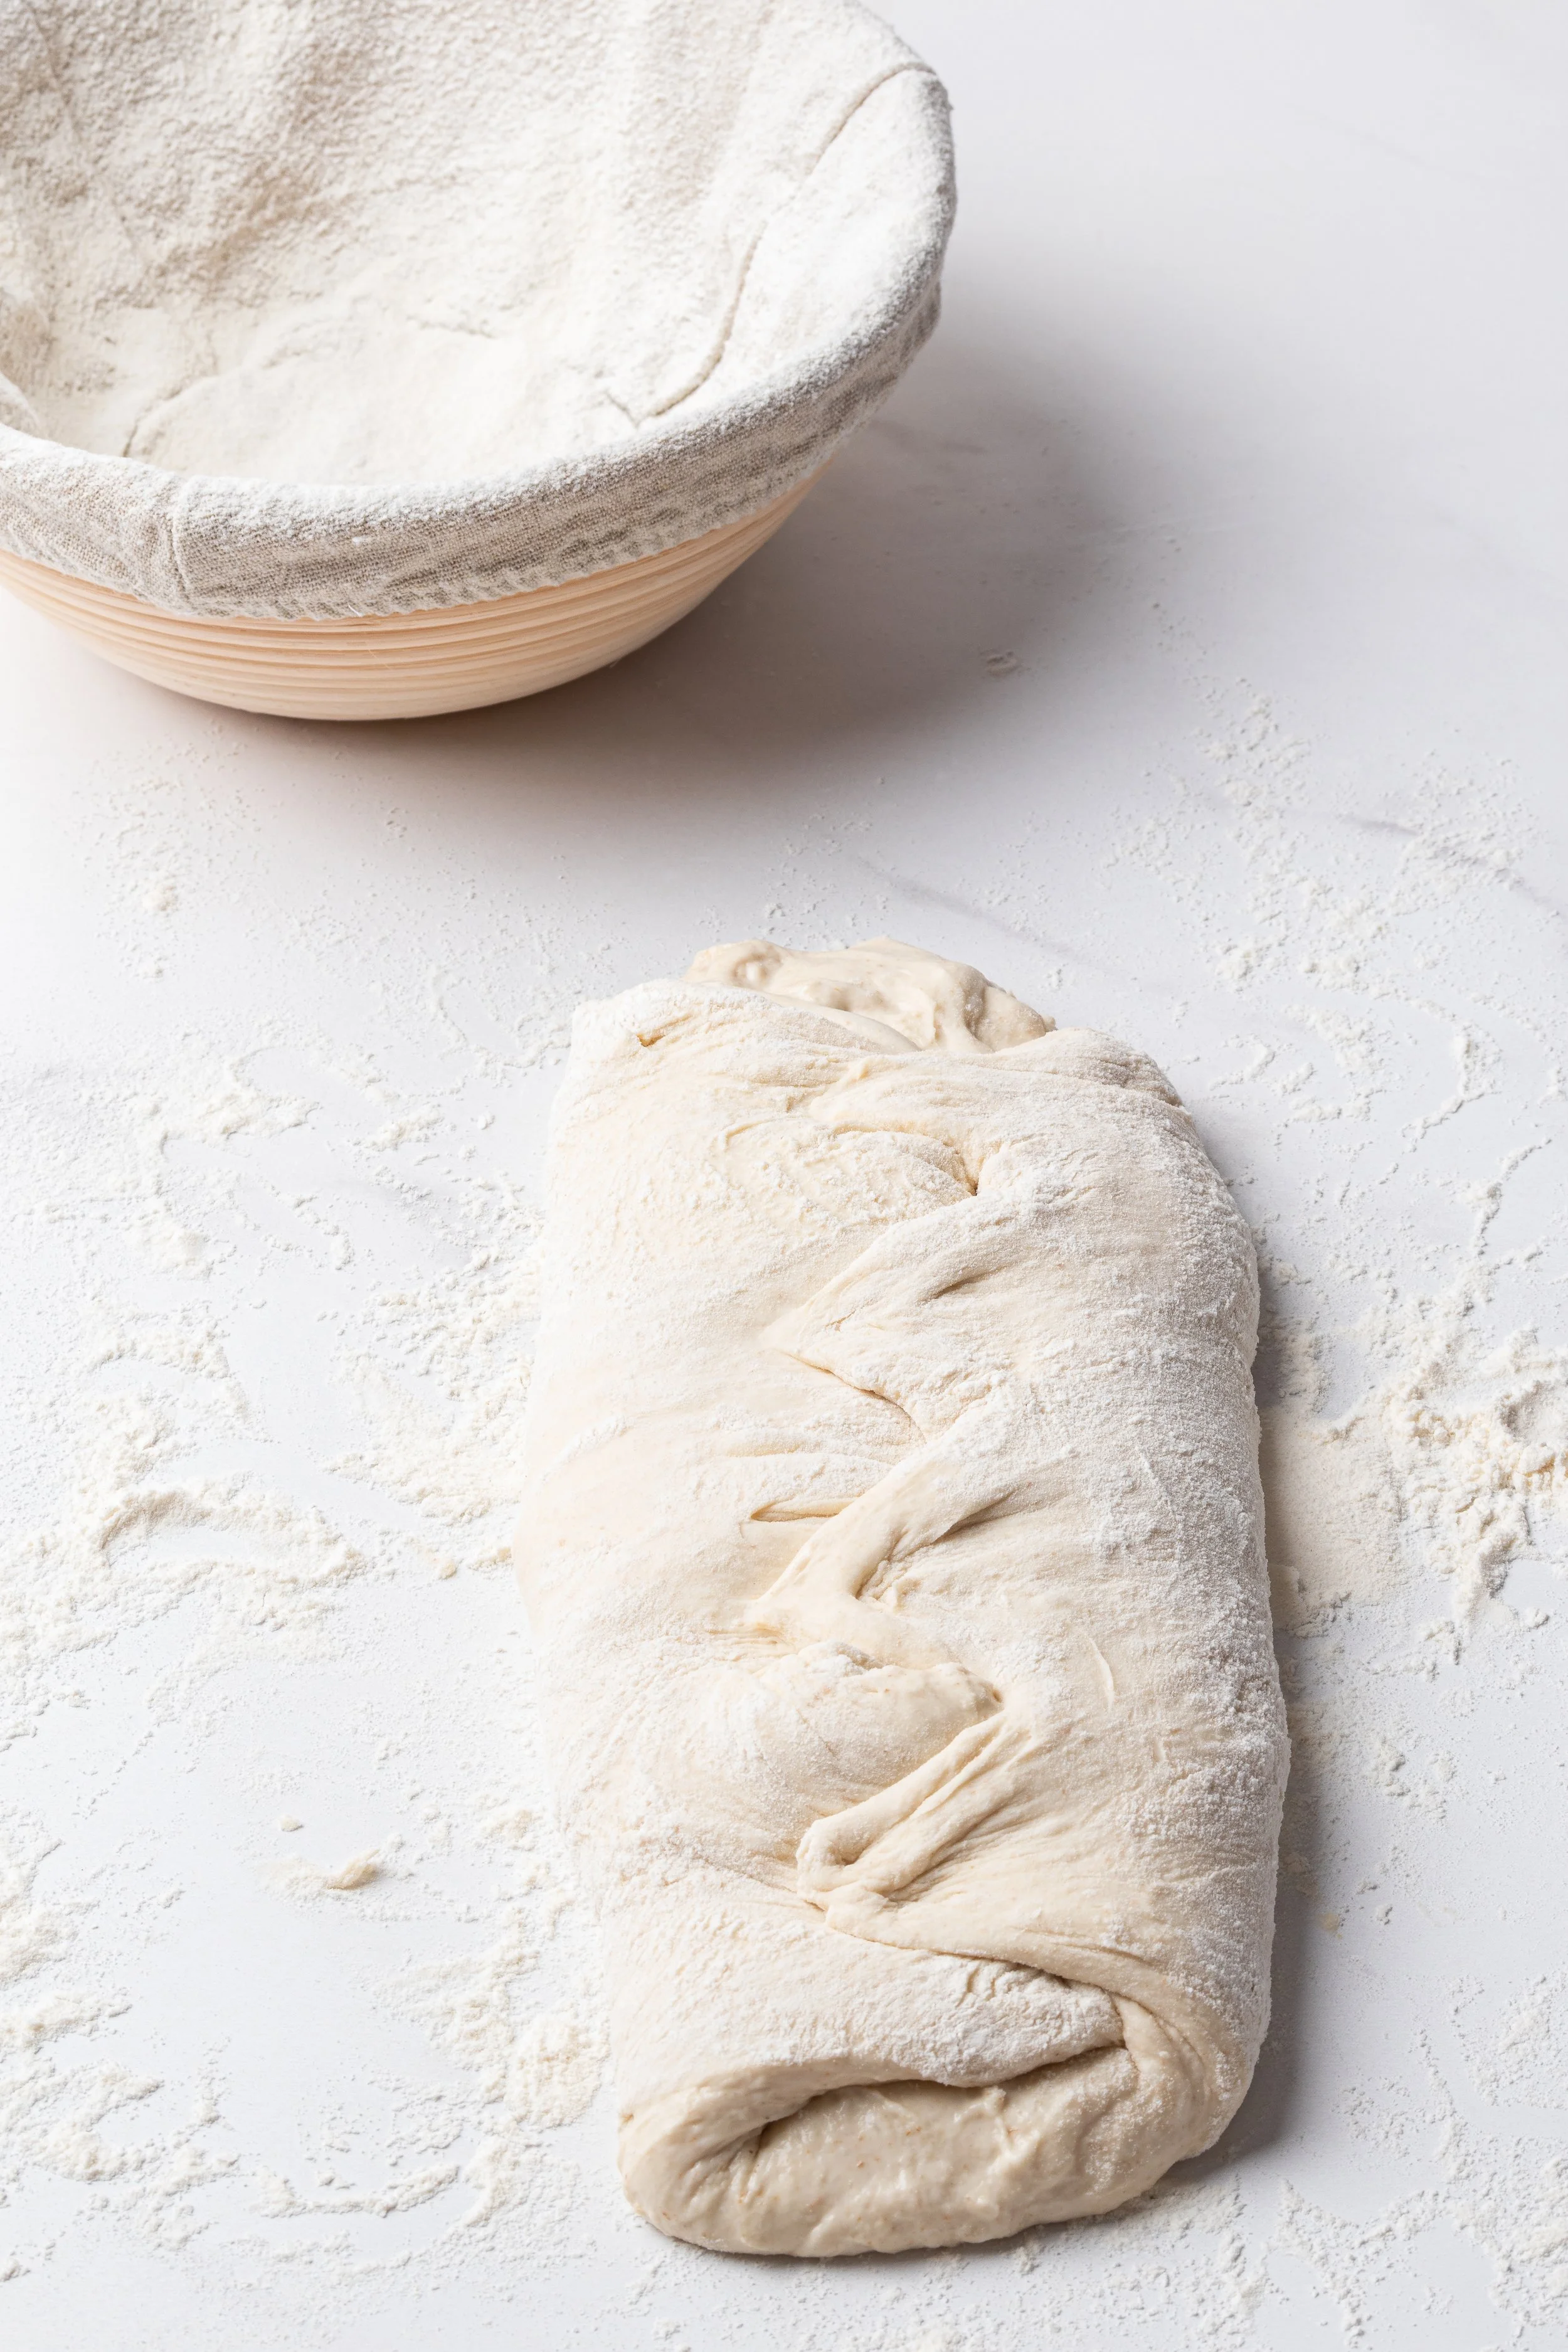
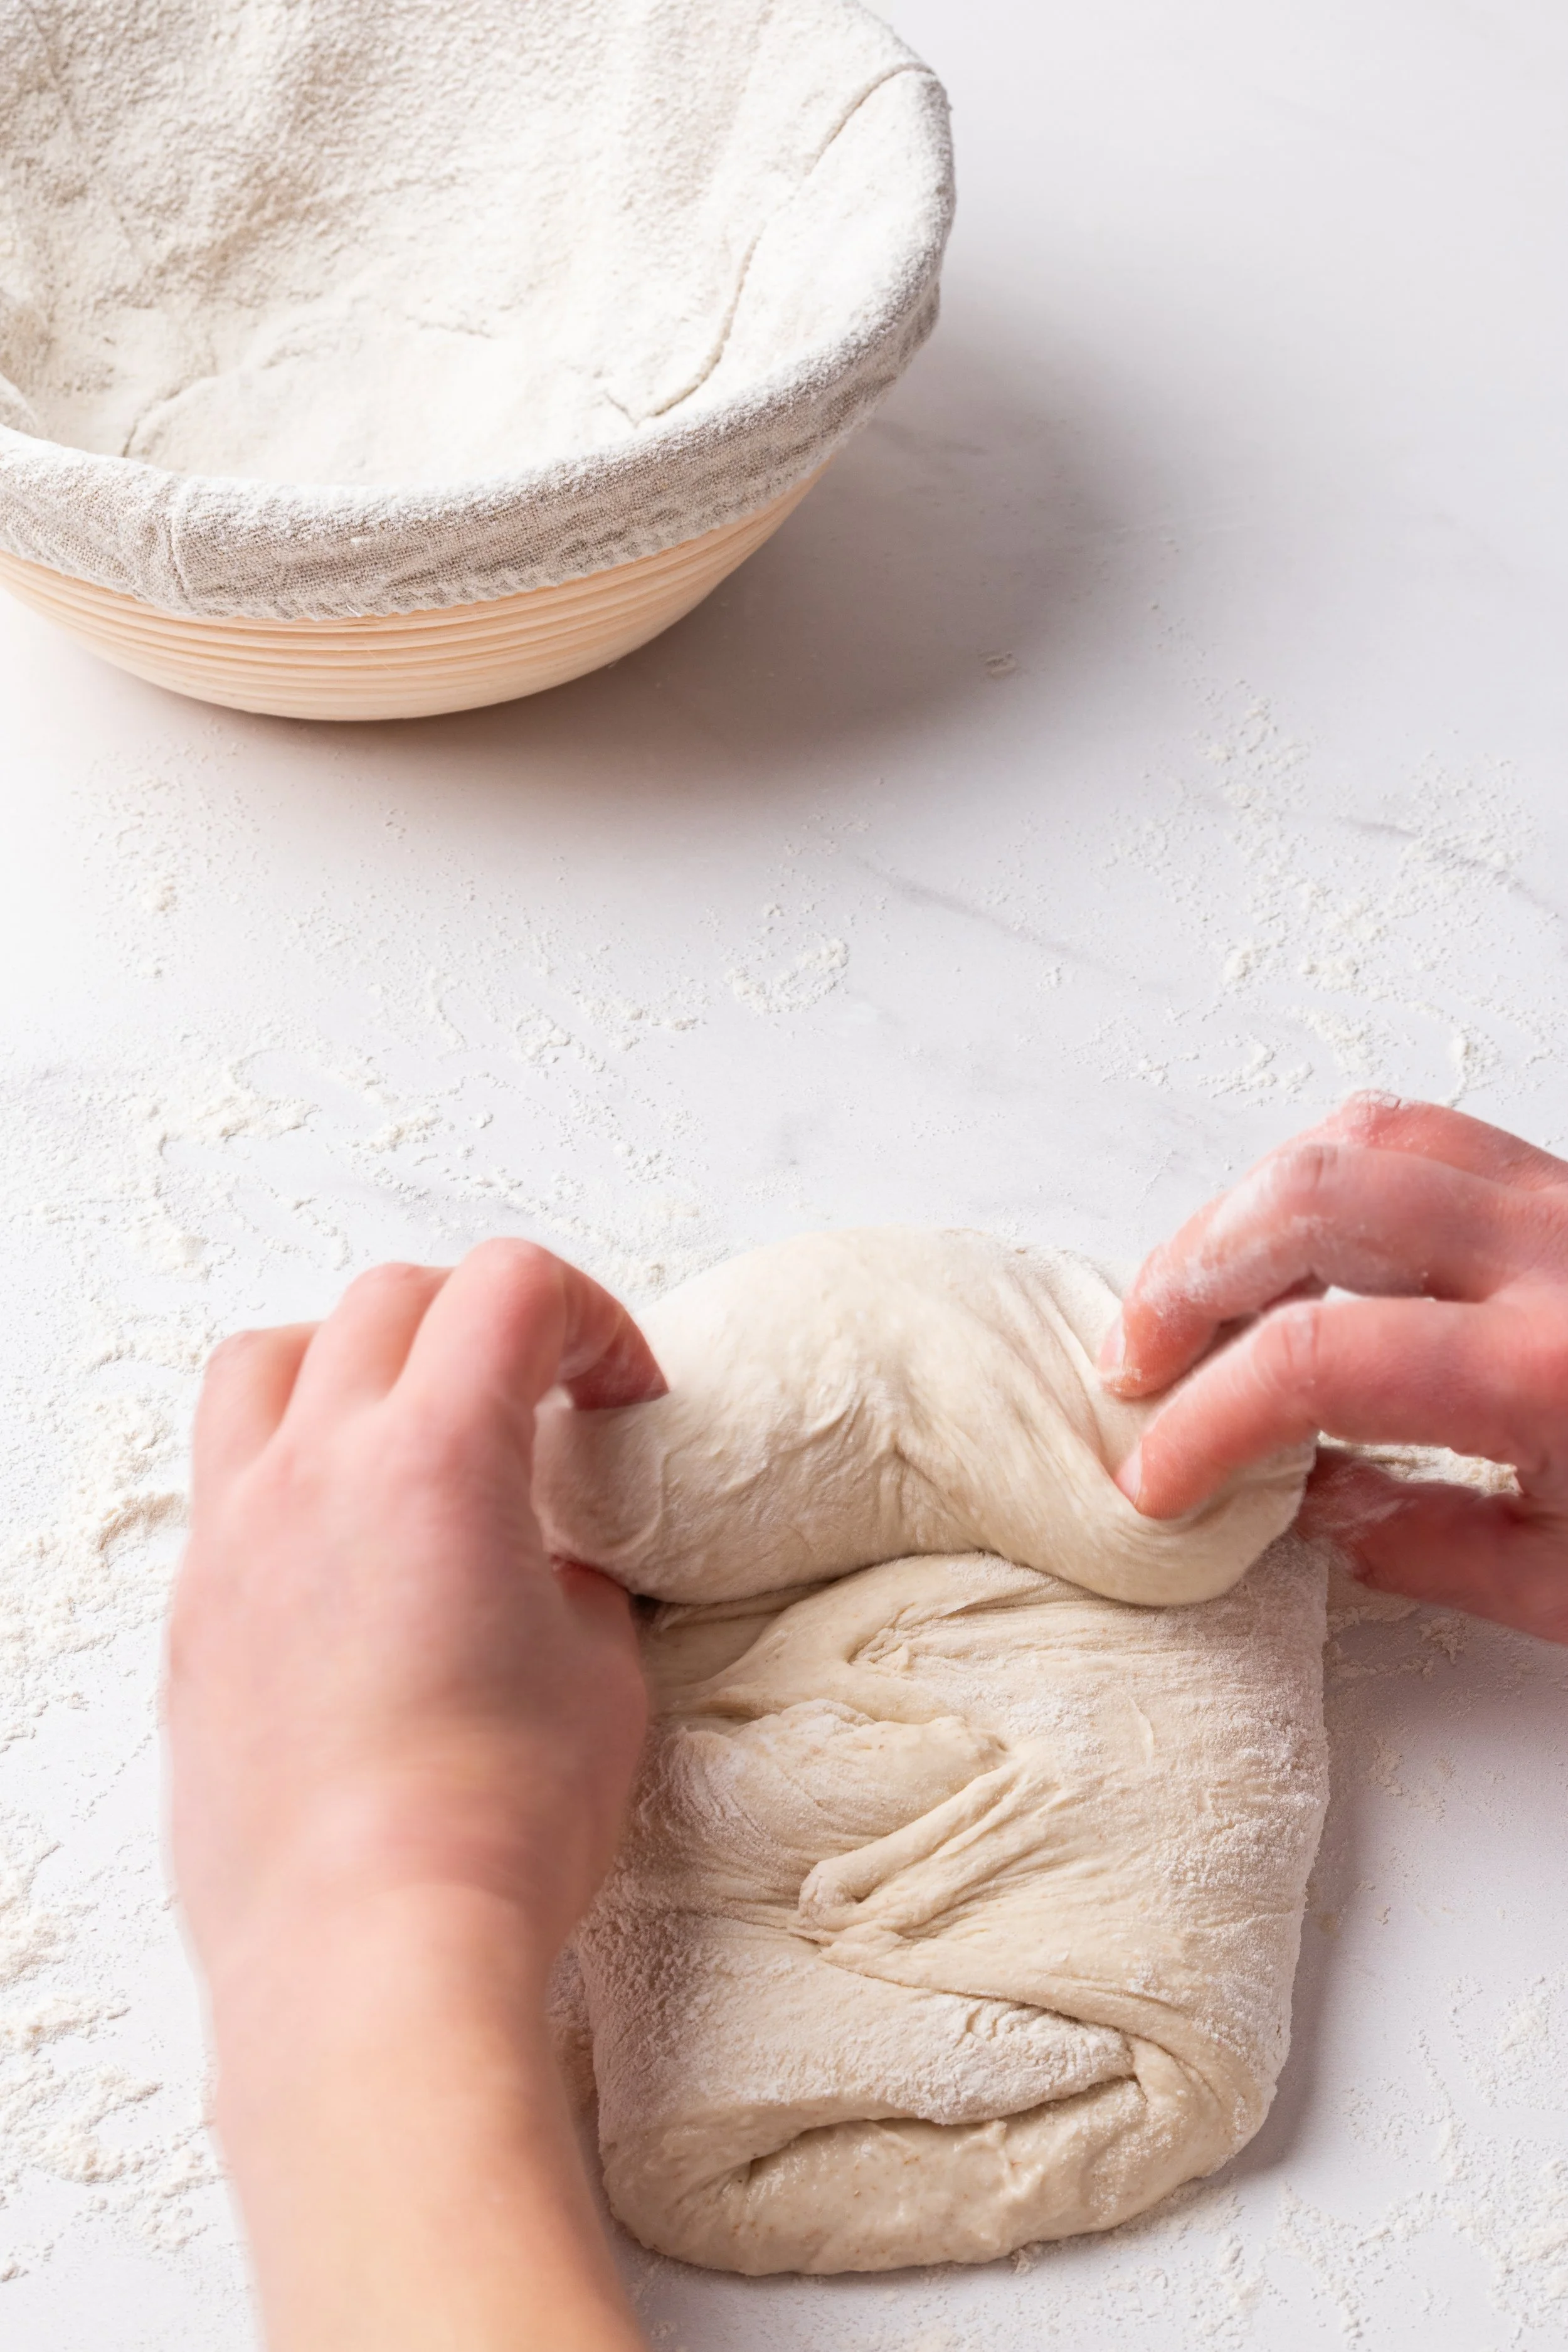
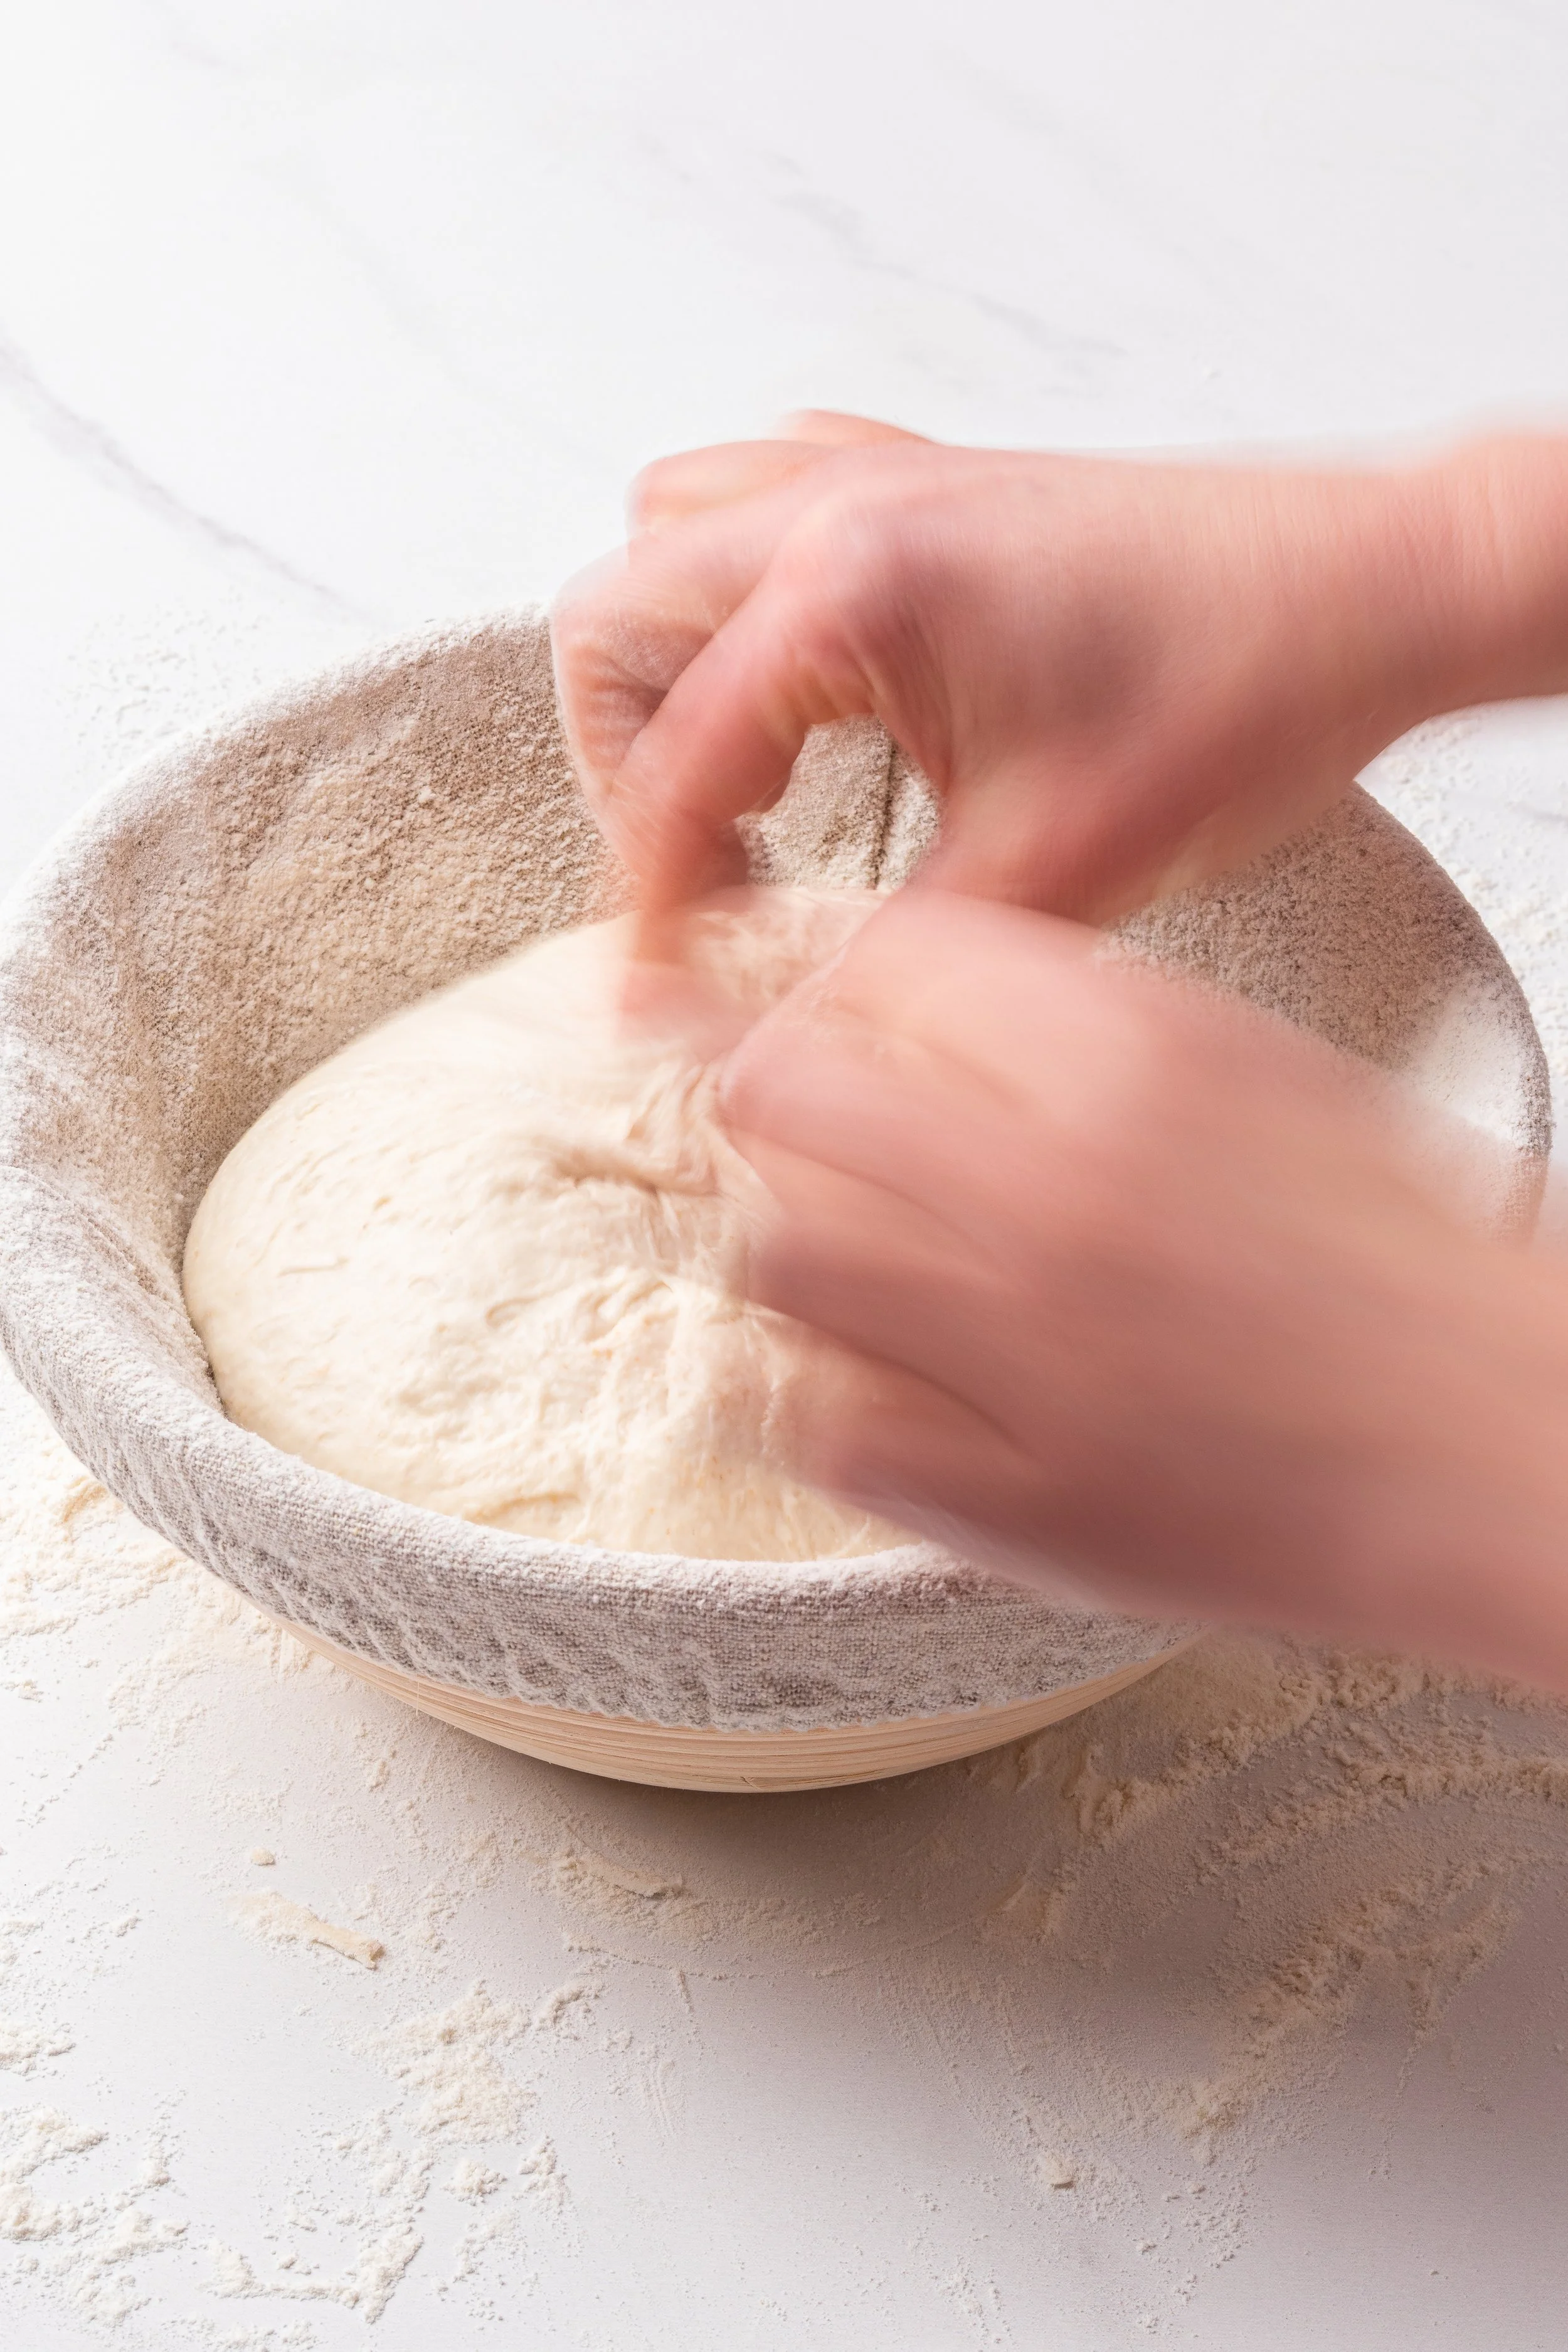
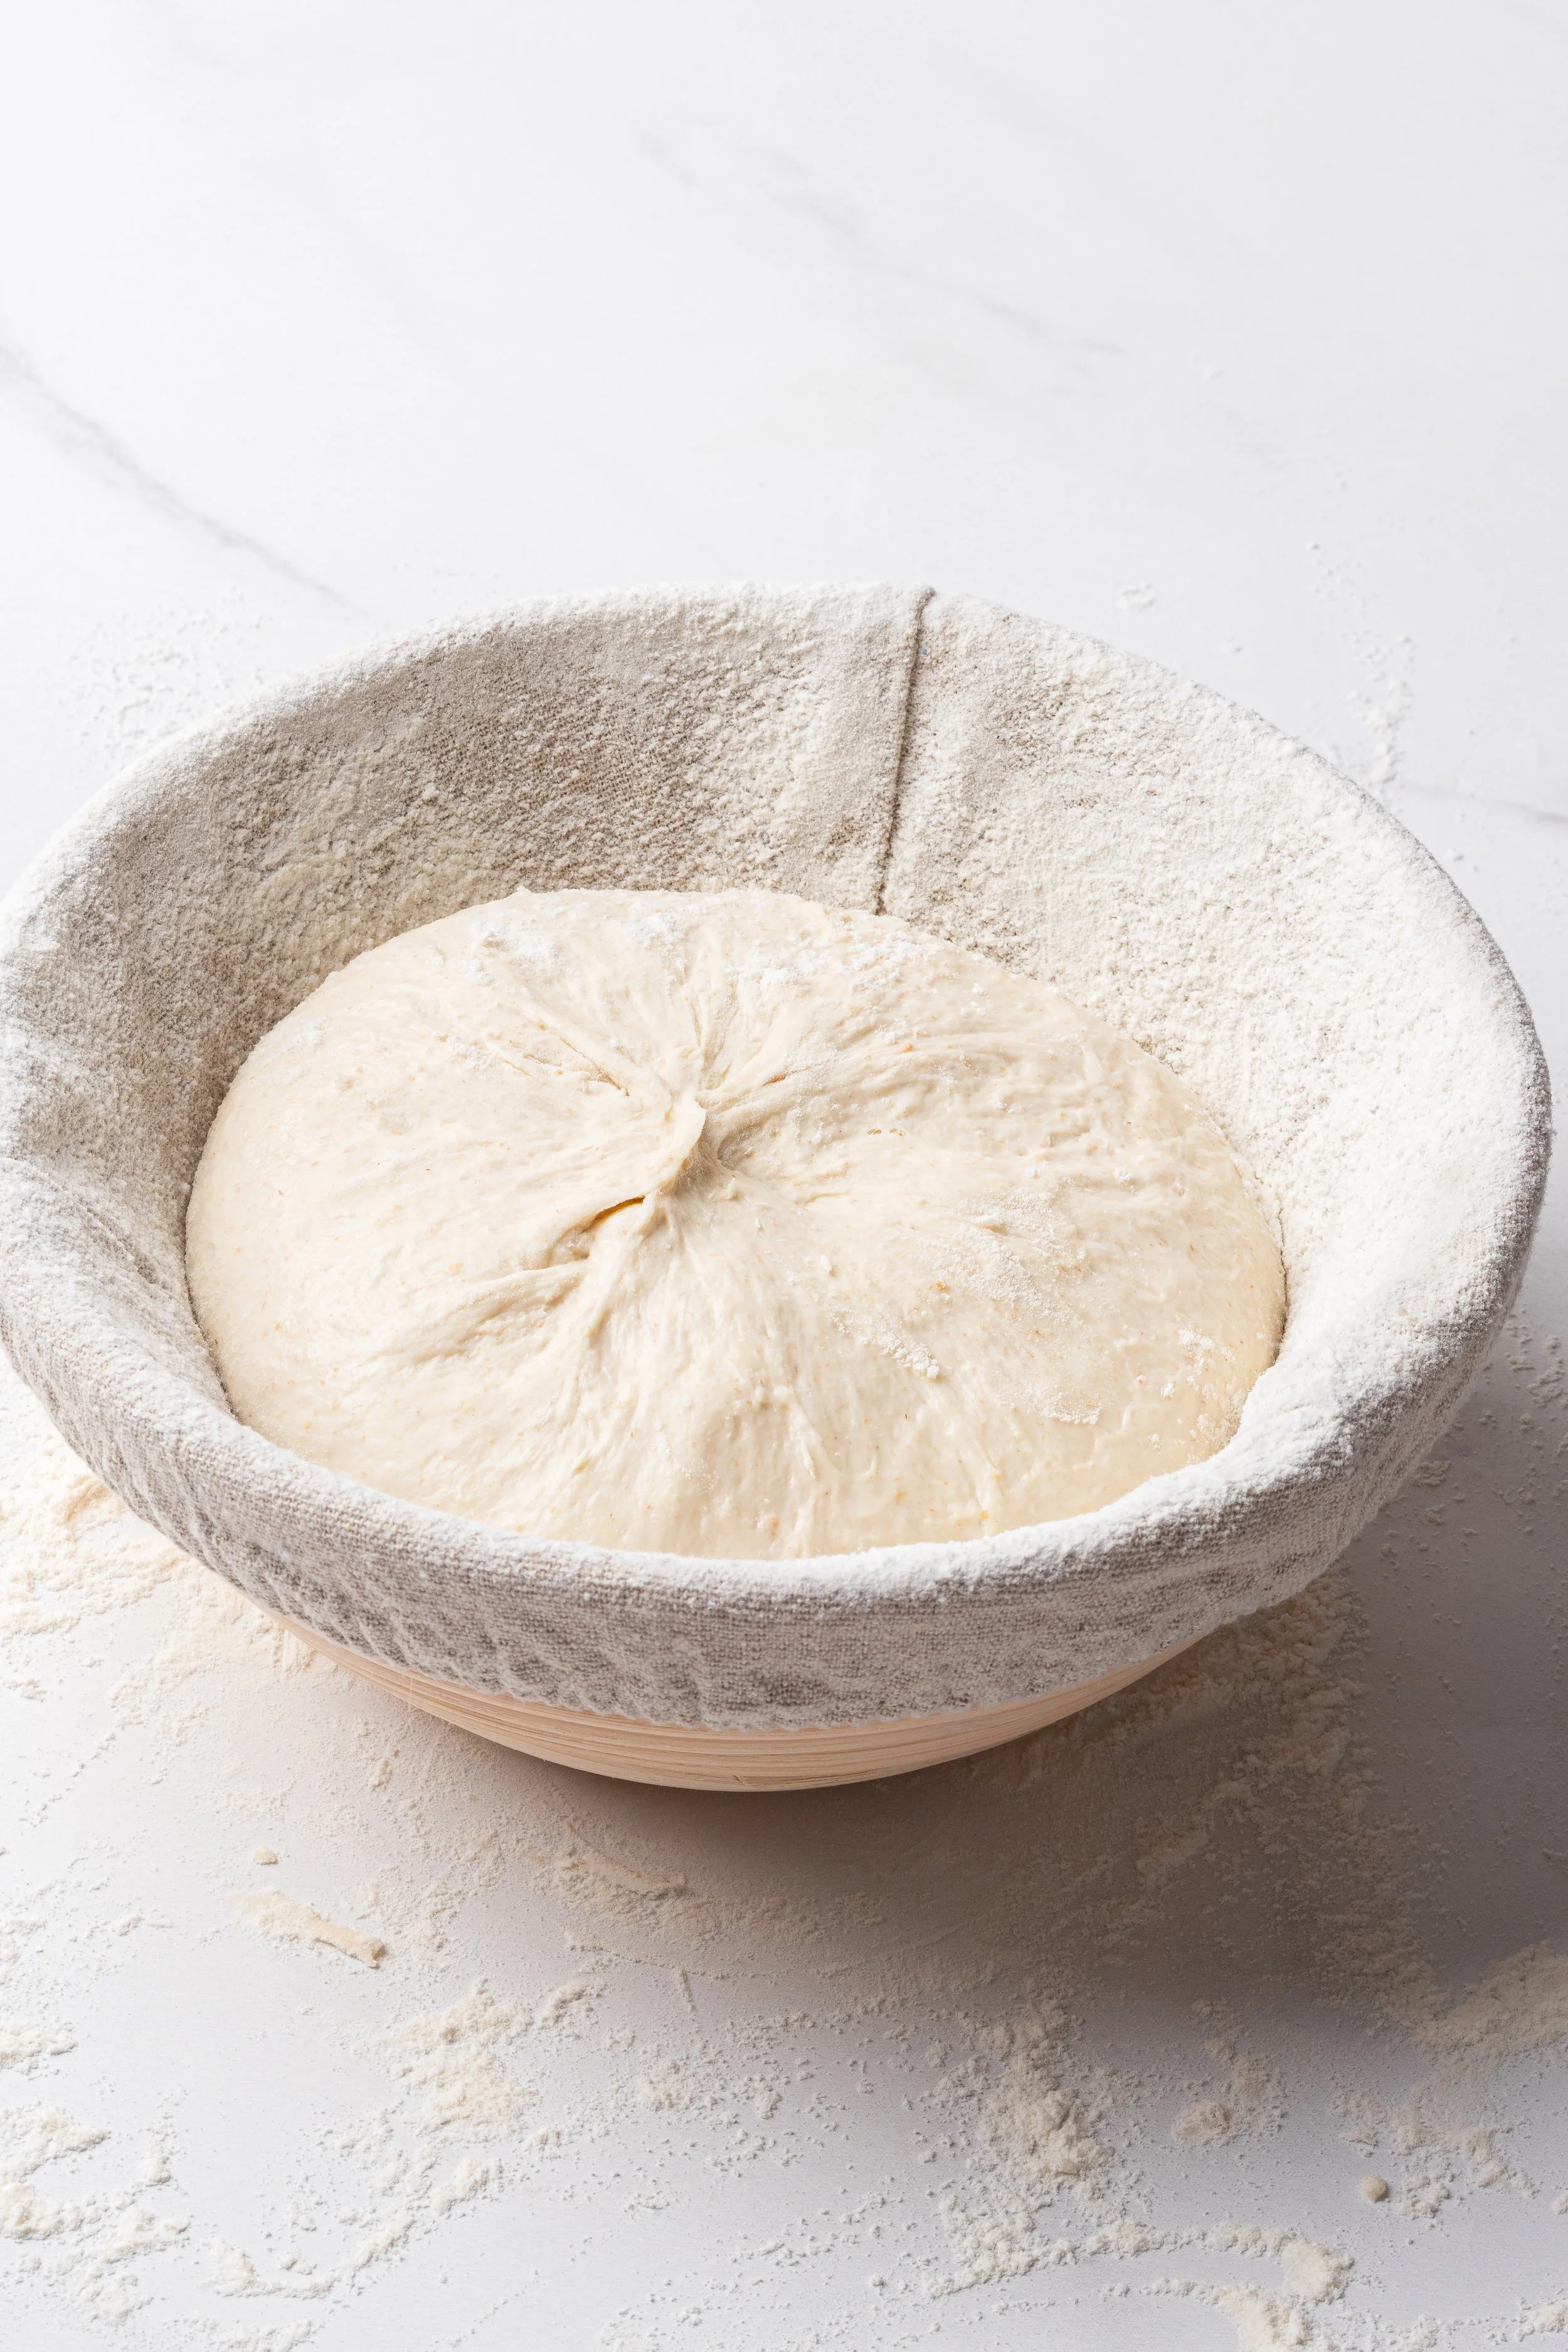
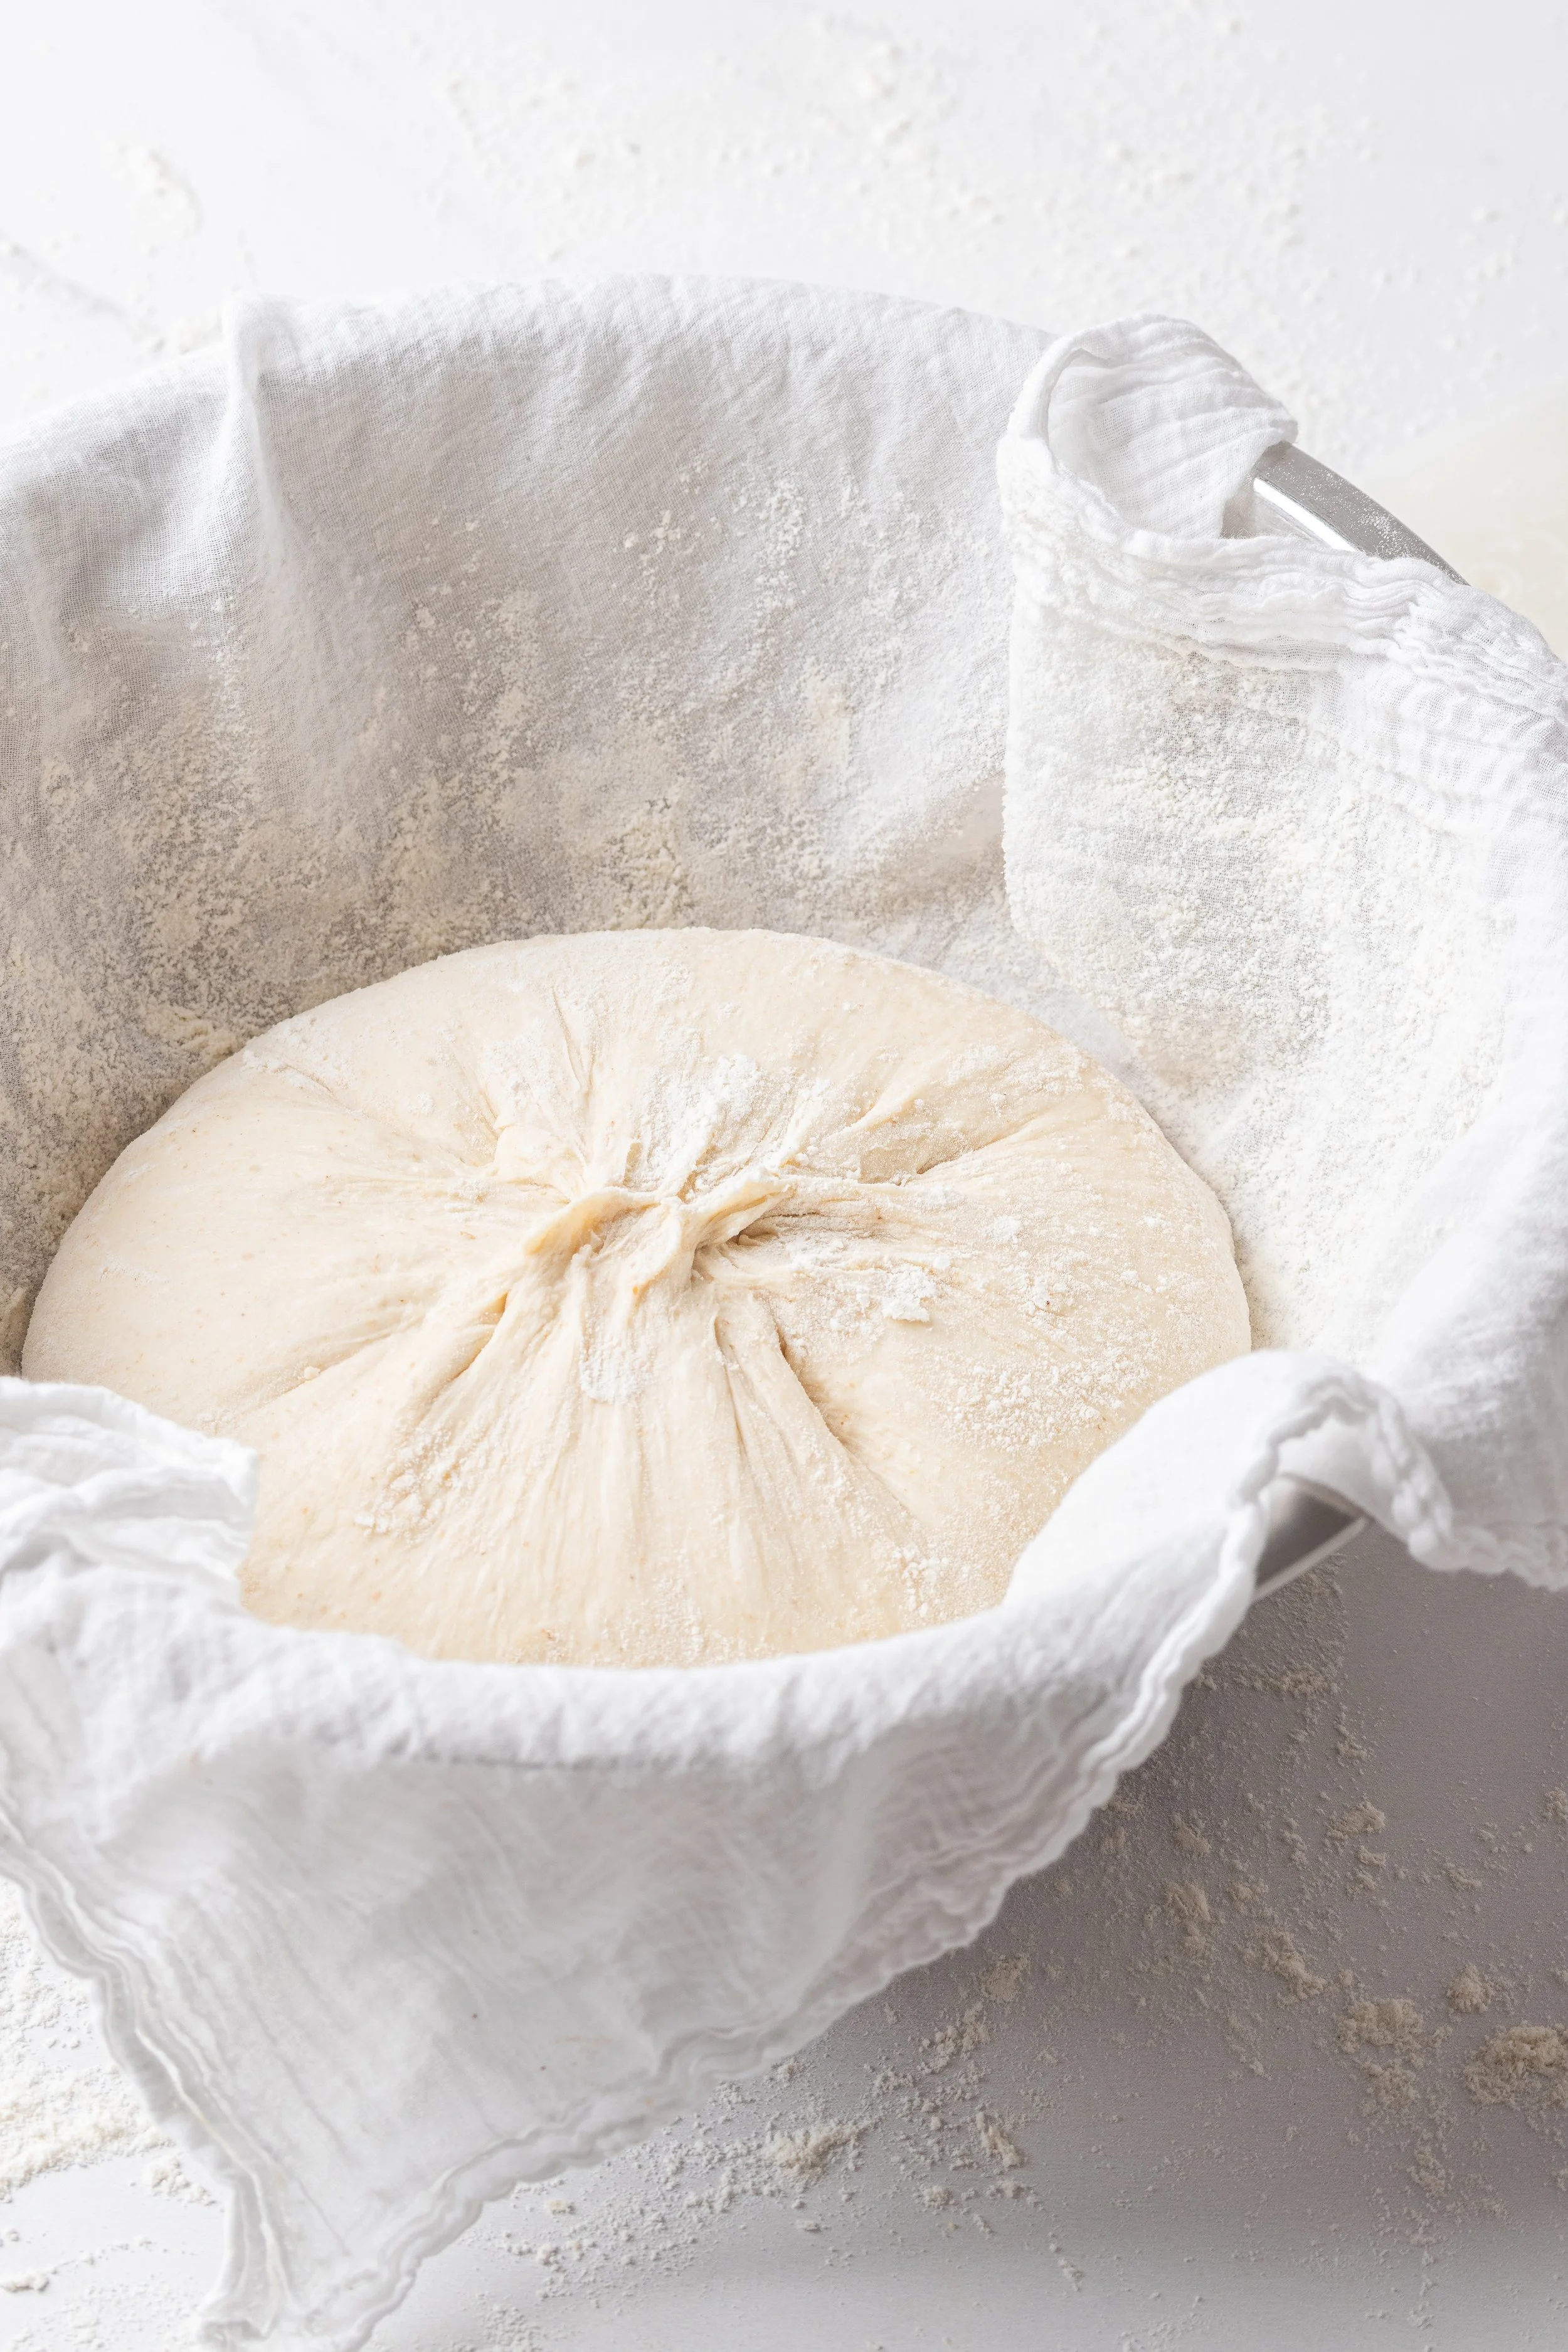
If you do no have a banneton, use a bowl lined with a clean tea towel.
STEP 9 - REFRIGERATE OVERNIGHT (COLD PROOF)
NOTE: A cold proof is when shaped sourdough dough is placed in the refrigerator (usually around 2–5°C) for the final stage of fermentation before baking. It is also called retarding. The main purposes are to slow fermentation, improve flavour, strengthen the dough, and make baking easier.
Place the banneton/bowl in the fridge overnight (about 12 - 18 hours) to cold proof.
STEP 10 - PRE-HEAT THE OVEN - around 8am Sunday (but whenever you are ready really, it can be in the afternoon)
NOTE: You want to bake the bread in a very hot oven and a very hot Dutch oven so:
Heat the oven to 250°C with the Dutch oven (including the lid) inside for about 45-60minutes.
STEP 11 - BAKE - around 9am Sunday (or whenever you are ready)
Remove the banneton/bowl from fridge (you can bake it cold from the fridge, no need for the dough to warm up before baking).
Turn the dough out onto baking paper (place a square of baking paper and large plate on top of the banneton/bowl and invert it).
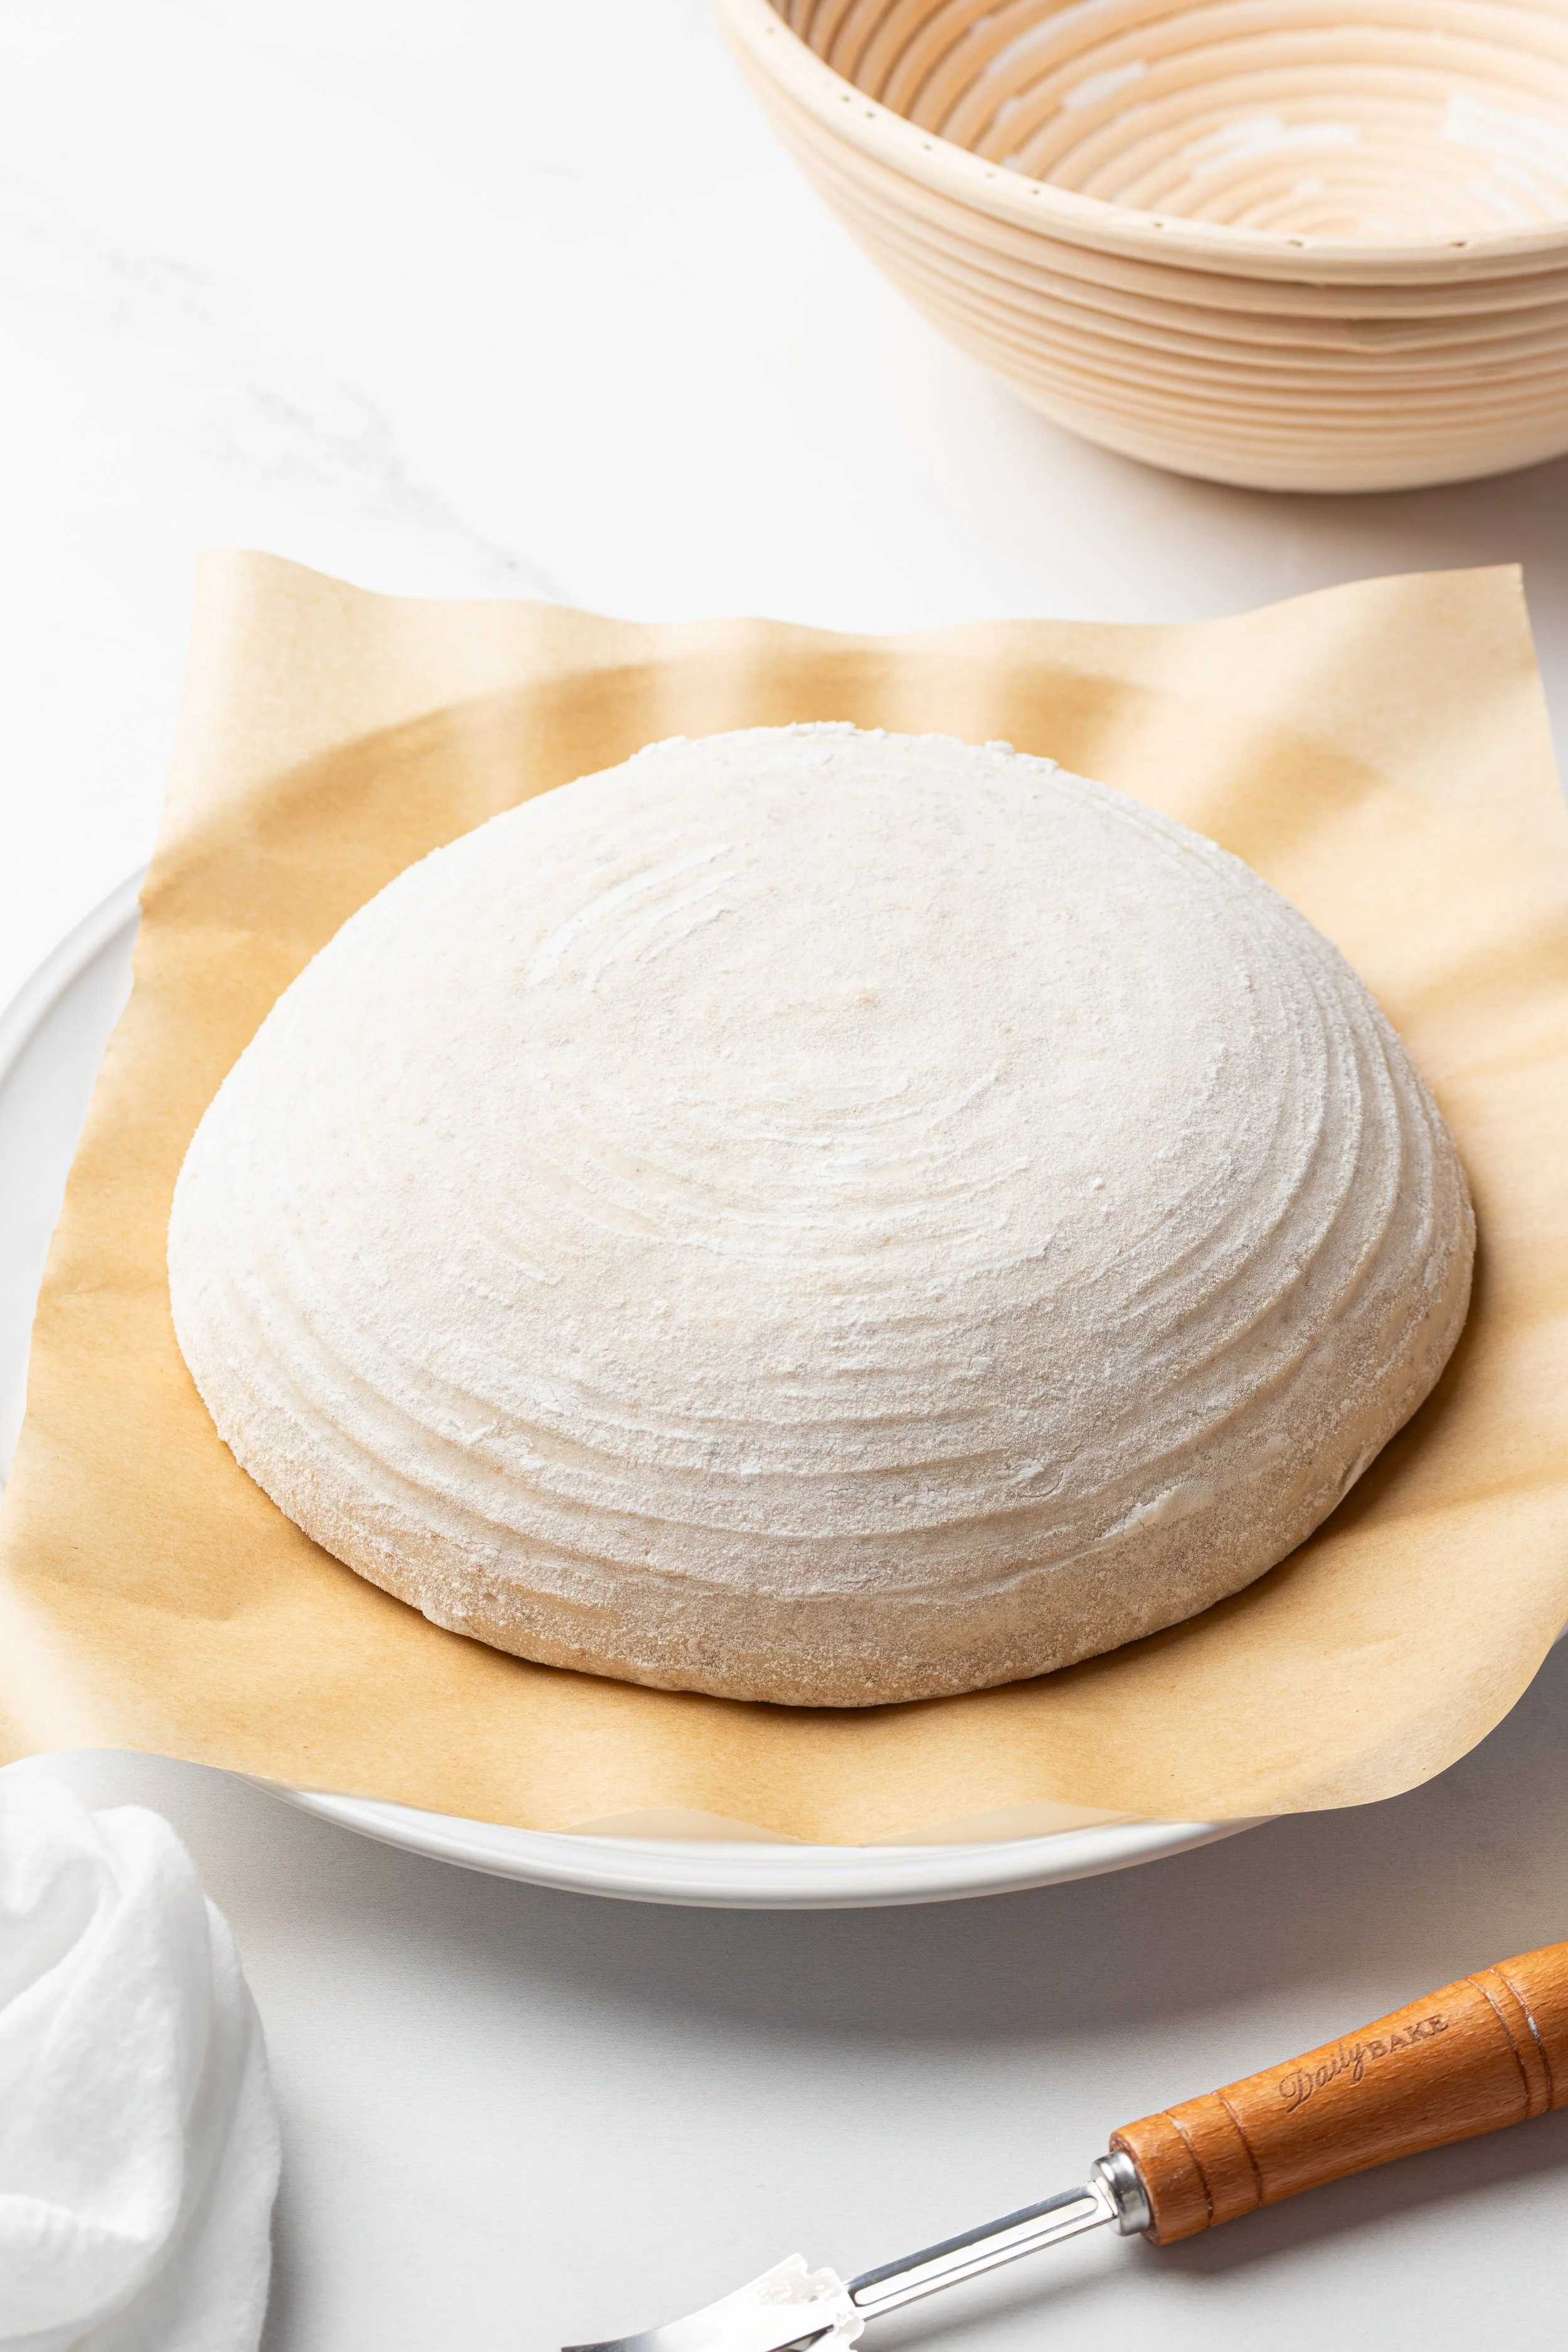
Remove the banneton and dust the dough with a little extra bread flour.
Score (slice) the dough with a very sharp knife or a bread lame with a long slash while cold (you can also add shallow decorative designs if you like - this part is lots of fun!)
Remove the hot Dutch oven from the oven and remove the lid (with thick oven gloves!).
Lower the dough into the very hot Dutch oven by holding on to the baking paper.
Place the Dutch oven’s lid on top and place it in the oven immediately.
Bake the bread for 20 minutes with the lid on.
After 20 minutes, remove the lid and bake the bread for a further 20 - 25 minutes until the crust is a deep golden colour.
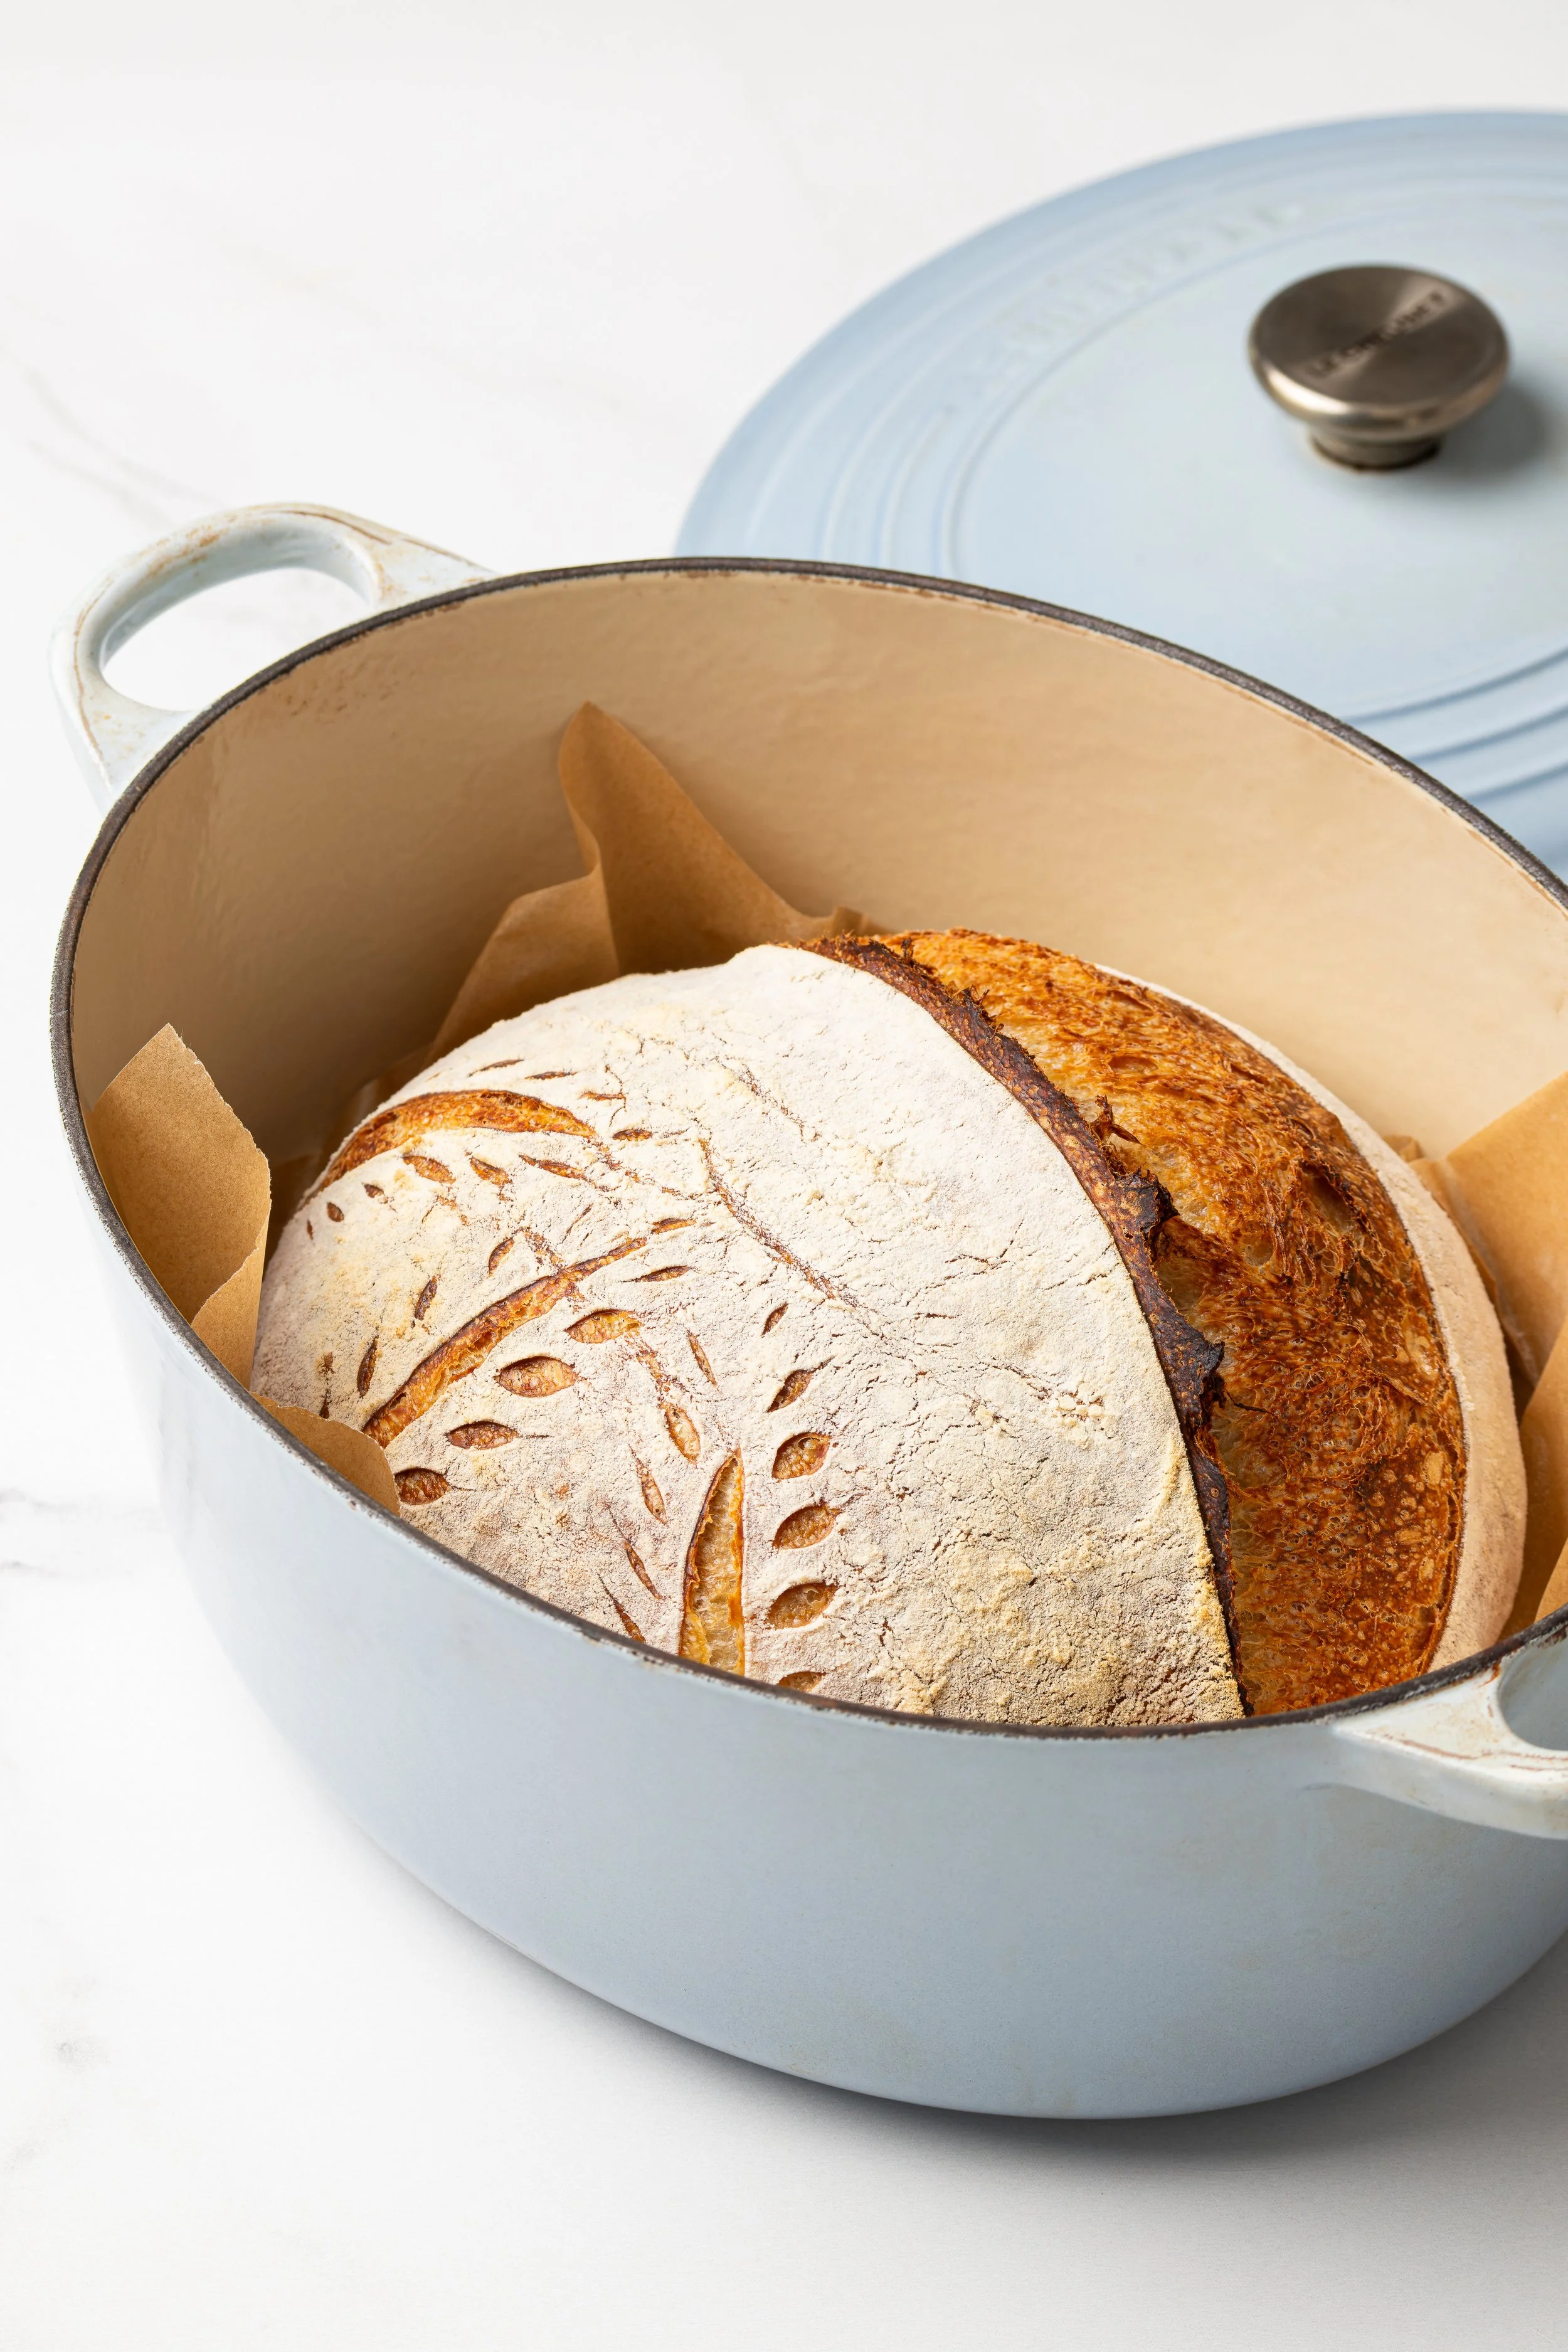
STEP 12 - COOL THE BAKED BREAD - around 10am
Remove the baked bread from the Dutch oven.
Cool the bread on a cooling rack (if you have) for at least 1 - 2 hours before slicing as cutting it too early can result in a gummy texture inside (as I’ve said, marathon).
STEP 13 - SLICE AND ENJOY - around 12pm
Slice the cooled sourdough bread with a large, sharp bread knife.
Enjoy, finally!